
All Inclusive Honeymoon Quilt: Block Pattern Guide
An all inclusive honeymoon quilt gives you a meaningful keepsake built from simple patchwork units. The Honeymoon quilt block combines sharp star points, soft background fabric, and a balanced layout that suits a wedding gift, anniversary project, or newlywed throw.

You can make a polished 12-inch finished block with half square triangles, quarter square triangle units, and carefully matched seams. Once you learn the block, you can repeat it across a full quilt or combine it with other quilt block patterns.
Choose colors that reflect the couple, perhaps using wedding shades, travel-inspired prints, or a floral fabric tied to the honeymoon destination. Sketch your layout before cutting, then use a small test block to check your measurements and contrast. For more romantic project inspiration, explore these wedding quilt ideas before choosing your final design.
What Is the Honeymoon Block?
The Honeymoon block is a star-shaped quilt block built from a center square, triangle units, and corner sections that create eight-point movement around the design. Its symmetry makes it useful for a single gift block, a sampler quilt, or a repeated all inclusive honeymoon quilt.
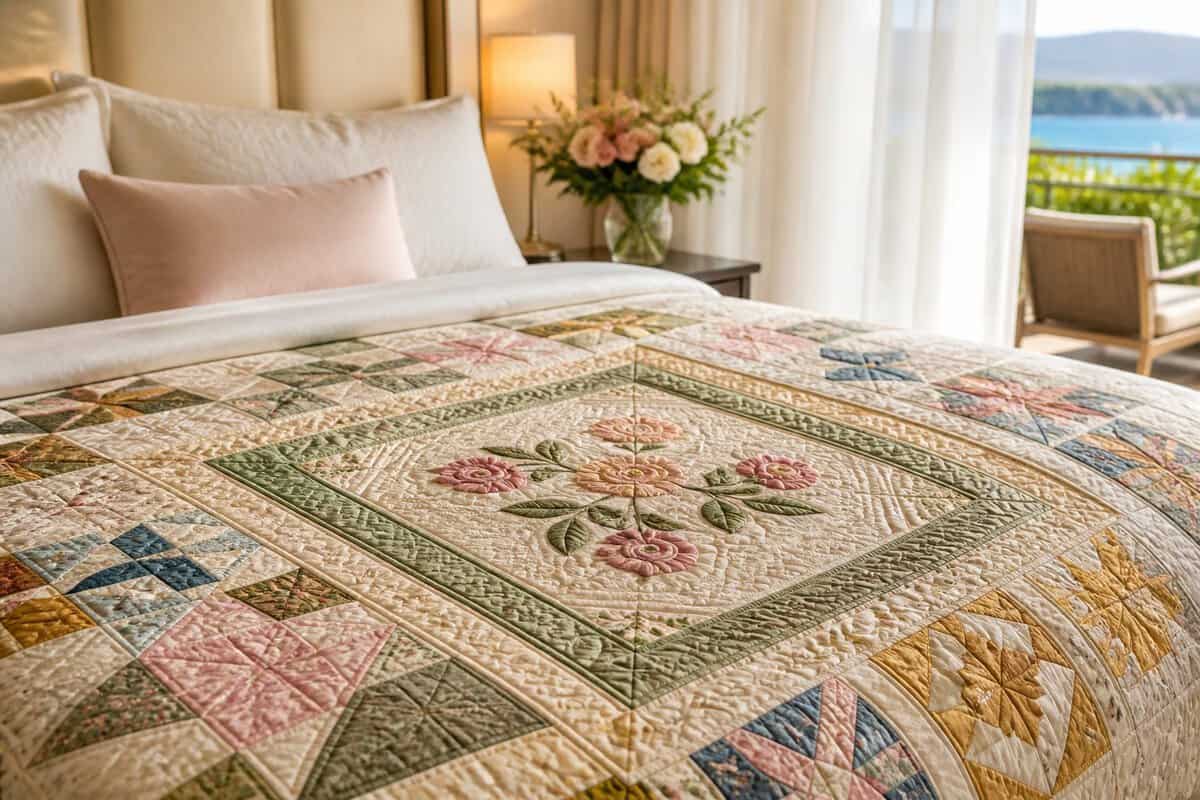
The block rewards careful cutting and pressing. Keep your fabric orientation consistent, label each unit, and arrange every piece on a design wall or flat surface before sewing.
Why Its Star Design Looks More Complex Than It Is
The star design comes from repeating a few familiar shapes around the center. Half square triangles form the pointed arms, while hourglass units add the angled frame that gives the block its layered look.
You work with straight seams throughout. Once each unit reaches the correct size, the design becomes a grid-based arrangement with clear matching points. A printed diagram or colored sketch helps you track light and dark fabric placement.
The Units That Create the Pattern
A standard 12-inch finished honeymoon block uses:
- A center square
- Half square triangle units for the star points
- Hourglass units for the surrounding frame
- Corner units that complete the square shape
The finished block measures 12 1/2 inches before it joins the quilt, allowing a 1/4-inch seam allowance on every outer edge. Confirm the measurements in your chosen pattern because cutting sizes vary with the block version.
Fabric Requirements and Color Planning
Your fabric requirements depend on the finished block size, seam allowance, and number of blocks, while color planning determines whether the star points remain clear. For one 12-inch block, gather four fabric roles: background, star accent, floral or feature print, and dark contrast.
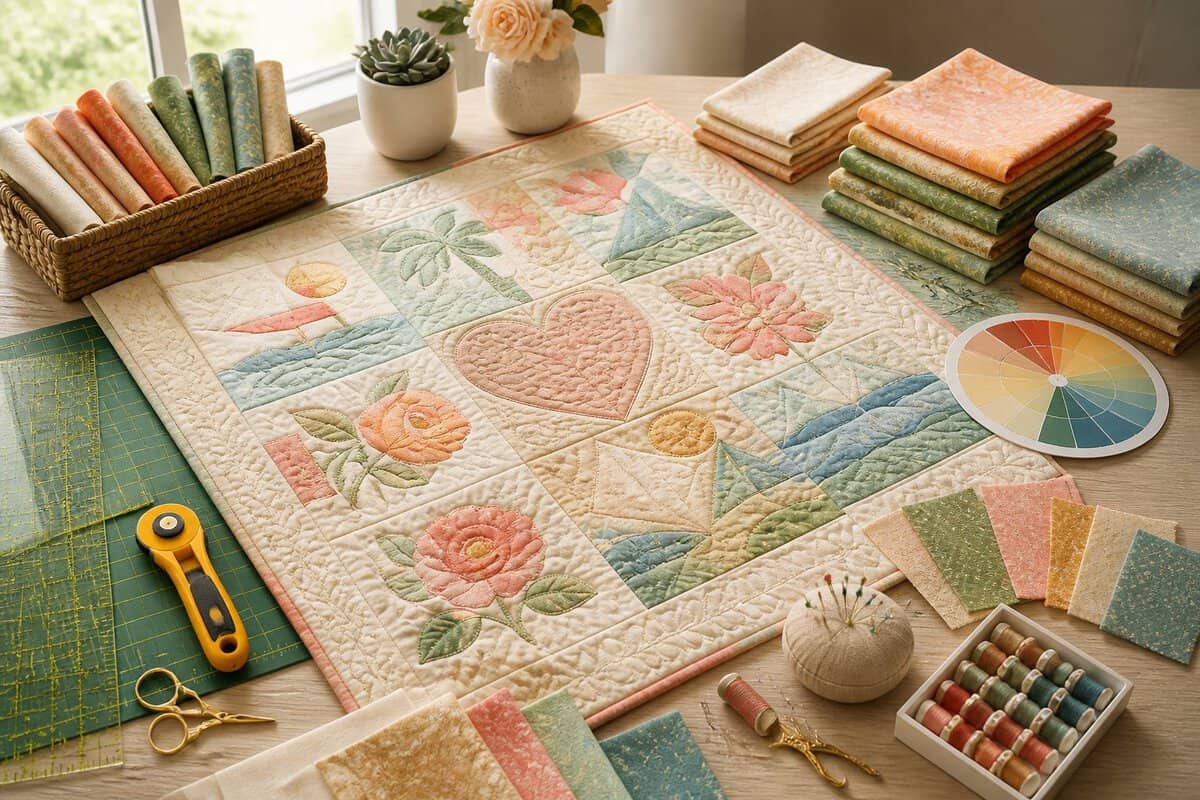
Prewash fabric if you plan to wash the finished quilt, then press it flat before cutting. A rotary cutter, acrylic ruler, cutting mat, fine pins, and accurate 1/4-inch foot will help you keep the units consistent.
Fabric Cuts for a 12-Inch Finished Block
Use the following as a planning guide for one 12-inch finished block. Add extra fabric for directional prints, fussy cutting, and trimming errors.
| Fabric | Suggested amount | Main use |
|---|---|---|
| White fabric | 1/3 yard | Background triangles and squares |
| Yellow fabric | 1/8 yard | Star points or center accents |
| Floral fabric | 1/8 yard | Feature triangles or hourglass sections |
| Dark fabric | 1/8 yard | Contrast points and corner details |
Cut squares slightly larger when your pattern allows oversized piecing. Trim each completed unit to its exact unfinished measurement before assembly.
Choosing White, Yellow, Floral, and Dark Fabrics
White fabric creates open space and lets brighter pieces stand out. Yellow fabric brings warmth and works well as a sunlit star accent, while floral fabric adds a romantic detail suited to a wedding or honeymoon theme.
Use dark fabric in selected points or corners to give the design structure. Small prints behave like texture; large florals need careful placement so important motifs do not disappear inside seam allowances.
How Contrast Keeps the Star Points Visible
Contrast comes from value as well as hue. Place your fabrics in grayscale, or take a phone photo with the color removed, to see whether the star points separate from the background.
A pale yellow beside white may blend into the background. Pair it with a medium or dark fabric, or deepen the yellow, so each triangle remains visible after quilting. Repeat the same placement across every block for a calm, connected quilt.
Make the Patchwork Units
Accurate half square triangle units and quarter square triangle units form the structure of the Honeymoon block. Trim every unit before joining sections, since small size differences compound across the finished block.
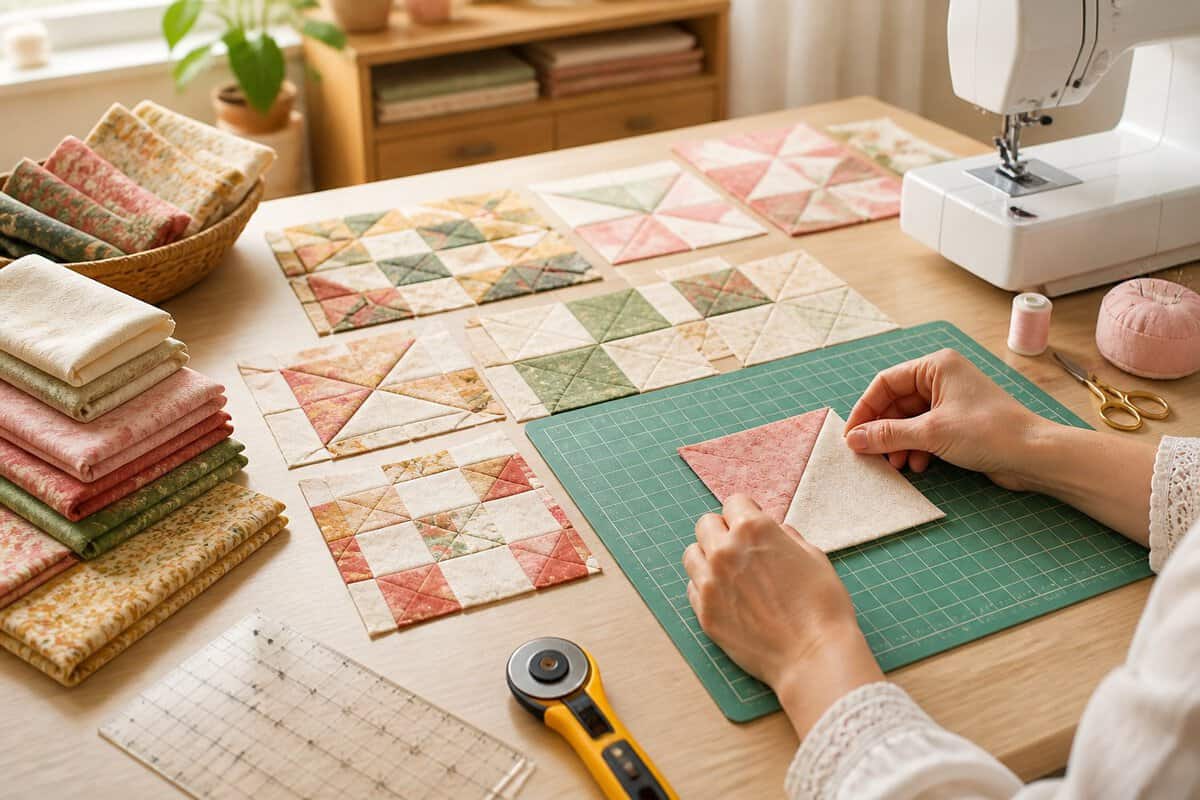
Keep the block diagram nearby and mark the diagonal direction on pieces that could be reversed. A consistent pressing routine helps your seams nest during final assembly.
How to Sew and Square Up Half Square Triangles
Place two fabric squares right sides together. Draw a diagonal line across the lighter square, sew 1/4 inch on both sides of that line, then cut along the marked line.
Press each half square triangle toward the darker fabric unless your layout calls for another direction. Trim the unit to the required unfinished size by aligning the diagonal seam with the ruler’s diagonal guide. Square the corners and remove dog ears before arranging the block.
For multiple matching units, make them in batches. Stack the paired squares, sew with the same seam allowance, and keep the finished units oriented in one direction.
How to Make Quarter Square Triangle Hourglass Units
Start with the required triangle pieces or two half square triangle units, depending on your pattern. Place the pieces so the light and dark sections alternate around the center, then sew with a precise 1/4-inch seam allowance.
Press the seams according to the pattern diagram. An hourglass block needs accurate center points, so trim from the center outward and keep the ruler’s diagonal lines aligned with the seam lines. Check that the unit remains square after trimming.
How to Assemble the Four Corner Units
Arrange the half square triangles, hourglass block sections, and small squares for one corner unit on your work surface. Rotate each piece until the star point aims toward the center and the background fabric reaches the outside edge.
Sew pieces into short rows, press those rows, then join them to complete the corner unit. Repeat the process for all four corners, labeling each one as you finish it. This prevents rotation errors when you build the full block.
Assemble and Press the Finished Block
The finished honeymoon quilt block comes together as a nine-patch-style layout, with three rows of three sections joined through carefully pressed seam allowances. Match the central points first, then work outward toward the corners.
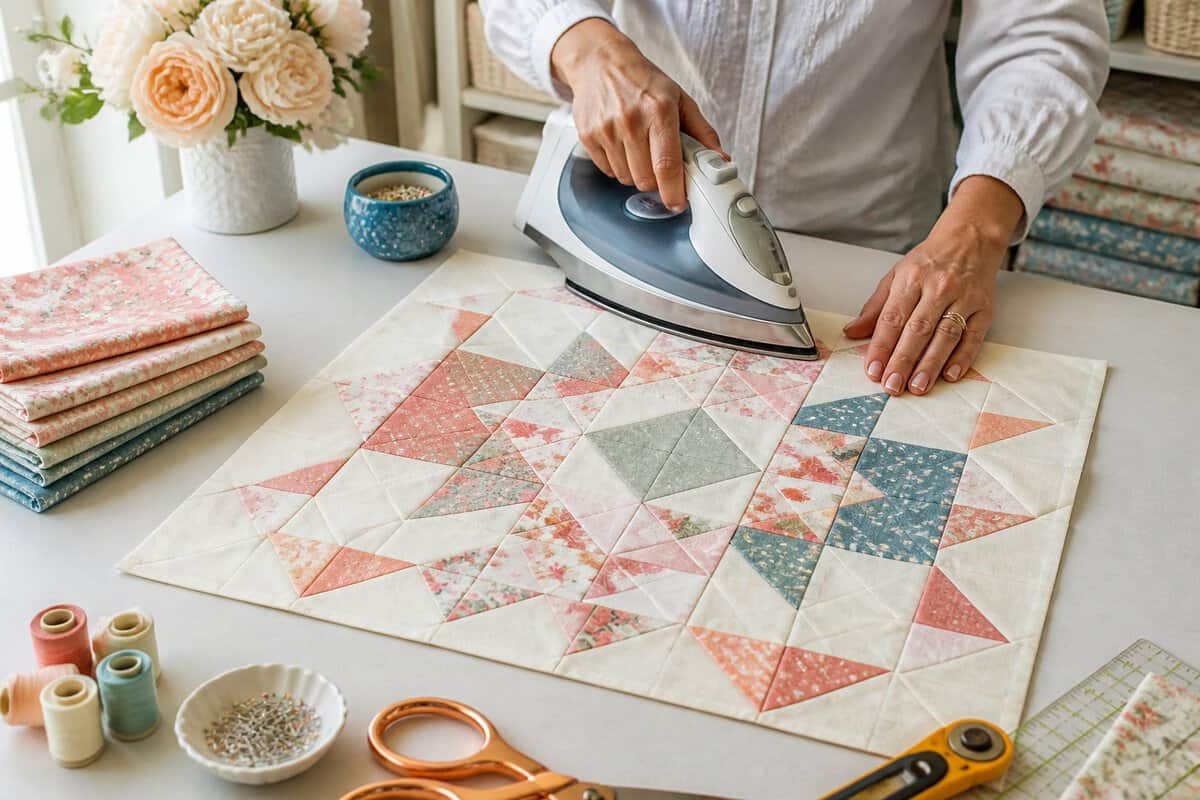
Use pins at important intersections and sew slowly across bulky seams. A quick measurement after each row helps you correct problems before they reach the final join.
Arrange the Nine-Patch-Style Layout
Lay out the center section, four side sections, and four corner units in a three-by-three grid. Check that every star point faces the center and that matching fabrics create the planned color paths.
Sew each row from left to right. Press the first and third rows in opposite directions from the middle row when possible. This creates seams that interlock at the row joins.
Join the rows with matching intersections. Remove pins before the needle reaches them, then press the completed block from the back with gentle, even pressure.
Which Direction Should Seam Allowances Face?
Press seam allowances toward the darker fabric when that direction keeps the background clean. At adjoining seams, press neighboring rows in opposite directions so the seams nest.
Open bulky intersections when several seams meet at one point. Use a wooden seam roller for delicate fabric, or press with a dry iron and lift it straight up to avoid stretching the bias edges.
How to Check Size, Points, and Flatness
Measure the unfinished block across the center and both outer edges. It should measure 12 1/2 inches for a 12-inch finished block, unless your pattern specifies another size.
Check that the star points reach the planned seam line with a small allowance beyond the point. Lay the block on a flat surface to spot waves, tucks, or fullness. Correct uneven seams before adding sashing or joining another block.
Turn Honeymoon Blocks Into a Quilt
Repeated Honeymoon blocks create strong secondary designs, especially when you combine them with Ohio Star layouts, sashing, or hourglass block arrangements. Plan the full quilt on graph paper or in a digital layout tool before cutting multiple blocks.
Create Secondary Ohio Star Designs With Repeated Blocks
Rotate repeated blocks so their light and dark points meet across the seams. The adjoining triangles form larger star shapes that resemble an Ohio Star layout across the quilt surface.
Make a small four-block sample first. This lets you test rotation, fabric placement, and visual movement before committing to a full set of blocks.
Use Sashing and Cornerstones for Definition
Sashing separates each quilt block and gives the eye a resting space between strong star points. Choose a background shade that appears inside the blocks, then add cornerstone squares in an accent color for a framed effect.
Cut sashing strips to the same unfinished height as your blocks. Sew strips between blocks in rows, add cornerstone squares where the strips meet, and check the full row length before joining rows.
Alternate Blocks With Hourglass Designs
Place an hourglass block between Honeymoon blocks to soften the repeated star pattern. Use the same fabrics in a new order so the quilt feels connected while each block keeps its own shape.
A light hourglass block opens the layout, while a dark version creates stronger geometric movement. Keep every hourglass orientation consistent, then assemble the quilt in rows after confirming the complete arrangement on a flat surface.