
And a on Wedding Website: What to Include
Your wedding website should give guests the facts they need, followed by enough personality to make them feel part of your celebration. For most couples, Zola is a strong choice because its free wedding website connects with guest-list tools, online RSVPs, and registry planning in one place. Couples who want broader design control can also consider Joy or Wix.
Start with your wedding date, locations, schedule, travel guidance, dress code, RSVP instructions, and registry link. Then add a short love story, wedding party introductions, and a few favorite photos. Keeping the site clear helps guests find answers without sending you a stream of texts during wedding planning.
Choose a builder, publish the key details early, and update the site whenever plans change. You can also review this wedding website must-haves checklist as you build your pages.
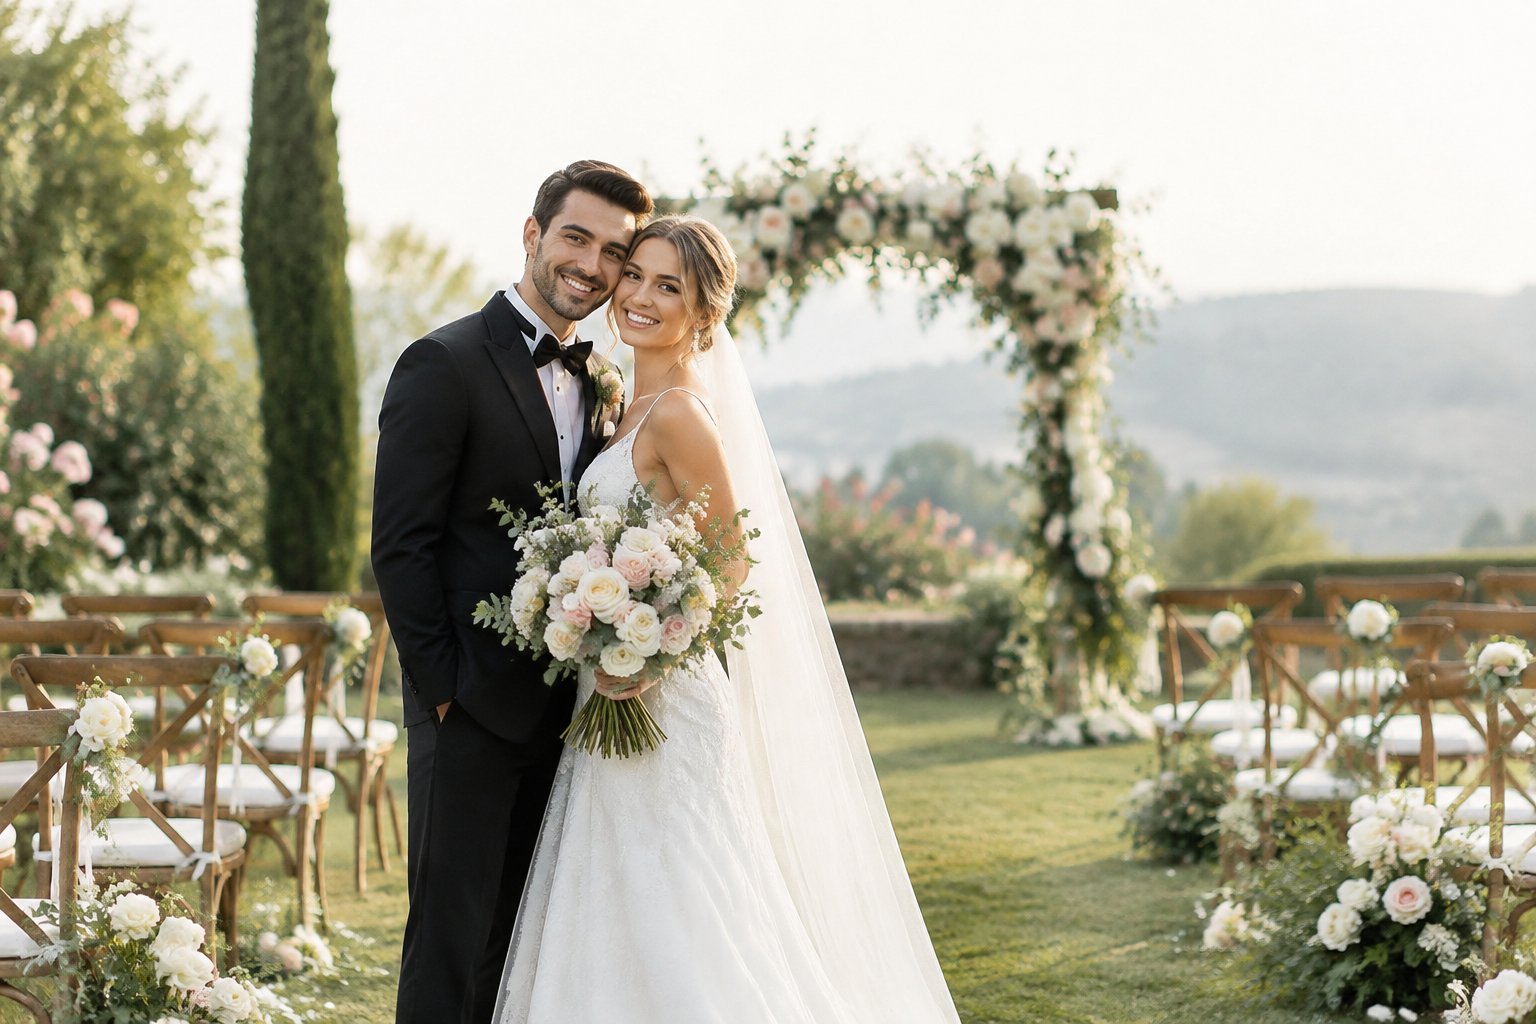
Start With the Information Guests Need First
Put practical wedding details at the top of your site so guests can quickly confirm when and where to attend. Your homepage or details page should show the wedding date, venue, ceremony and reception times, dress code, and RSVP deadline.
A clear site also helps guests prepare for the full weekend. Include travel notes, hotel information, weather guidance, and any event that welcomes everyone. Share exclusive gatherings, such as a private rehearsal dinner, only with the guests invited to them.
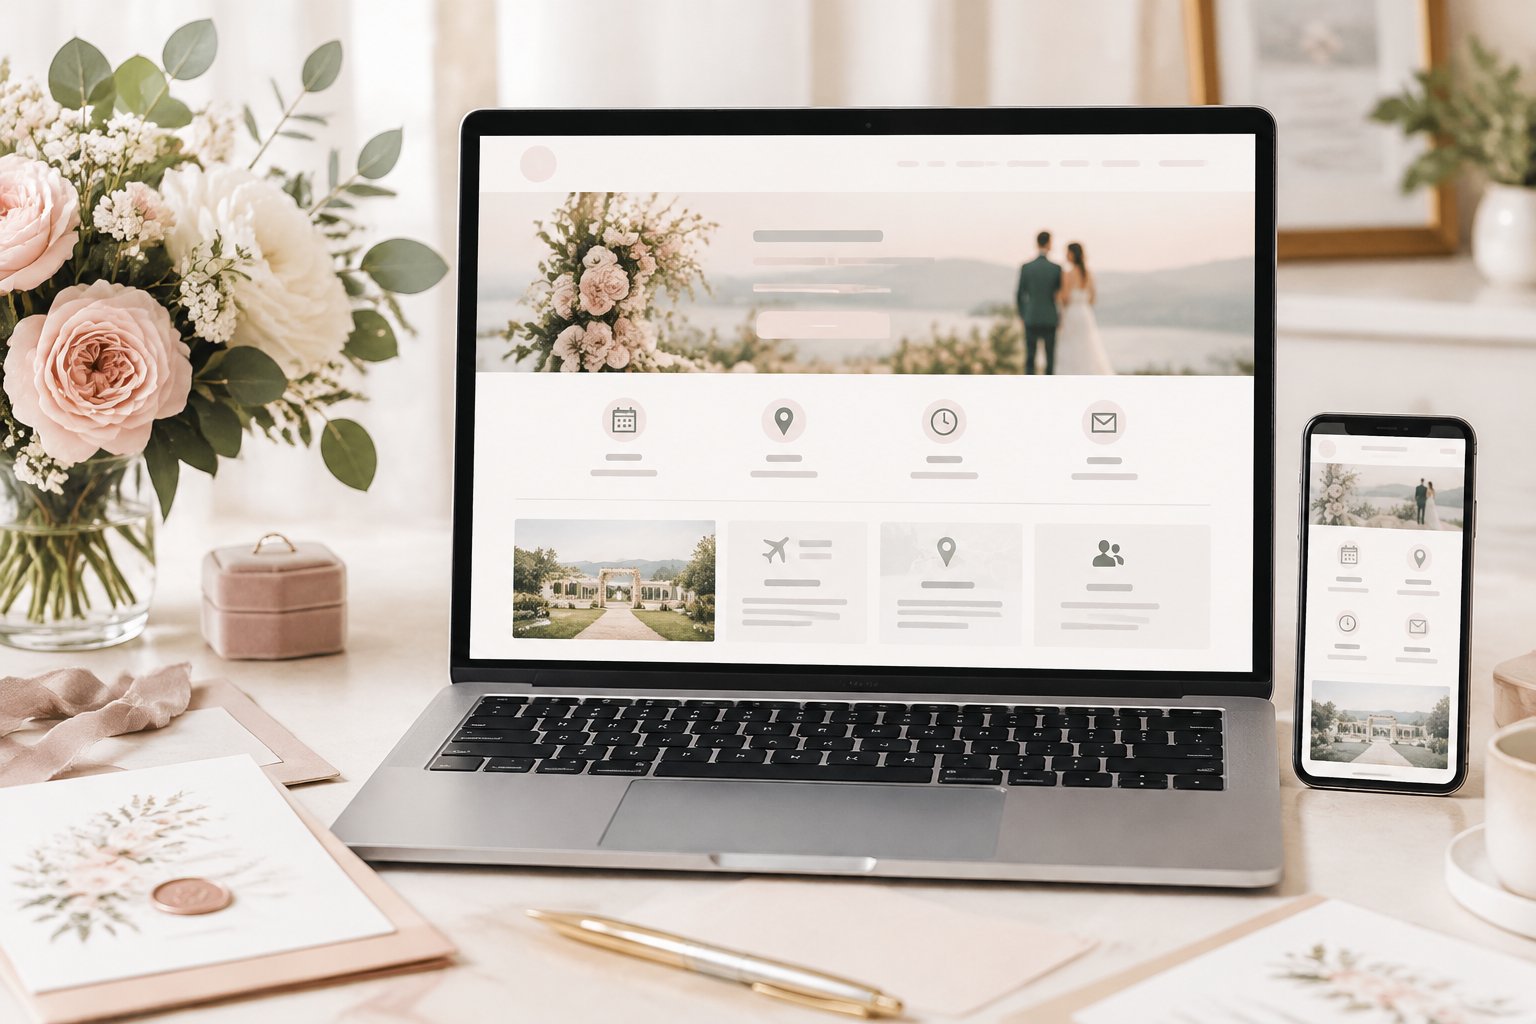
Names, Wedding Date, and Venue
Write both of your full names and display the wedding date prominently. Add the ceremony and reception venue names, complete street addresses, start times, and links to map directions.
Mention whether each location is indoors or outdoors. Guests also appreciate notes about stairs, paved paths, grass, weather plans, and accessibility. Add your dress code in familiar terms, such as cocktail attire, formal, or black-tie optional.
Your save the dates can share the website address once these core details are ready. Update the page before formal invitations go out if the venue, time, or dress code changes.
Schedule for the Wedding Weekend
Create a simple timeline for each event open to the relevant guests. Include the ceremony, cocktail hour, reception, welcome gathering, after-party, or next-day brunch with dates, times, locations, and attendance details.
State whether transportation connects the events. A short note about when guests should arrive gives them useful planning guidance. Keep private events off the public schedule and send those details directly to invited family members or wedding party guests.
Directions, Parking, and Transportation
Give guests complete addresses, map links, parking instructions, and transportation choices. Explain where they should enter, whether parking costs anything, and how far the lot is from the venue.
List hotel blocks, shuttle pickup times, rideshare drop-off points, public transit options, and nearby airports when those details apply. Include an accessibility note with information about accessible parking, entrances, seating, and restrooms. If guests can leave cars overnight, state that clearly.
Make RSVPs and Guest Management Easier
Connect your RSVP form to your guest list so you can track attendance, plus ones, meal selections, and event access from one place. Ask only questions that support your plans, and display the RSVP deadline in more than one easy-to-see location.
A well-organized form reduces follow-up messages and gives your caterer and planner cleaner information. For additional ideas, see how to get guests to RSVP for a wedding easily.

How to Organize Your Guest List
Enter guests by household so partners and families receive the correct invitation group. Record names, mailing addresses, email addresses, invitation status, RSVP status, and assigned events.
Use labels for family, friends, coworkers, wedding party members, and guests traveling from out of town. A searchable list helps you find missing responses and identify guests who need a personal reminder.
Set an RSVP deadline that gives you time to finalize your seating chart, rentals, and catering count. If you also use paper response cards, keep both response methods reflected in one master list.
Tracking Plus Ones and Meal Selections
Set plus-one access for each invited guest before opening the RSVP form. Let the form collect the accompanying guest’s name when a plus one is approved, along with dietary restrictions and meal selections.
Use clear meal labels and explain whether children choose from a separate menu. Add a space for allergies or medical dietary needs, then export or share the final counts with your caterer.
You can find more guidance on the easiest way for guests to RSVP to a wedding, including ways to keep instructions easy to follow.
Setting Privacy for Individual Events
Use guest-specific access when your weekend includes private gatherings. Your ceremony and reception details can remain available to everyone invited, while a rehearsal dinner or family breakfast appears only for its assigned guests.
Password protection adds another layer of control for addresses, travel plans, and private updates. Tell invited guests how to sign in through your save-the-dates, invitations, or a direct message.
Add Personal Details Without Overloading the Site
Keep personal content short, warm, and easy to scan after guests find the logistics they need. A brief love story, friendly wedding party bios, and a focused photo gallery give the site character without burying important information.
Choose photos that load well on mobile devices and use captions when they help guests recognize people or places. Leave out private jokes, embarrassing stories, and details that a wedding party member has not approved.
Sharing Your Love Story
Write two or three short paragraphs about how you met, a favorite milestone, or the proposal. Focus on details that help guests connect with you as a couple.
A simple timeline works well for longer relationships. You might include when you met, took a memorable trip, adopted a pet, moved, or got engaged. Keep the tone natural and use the same voice you use when speaking to family and friends.
Introducing the Wedding Party
List each person’s name, role, and connection to you. A one-sentence bio or a light fact helps guests recognize the people standing beside you.
Ask permission before adding photos or personal details. Use full role names such as maid of honor or best man when your guests may not know wedding abbreviations.
Linking Your Registry and Photo Gallery
Add direct links to your registry, honeymoon fund, charitable giving option, or other gift preferences. A short note can explain your priorities while keeping the wording gracious.
Use a photo gallery for a small set of engagement photos, relationship moments, or images of the venue. You can also add a guest photo upload link for sharing memories after the celebration. For wording ideas, review how to inform guests of your wedding registry.
Choose a Builder and URL That Fit Your Needs
Select a wedding website builder based on the tools you need for design, RSVPs, guest management, privacy, and registry links. Free wedding websites suit couples who want a fast setup, while a paid custom domain can give your wedding site a cleaner, more personal address.
Compare the documented features of Zola, Joy, and Wix before choosing. Zola connects a free wedding website with registry and guest-list planning, Joy supports online RSVPs and event questions, and Wix provides broad website design control.

What Free Wedding Websites Usually Include
Free plans commonly provide a template, basic pages, hosting, a shareable web address, and tools for posting wedding details. Some platforms also include RSVP forms, guest-list features, registry links, photo areas, and privacy settings.
Check the plan details before you publish. Look for mobile-friendly templates, event-specific RSVP options, password protection, export tools, storage limits, and any platform branding. Choose a layout that keeps the RSVP button and travel information easy to find.
Custom URL vs. Custom Domain
A custom URL gives you a memorable web address selected within the platform’s available format. A custom domain uses a registered address such as your names or a phrase connected to your wedding.
Keep the address short, spellable, and easy to read aloud. Avoid changing it after sharing save-the-dates or invitations. Test the address on a phone before printing it.
Comparing Zola, Joy, and Wix
| Criteria | Zola | Joy | Wix |
|---|---|---|---|
| Free website | Yes | Yes | Yes |
| RSVP tools | Yes | Yes | Build with available tools |
| Guest management | Yes | Yes | Build or connect tools |
| Registry connection | Yes | Supported through site features | Add links |
| Design flexibility | Wedding-focused templates | Wedding-focused templates | Broad design control |
Zola suits couples who want a free wedding site tied to registry and guest-list planning. Joy fits couples who want online RSVPs with custom questions and multi-event guest management. Wix works well when visual control and flexible page design rank above wedding-specific planning tools.
Publish, Share, and Keep Details Current
Publish your wedding website when guests need planning information, share the link through your stationery, and treat the site as the current source for wedding details. Assign one person to check the pages after every major planning update.
A site that stays current helps guests make travel, clothing, and RSVP decisions with confidence. Test every link, form, map, and password before sending the address.
When to Launch and Send the Link
Launch a basic version when you send save the dates if guests need the wedding date, location, hotel information, or travel guidance. Add the full schedule, dress code, registry, and RSVP form as those details become confirmed.
Place the link on formal invitation inserts, your wedding details card, email messages, and group announcements. A QR code can help guests open the site from printed stationery. Include the RSVP deadline beside the link when you send invitations.
Using Password Protection Thoughtfully
Use password protection when you want control over addresses, travel details, private event information, or guest access. Choose a password that guests can type easily and share it with the website address.
Check that the password works on mobile devices and explain capitalization or spacing when needed. Give private event instructions only to the guests invited to those events.
Updating Guests When Plans Change
Update the date, time, venue, schedule, travel page, hotel block, transportation details, and FAQs as soon as a change affects guests. Add a visible notice on the homepage for urgent updates.
Send a direct email or group message after publishing a major change. Ask guests to review the updated page and contact you through the method listed on the site. Keep the old information out of printed and digital messages so guests have one current set of details.