
And a Wedding Website: What to Include and Why
A wedding website gives you one clear place to share wedding planning details, collect responses, and welcome your guests. For most couples, The Knot is a strong free wedding website choice because it combines templates, RSVP tracking, guest-list tools, and planning features in one place. Zola, Joy, Minted, and WeddingWire also offer useful options if you prefer a different design or set of planning tools.
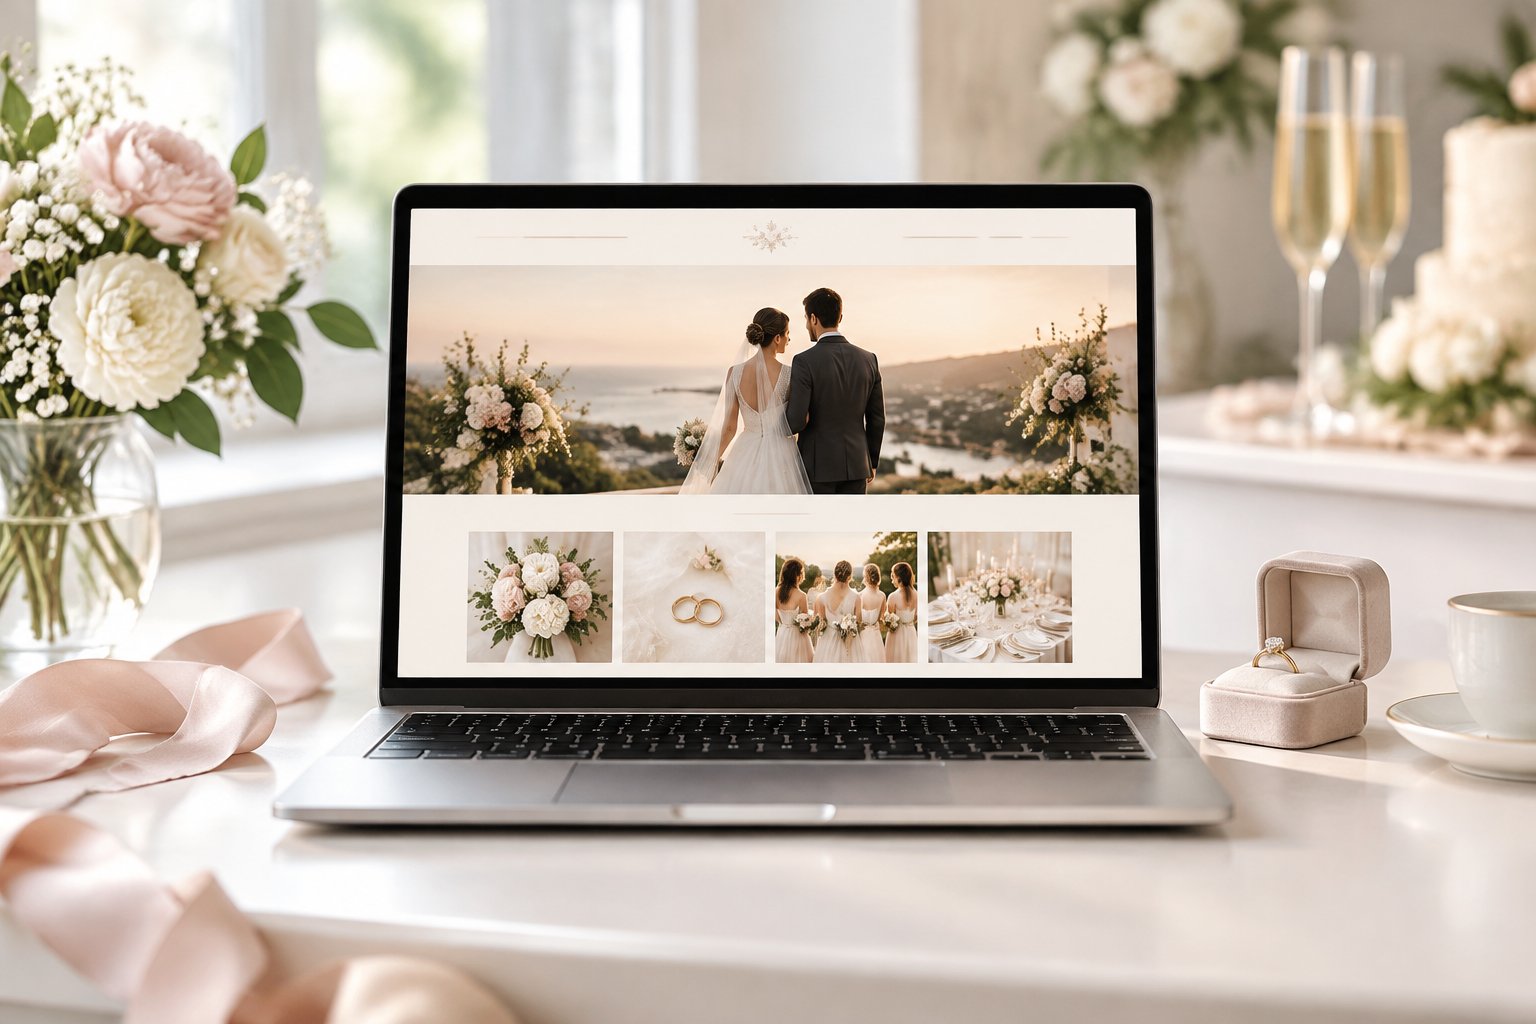
Your site can answer common questions before they reach your phone, from parking instructions to meal choices. Start with the key details, add personal touches as your plans develop, and share the link with your guests when it is ready.
Why Create a Wedding Website?
A free wedding website gives your guests one reliable place to find your wedding date, wedding details, RSVP instructions, travel notes, and registry links. It also gives you a space to make updates when plans change.

How a Central Hub Reduces Guest Questions
Your website works as a digital guest guide. Add the ceremony and reception times, venue addresses, parking notes, dress code, hotel suggestions, transportation plans, and answers to common questions.
Guests can check the same page from a phone or computer when they need a detail. You can update one source instead of sending separate messages to different family members and friends. A clear FAQ can address children, plus ones, outdoor areas, accessibility, and arrival times.
Keep the wording short and easy to scan. Use headings, bullet points, map links, and bold deadlines so guests can find answers quickly.
When to Launch It and Share the Link
Publish your site when you know your names, wedding date, location, and a few basic plans. A simple site works well for save the dates, then you can add RSVP, travel, registry, and schedule information as each item becomes ready.
Place the link on your save the dates and invitations. A QR code can help guests reach the site from printed stationery. Share updates through email or your wedding party when you add important information, such as a room-block deadline or a venue change.
Wedding Details Guests Need First
Your website should put essential event details near the top so guests can plan attendance, clothing, travel, and timing without searching through several pages.
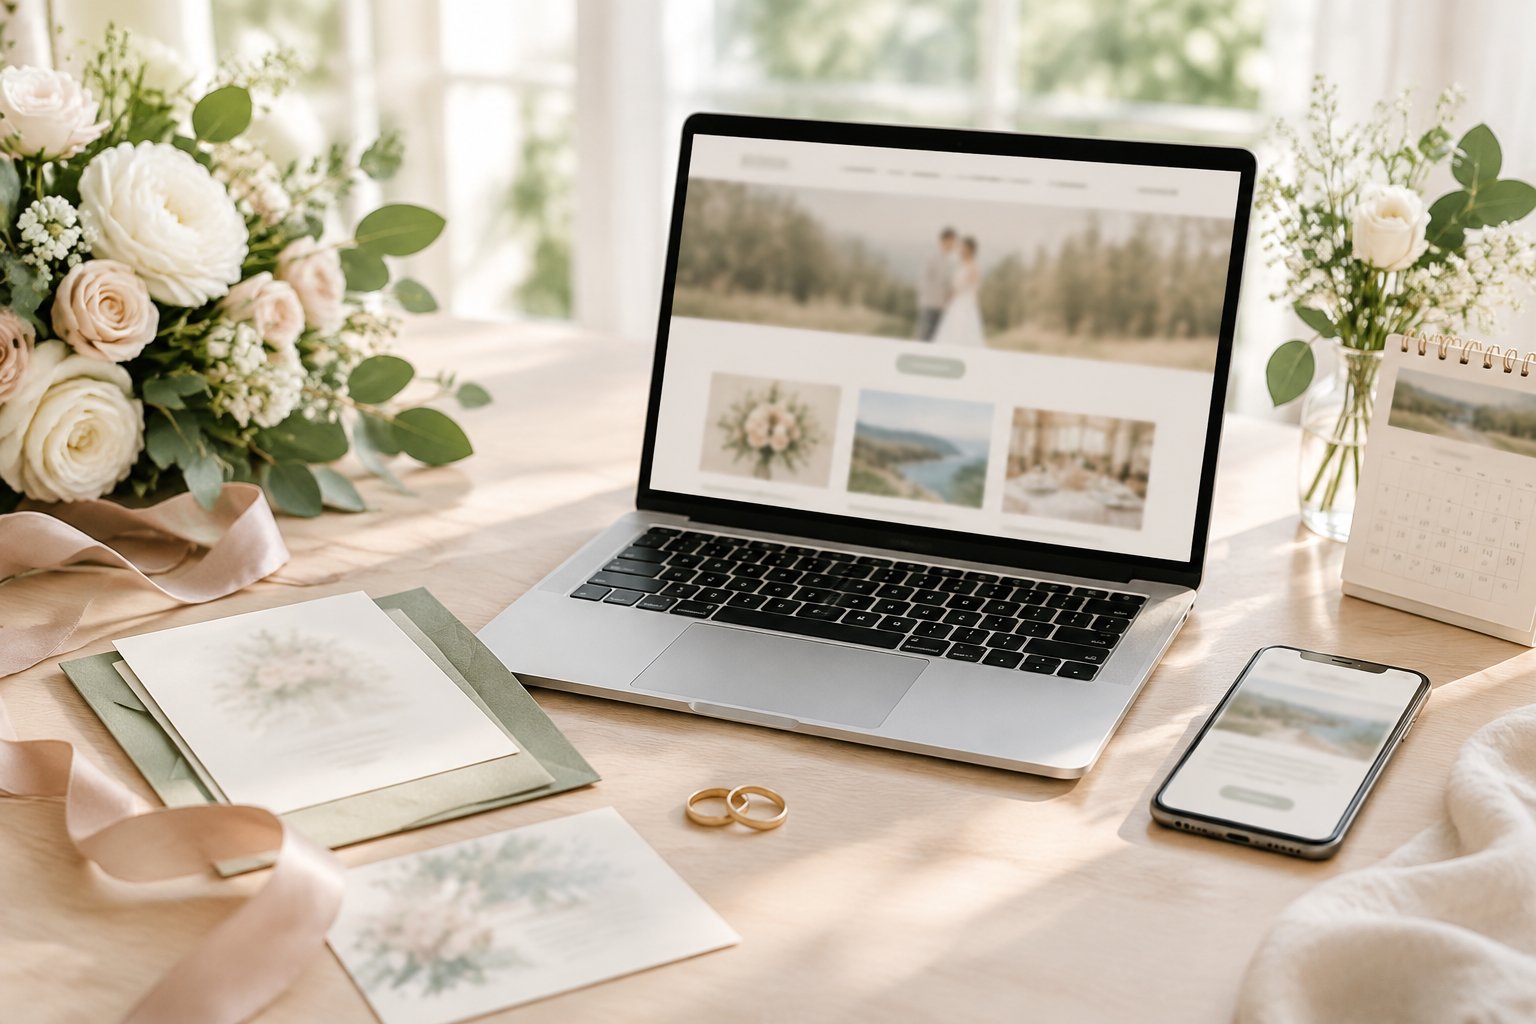
Event Schedule, Venues, and Dress Code
List every event open to the guests viewing that page. Include the date, start time, venue name, full address, map link, and end time when useful. For a wedding weekend, add the welcome gathering, ceremony, cocktail hour, reception, after-party, and post-wedding brunch.
Give each event its own dress code. Explain terms such as “garden party” or “cocktail attire” with practical guidance about shoes, layers, outdoor areas, or weather. Mention parking, venue access, and the distance between locations when guests will travel during the day.
Keep private events limited to invited guests. Rehearsal dinners and family gatherings should appear only for the people who need those details.
Travel Information, Hotels, and Transportation
Help traveling guests plan from arrival through departure. Add nearby airports, driving directions, rideshare notes, parking instructions, and shuttle pickup points. Include the shuttle schedule and the place guests should wait.
For hotels, list room blocks with booking links, group rates, booking deadlines, and the venue distance. Add other lodging choices across different price points if your area has limited rooms. Destination weddings benefit from details about weather, local transportation, passports, currency, and nearby activities.
Update travel information when availability, pickup times, or venue plans change.
Registry Links and a Wedding Hashtag
Use your website to share registry links, cash funds, honeymoon details, or a charitable gift option. A short note can explain how a fund supports your next chapter. Guests can find the information when they choose to give, without adding it to the invitation itself.
Add your wedding hashtag if you want guests to share photos on social media. Choose a phrase that is easy to spell and search, then display it in the welcome area, FAQ, or photo page.
Set Up RSVPs and Guest Management
Online rsvps connect attendance, meal selections, guest names, and plus ones to your guest list, giving you a current headcount for planning.
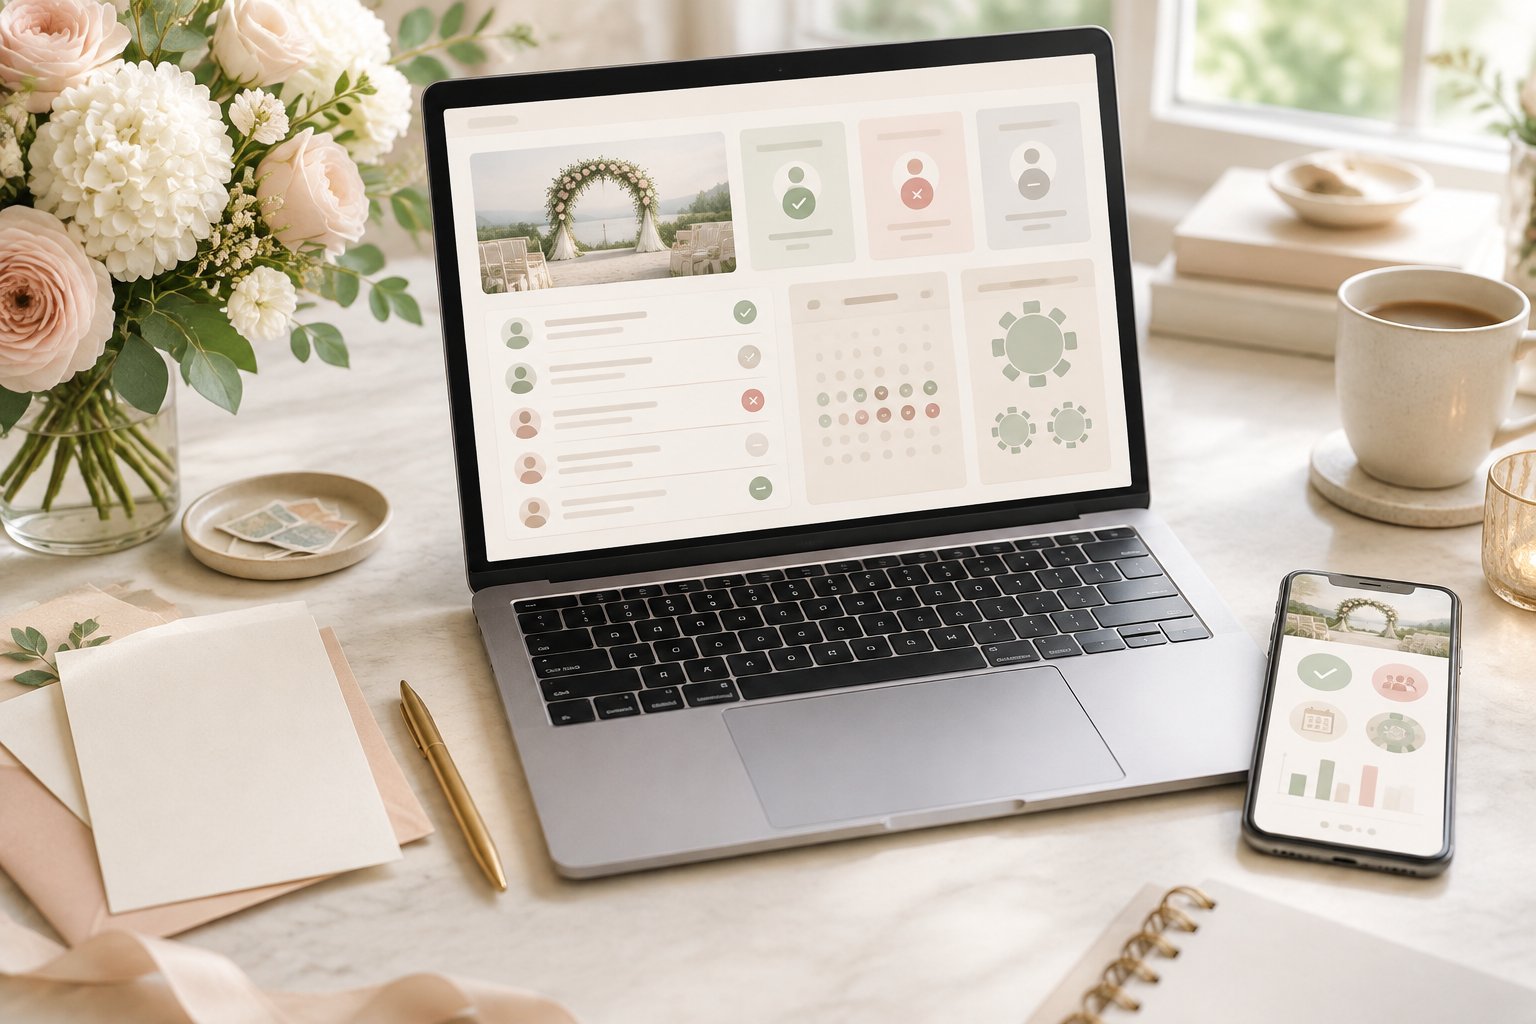
Collect Meal Selections and Manage Plus Ones
Build RSVP questions around the information your caterer and venue need. Ask whether each guest will attend, collect meal selections, and provide a field for allergies or dietary restrictions.
Set plus ones according to your invitation list. If a guest has an approved plus one, let that person enter a name. If children are invited, show the correct household members during the response process.
Place the RSVP deadline in a visible spot and repeat it on the invitation. A short reminder after the deadline helps you close gaps before you confirm numbers.
Keep the Guest List Accurate and Up to Date
Use one guest list as your main record. Track invitation status, response status, meal choice, dietary notes, mailing address, and plus-one information. Keep names and household groupings consistent across the website, invitations, seating plan, and vendor records.
Review responses regularly for duplicate entries, missing meal choices, and unclear names. Export or share the current details with your caterer, planner, and venue when they request final numbers.
Use Privacy Controls for Private Events
Privacy settings help you share the right information with the right guests. Choose a password, hide the site from search engines, or use event-specific access controls when your platform provides those tools.
Private pages work well for rehearsal dinners, family gatherings, or events with limited invitations. Tell invited guests how to access those pages, and avoid publishing sensitive personal details such as full home addresses.
Make the Site Feel Like You
Personal content gives your wedding website warmth while the design carries your colors, mood, and celebration style.

Share Your Love Story and Favorite Photos
Write a short love story that explains how you met, an important moment in your relationship, or how the proposal happened. Two or three brief paragraphs are enough. Keep the tone warm, clear, and suitable for every guest.
Add a small set of favorite photos, including engagement images or candid moments. Use clear captions when context helps, and compress large files so the pages load well on mobile devices.
Introduce the Wedding Party
Help guests recognize the people standing beside you. Add each person’s name, role, photo, and a short note about how you know them. A detail about a shared memory can make introductions easier during the celebration.
Include your officiant, flower child, ring bearer, or other important participants when appropriate. Ask permission before publishing photos or personal information.
Choose a Template, URL, and Custom Domain
Select a template that keeps text readable and navigation simple. Match fonts, colors, and photos to your stationery without making important details hard to find.
A free platform URL works for many couples. A custom domain name gives guests a shorter address to remember and can include your names, wedding date, or hashtag. Check the spelling on every printed piece before you publish the link.
Test the site on a phone, tablet, and computer. Confirm that buttons, map links, RSVP forms, photos, and privacy settings work as expected.
Choose a Free Website Platform
The Knot suits couples who want a free wedding website connected to guest-list and planning tools, while Zola, Joy, Minted, and WeddingWire offer different combinations of design, registry, RSVP, and travel features.
| Feature | Zola | Joy | Minted | WeddingWire |
|---|---|---|---|---|
| Free site option | Yes | Yes | Yes | Yes |
| Online RSVPs | Yes | Yes | Yes | Yes |
| Guest-list tools | Yes | Yes | Yes | Yes |
| Registry tools | Yes | Yes | Yes | Yes |
| Design focus | Templates | Customization | Stationery style | Templates |
| Travel tools | Available | Available | Available | Available |
Compare Zola, Joy, Minted, and WeddingWire
Zola connects a free wedding website with online RSVPs, a guest list, registry tools, and wedding planning features. It suits couples who want several planning tasks in one account.
Joy focuses on a free website with RSVP, guest-list, travel, and registry tools. Minted is a good fit when coordinated stationery and refined visual design guide your choice. WeddingWire provides templates and planning tools for couples who want a familiar wedding-focused platform.
Compare the pages and controls each platform offers before you build. Check whether the templates support your schedule, privacy needs, registry setup, and guest list.
Check RSVP, Registry, and Design Features
Start with the practical functions. Confirm that guests can RSVP for each event, select meals, share dietary needs, name approved plus ones, and update a response when your platform allows it.
Review registry links, cash-fund options, hotel information, and travel pages. Then inspect the design editor for font choices, colors, photo placement, mobile layout, and URL options.
A platform may display an application error or a client-side exception when a page, form, or browser session fails. If that happens, reload the page, try an updated browser, and check the browser console only when the platform’s support instructions ask you to troubleshoot technical details.
Test Guest Access Before You Send It
Send the site to a trusted person who was not involved in building it. Ask that person to find the wedding date, RSVP page, venue address, dress code, hotel details, and registry within a few minutes.
Submit a test RSVP and confirm that the response reaches your guest list with the correct meal choice and plus-one details. Check password access on a phone and computer, then remove test entries before sharing the link with your guests.