Can You Not Invite Someone You Send a Save-the-Date to? Navigating Wedding Etiquette
Planning a wedding can be exciting but also a bit stressful. One question you might have is about the etiquette surrounding save-the-dates. After sending them, you cannot un-invite someone without risking hurt feelings. It’s important to think carefully about your guest list before sending these notices, as they act as a preliminary invite.
Save-the-dates are meant to give your guests a heads-up about your big day, allowing them to mark their calendars. Since these cards imply that the recipients will receive an official invitation later, it creates an expectation that they will be invited to the wedding. If your plans change and you decide not to invite someone after sending a save-the-date, it can create awkwardness and disappointment.
Understanding save-the-date etiquette can help you navigate this part of wedding planning with ease. By being thoughtful in your guest list decisions, you can ensure that your save-the-dates set the right tone for your celebration!
Understanding Save-the-Date Etiquette

Sending save-the-dates is an important part of your wedding planning. These cards inform guests about your wedding date and set the tone for your special day. Let’s explore the key aspects of save-the-date etiquette that every couple should know.
Purpose of Save-the-Dates
Save-the-dates serve a clear purpose: they let your guests know when your wedding will take place. This is especially helpful if you’re hosting a wedding on a holiday or during a busy season.
Make it a point to send these cards to everyone you plan to invite. Remember, a save-the-date is not just a friendly reminder; it’s a formal request for your guests to save the date.
This means that if you send someone a save-the-date, you should follow through with a formal invitation later. It’s important because people may start planning trips based on your save-the-date.
Timing for Sending Save-the-Dates
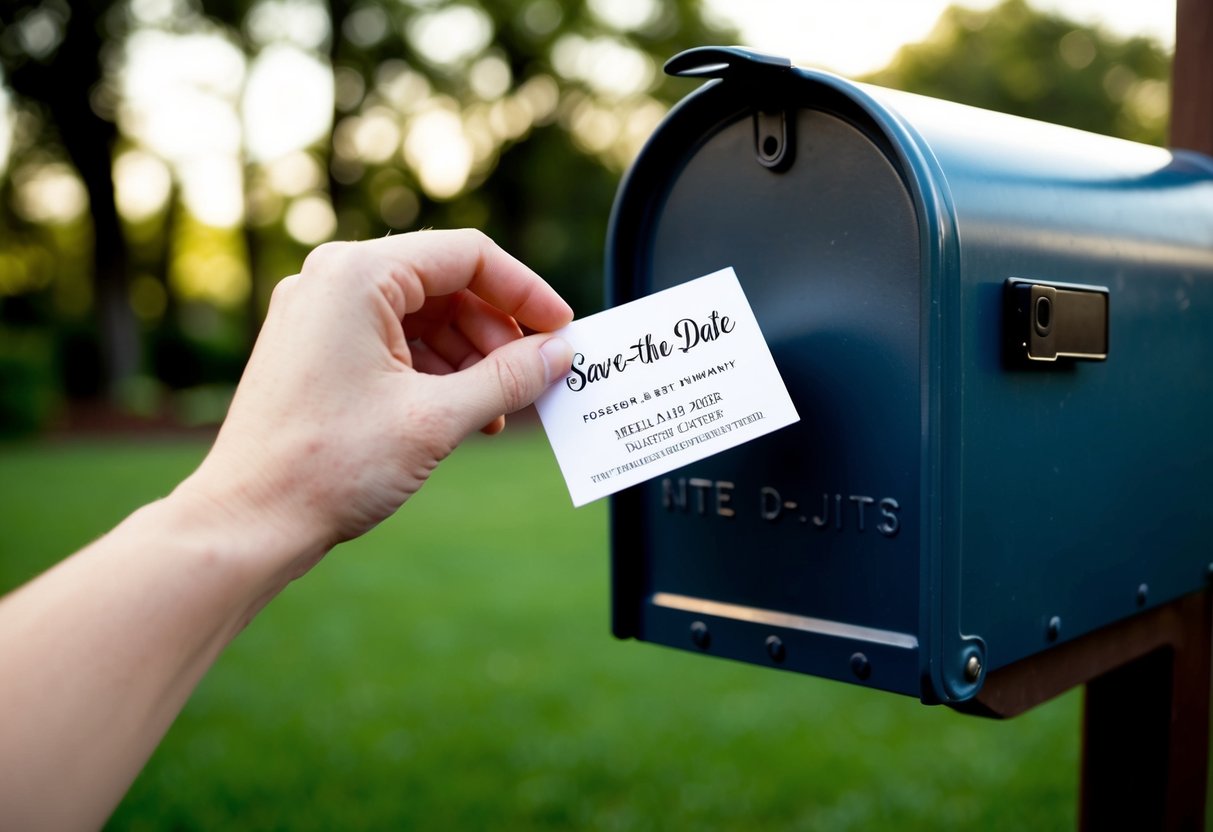
The timing of sending save-the-dates is crucial. Aim to send them out about 6 to 8 months before your wedding date. This allows guests ample time to make travel plans and clear their schedules.
If you’re planning a destination wedding, you might consider sending them even earlier, around 9 to 12 months in advance. This gives guests enough time to arrange their accommodations.
Make sure to keep your guest list in mind when sending save-the-dates. You may want to invite additional people to the wedding but avoid sending them a save-the-date.
Clarifying the ‘Unspoken Invitation’
It’s essential to clarify what a save-the-date means. Many people assume that receiving one means they are invited to the wedding. Therefore, you should only send save-the-dates to guests you intend to invite.
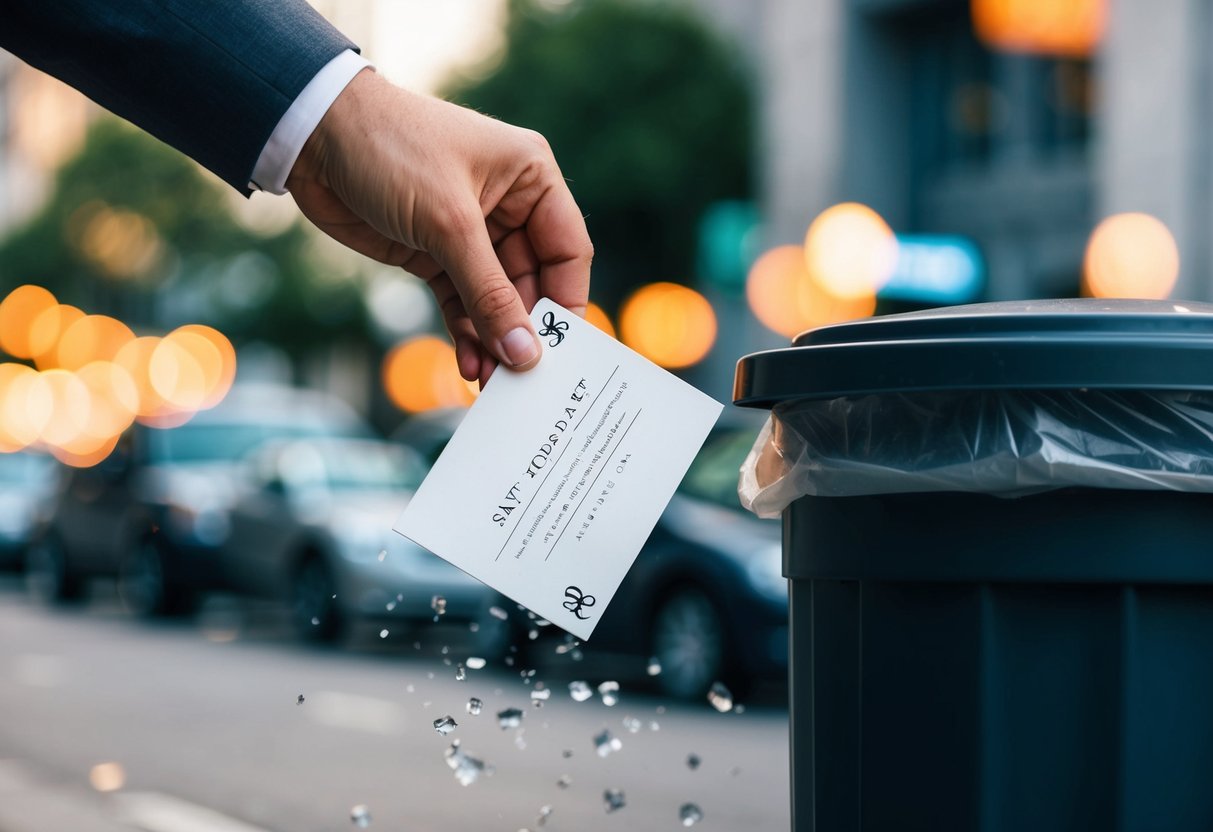
If plans change, and you have to reduce your guest list, it becomes a tricky situation. It’s considered poor etiquette to send a save-the-date and then not invite the person later.
To avoid this, only send save-the-dates to those you are sure will receive an invitation. This approach helps to maintain clear communication and avoids hurting any feelings down the line.
Managing the Guest List
Creating a guest list is one of the most important steps in wedding planning. It sets the tone for your celebration and helps you manage budgets and venues effectively. Knowing how to handle changes can also make the process smoother, especially if you have to adjust your list after sending out save-the-date cards.
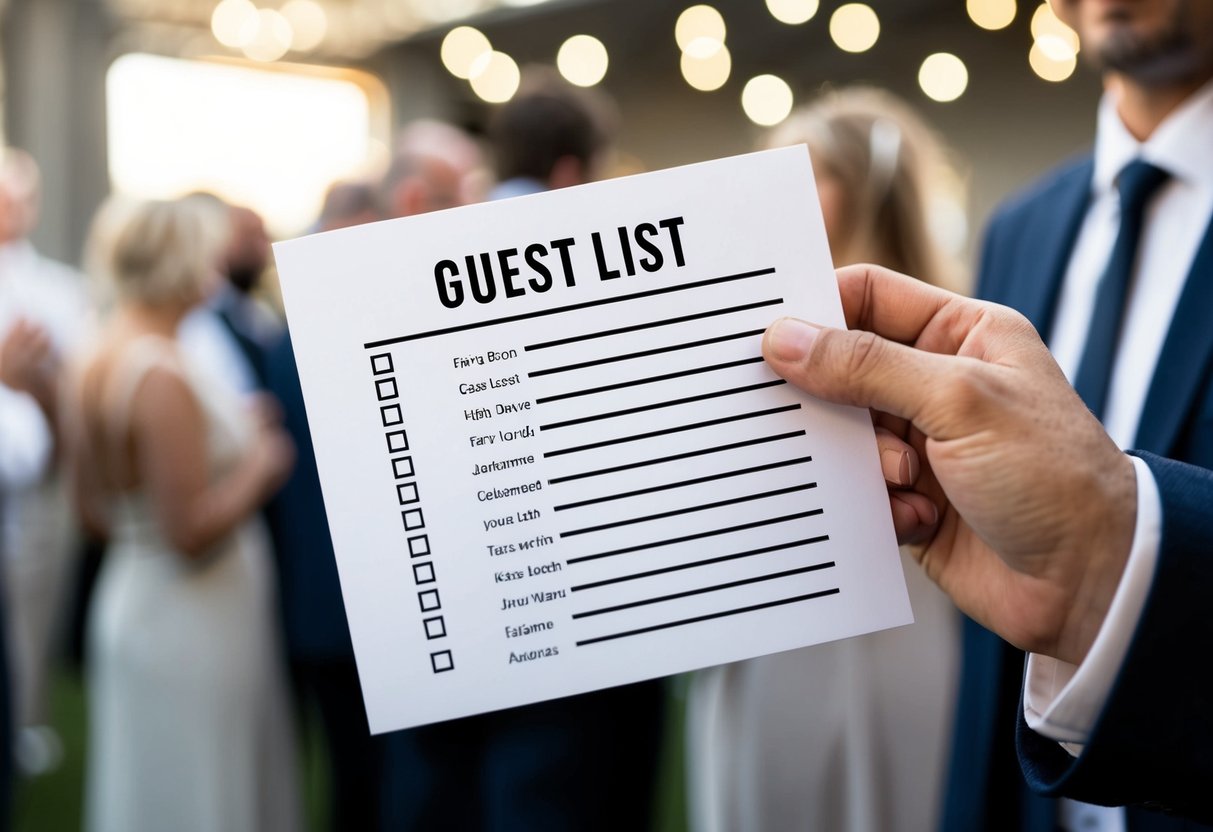
Creating a Well-Planned Guest List
Start by jotting down everyone you think should be invited. This includes family, friends, and any coworkers you want to celebrate with. Use a simple spreadsheet or a list on your phone to keep track.
Tip: Prioritize your list. Consider who is essential to you and who you might want to invite later. It helps to categorize guests as must-invite, should-invite, and nice-to-invite.
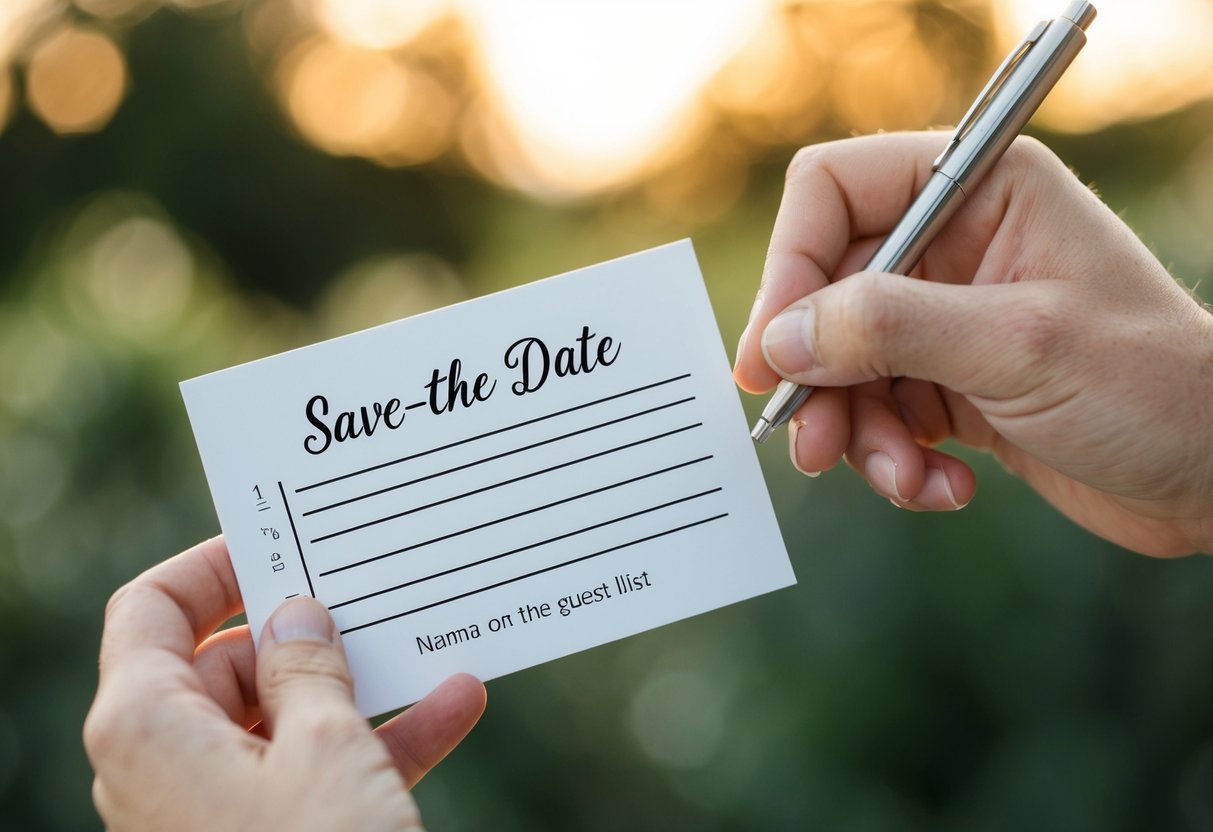
When sending save-the-date cards, remember these should only go to those who will receive an invitation later. If a guest was invited to receive a save-the-date, they should be included on the final guest list.
Addressing Changes and Special Circumstances
Sometimes life happens! Plans change, and you may need to adjust your guest list after sending out save-the-date cards. If a falling-out occurs or someone can no longer attend, think about the message it sends if you do not invite them.
If your venue has limits, be prepared to make tough decisions. It might be necessary to consider a smaller guest list, especially for a destination wedding, where travel costs and hotel spaces matter.
Always communicate kindly with guests who must be uninvited. A quick call or message can help maintain good relationships. If they reach out to decline, it can ease your decision not to send an invitation.
Crafting the Perfect Save-the-Date
Creating a memorable save-the-date card is key to setting the tone for your wedding. Focus on design and essential information to make it special and informative for your guests.
Designing Your Save-the-Date Cards
When designing your save-the-date cards, choose a style that reflects your personality as a couple. You can go with a fun and playful design or something classic and elegant.
Consider these design elements:
- Colors: Use colors that match your wedding theme.
- Fonts: Choose fonts that are easy to read and suit your style.
- Photos: Including a photo of you and your partner can add a personal touch.
You can create digital cards or printed versions. Digital options can save money and allow easy sharing via email or social media. For printed cards, remember to use quality materials to make a lasting impression.
Information to Include on Save-the-Dates
Make sure your save-the-date cards provide all the necessary details for your guests. Key information should include:
- Wedding Date: Clearly state the date so guests can mark it on their calendars.
- Wedding Location: Include the city and venue name if known. This helps guests plan travel.
- Wedding Website: If you have a wedding website, mention it. This is a great place for more details, like your registry information.
- Optional Wedding Hashtag: If you want guests to share photos, include a hashtag. This adds a fun social element to your wedding.
By providing these details, you set clear expectations for your big day and get everyone excited!
Navigating Wedding Invitation Protocol
When planning your wedding, understanding the shift from save-the-dates to formal invitations is key. This process helps set clear expectations for your guests and ensures smooth communication regarding RSVPs.
Transition from Save-the-Dates to Formal Invitations
Once you’ve sent out your save-the-dates, it’s important to follow up with formal invitations. This is your chance to provide all the key details about your big day, including the location, time, and any special instructions.
Remember, sending save-the-dates means your guests are considered invited. It’s not polite to exclude someone you’ve already sent a save-the-date to without a valid reason. Formal invitations should ideally go out 8 to 12 weeks before your wedding ceremony.
Make sure the design of your invitation matches the theme of your wedding. Include your RSVP cards for guests to respond easily.
Handling RSVPs and Follow-Ups
Managing RSVPs is a vital part of wedding planning. Make sure to include a clear RSVP deadline on your invitations so guests know when to respond. This helps you finalize your headcount for seating and catering.
If someone declines your invitation after receiving a save-the-date, make sure to still send them a formal invite. This shows respect and acknowledges their initial excitement.
You can also consider a follow-up message a week before the deadline. A friendly reminder can encourage those who haven’t responded yet. Keeping communication open helps everyone stay informed and excited about your holiday weekend celebration!