
Create a Wedding Itinerary That Keeps the Day on Track
Start your wedding itinerary with the ceremony time, then build backward through getting ready, portraits, travel, dinner, and the final exit. This approach gives your couples a clear plan for the wedding date while leaving room for meals, guest movement, vendor setup, and small delays.
A useful itinerary gives each person the information they need at the right level of detail. You can create one full schedule for your wedding planning team, then make shorter versions for guests and the wedding party.
Set aside time to review it with your vendors before the day arrives, and you will have a practical guide that supports the celebration without taking you away from it.
What a Wedding Itinerary Should Include
A wedding itinerary should list each wedding event, its time, location, assigned people, and key notes in one easy-to-follow schedule. Include the ceremony, portraits, transportation, reception activities, vendor arrivals, meal service, and departure details.
Wedding Itinerary vs. Wedding Program
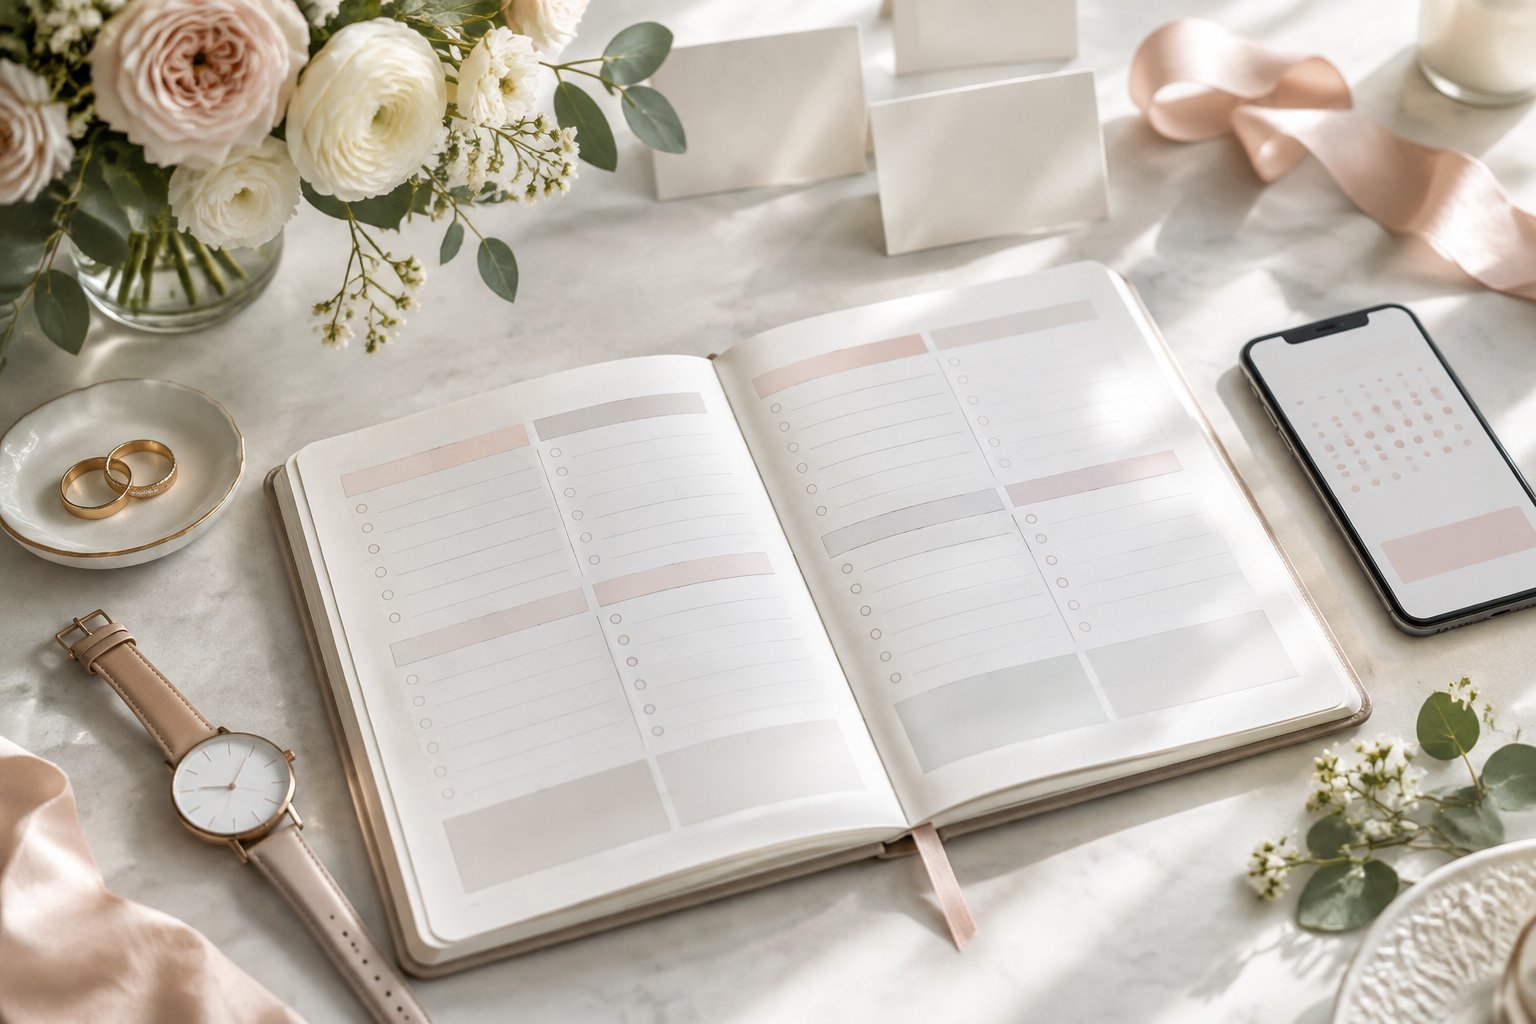
Your wedding day itinerary is the working schedule for the people managing the day. It shows when the wedding party needs to arrive, when vendors load in, where photos happen, and who handles each transition.
A wedding program is designed for guests. It may list the ceremony order, names of the wedding party, readings, musical selections, and a brief thank-you.
Your wedding website can share a guest-friendly schedule, while the detailed document stays with your wedding planners and key vendors.
The Details Every Schedule Needs
Add these details to each line:
- Start and end time
- Event name
- Exact location
- People responsible
- Transportation notes
- Vendor contact information
- Items that need to be ready
- Buffer time for delays
Use clear labels such as “photographer arrives,” “family portraits,” or “guests seated.” Include addresses when people travel between locations.
A note such as “shuttle leaves at 4:10 p.m.” gives your wedding party a firm action point.
Create Separate Versions for Guests and Vendors
Guests need the ceremony start time, venue locations, cocktail hour, dinner, dancing, and transportation information. Keep private contact details and behind-the-scenes tasks off their copy.
Vendors need more detail. Give them arrival windows, setup deadlines, meal timing, parking instructions, power needs, portrait plans, and the name of the person handling questions.
Your wedding party can receive a version that includes call times, procession order, portrait groups, and reception duties.
Build the Day Around Your Ceremony Time
Set the wedding ceremony time first, then create the wedding day timeline by working backward and adding travel, setup, and buffer periods. This method connects every part of the wedding planning timeline to a fixed moment.
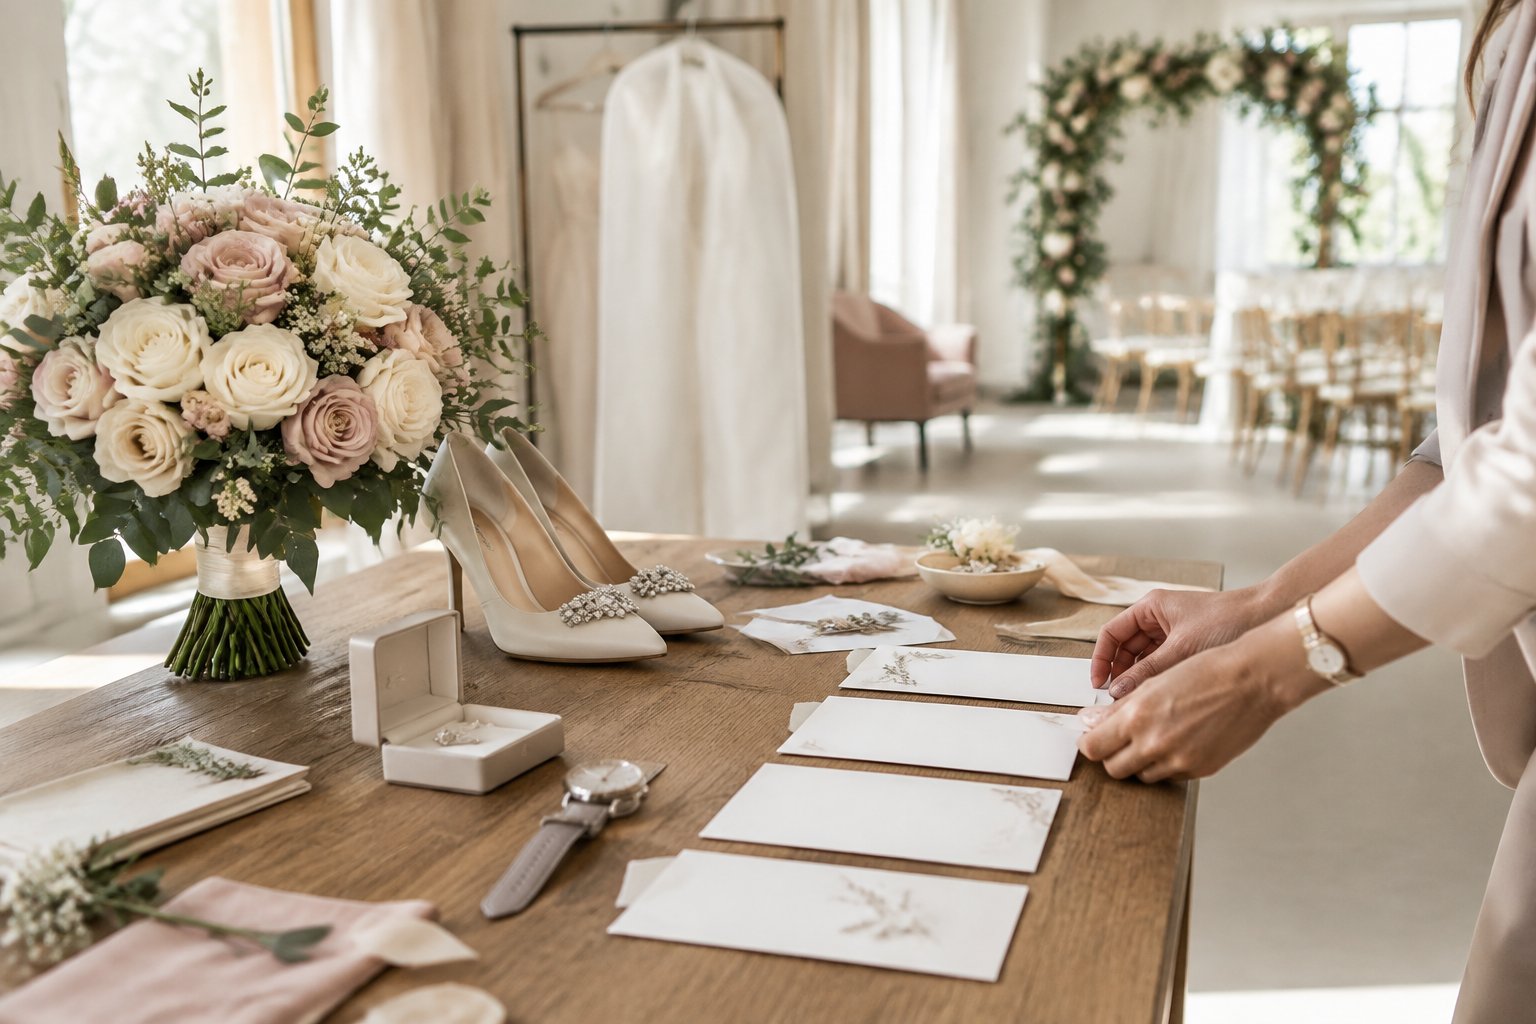
Your perfect wedding day timeline should give each activity enough space to happen comfortably. Ask your wedding planner or coordinator to review the order before you share it with the team.
Work Backward From the Processional
Start with the processional, then schedule:
- Wedding party lineup
- Final touch-ups
- Wedding party arrival
- Hair and makeup completion
- Pre-ceremony photos
- Transportation to the ceremony location
Add the ceremony length, recessional, and guest transition after the processional. If your ceremony begins at 5 p.m., set the wedding party lineup before 5 p.m. and leave enough time for everyone to reach that staging point.
Map Travel, Setup, and Buffer Time
Measure the route between every location, including the time needed to gather people, load vehicles, park, and walk inside. A 15-minute drive may require 30 minutes in the itinerary once boarding and arrival are included.
Mark setup deadlines for the florist, caterer, DJ, rentals, and photographer. Add buffer time before major transitions, especially when guests or large portrait groups need to move.
Prevent Scheduling Conflicts Before They Happen
Compare the wedding day timeline with every vendor’s arrival and service window. Check that the photographer has access to detail items before they are packed away, the caterer has enough time to prepare dinner, and the transportation plan matches the number of passengers.
Give one person authority to adjust the schedule on the wedding day. The wedding planner can communicate changes while you stay focused on your ceremony and guests.
Plan the Morning and Pre-Ceremony Photos
Schedule getting ready, hair and makeup, wedding photography, and portraits from the ceremony backward so each person has a clear arrival and finish time. Your morning plan should protect time for personal details and allow everyone to reach the ceremony location calmly.
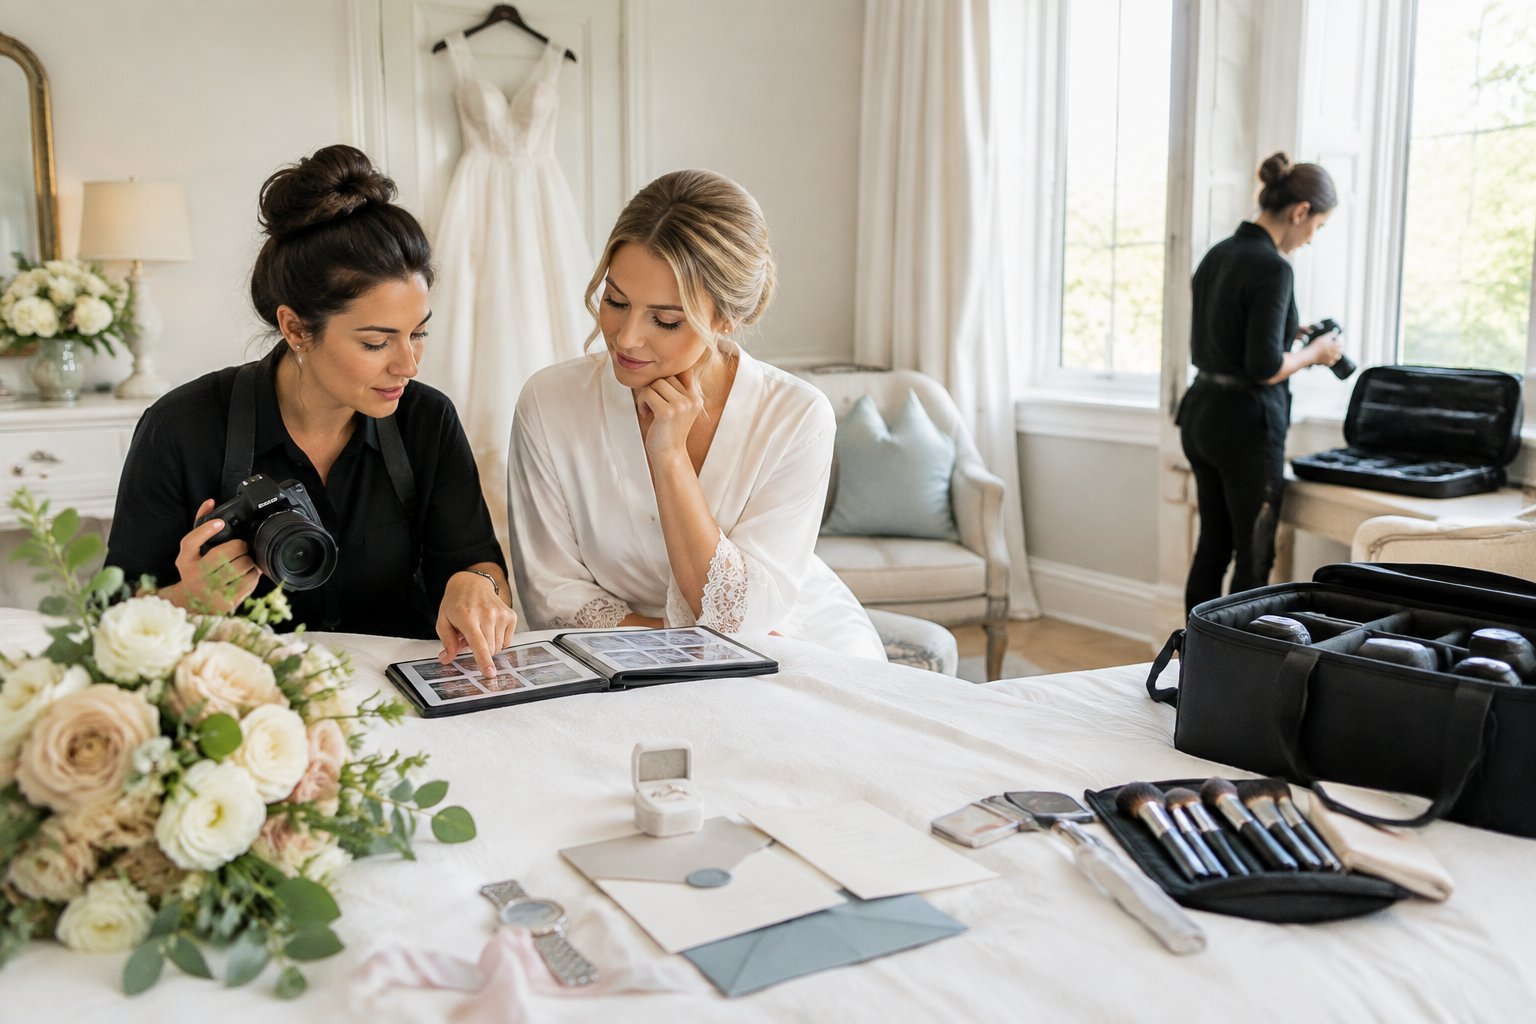
Share the morning schedule with the bridal party, beauty team, photographer, coordinator, and transportation provider. Include meal and water breaks so the wedding party can stay comfortable through the preparation period.
Schedule Getting Ready, Hair, and Makeup
List each appointment with the person’s name, service, start time, and finish time. Place the couple’s final styling early enough to allow dressing, touch-ups, and photos before the processional.
Keep the getting-ready space organized before the photographer arrives. Assign someone to gather shoes, invitations, rings, jewelry, vows, and other items for detail shots.
Build in time for everyone to eat and take a short break.
Allow Time for Detail Shots and Personal Flowers
Give your photographer access to rings, stationery, accessories, attire, shoes, and personal flowers before people leave for portraits. Ask the florist when bouquets, boutonnières, corsages, and other flowers will arrive.
Place a trusted person in charge of distributing personal flowers. Add a checkpoint for pinning boutonnières and confirming that bouquets match the processional order.
Fit in a First Look, Couple Portraits, and Family Portraits
A first look can place couple portraits before the ceremony and open more time during cocktail hour. If you choose one, schedule it after both of you are dressed and leave space for a private moment before formal portraits.
Group portraits need a specific list and a person who can gather relatives. Give your photographer the family portrait combinations in advance, then schedule bridal party portraits and couple portraits around the ceremony start.
Keep the wedding party nearby when its next photo group is due.
Map the Reception Flow From Cocktail Hour to Exit
Build the wedding reception itinerary around guest movement, meal service, formal moments, and open dancing. Give the DJ, emcee, caterer, photographer, venue team, and wedding planner the same order of events.
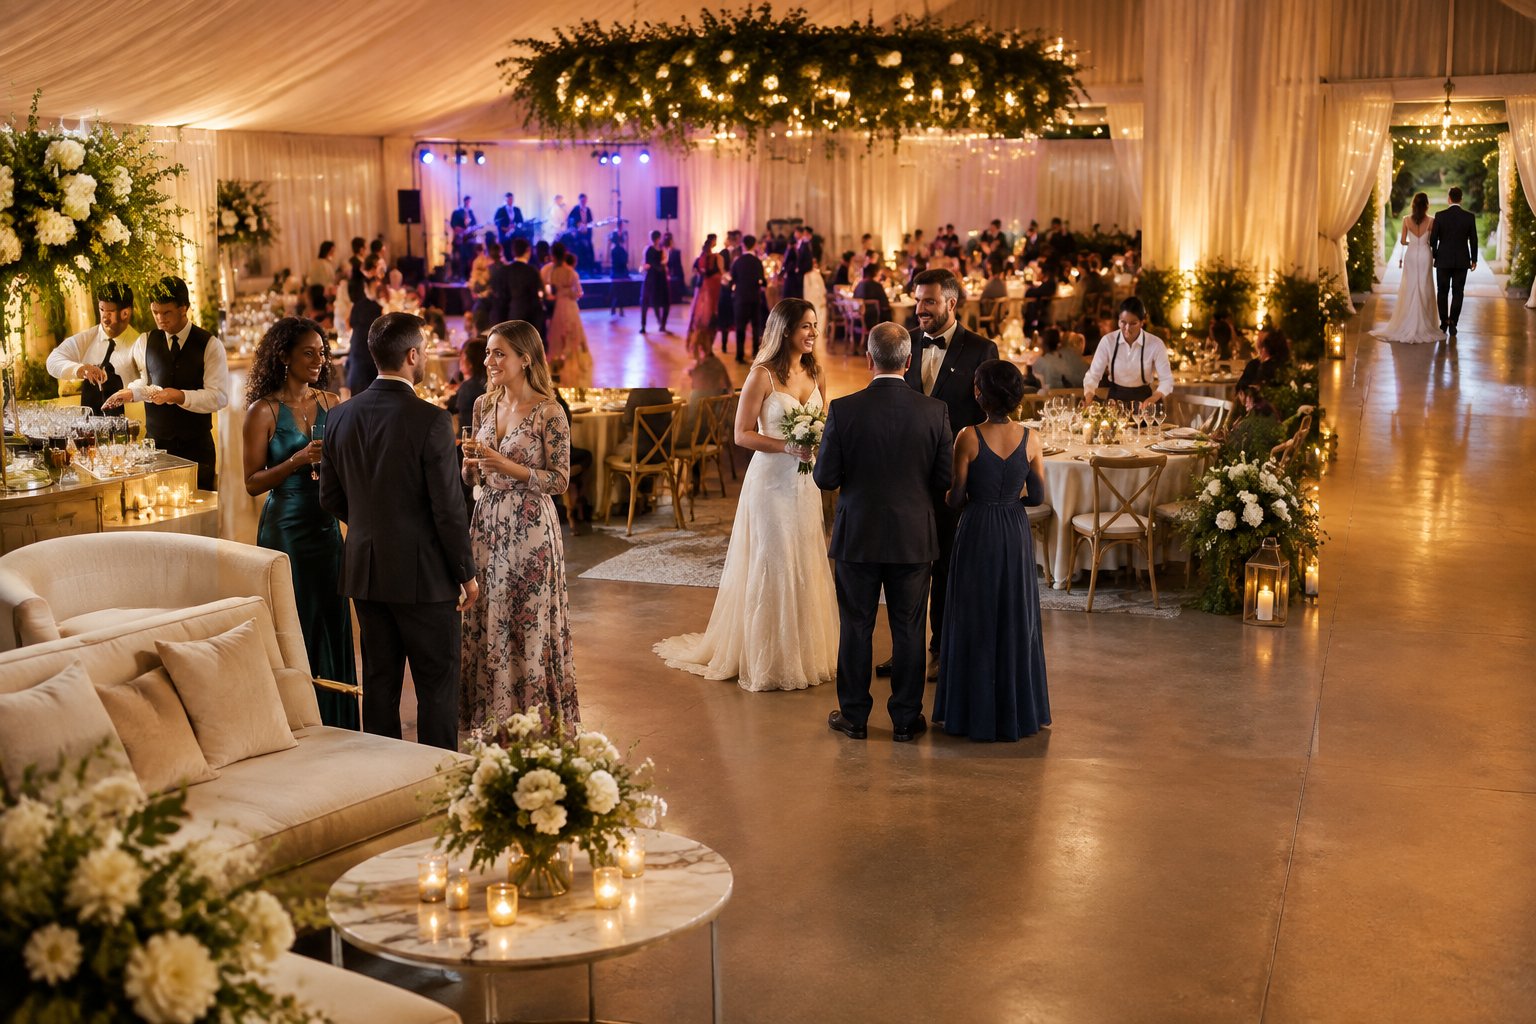
A four-hour reception can feel crowded when every activity is placed back to back. Leave room for guests to find seats, servers to clear plates, and you to enjoy conversations between scheduled moments.
Set the Timing for Cocktail Hour and Grand Entrance
Start cocktail hour after the ceremony or after post-ceremony portraits. Tell guests where to find drinks, appetizers, the guest book, photo booth, restrooms, and reception seating.
Set the grand entrance after the room is ready and guests have moved to their tables. Confirm the entrance order with the DJ and wedding party, then move into the welcome speech or first dance while attention is gathered.
Coordinate Dinner Service, Toasts, and Key Dances
Ask the caterer for the expected service length and place toasts where guests are seated. A common flow includes the welcome, dinner service, speeches, first dance, parent dances, and open dancing, with your menu style guiding the exact order.
Give each speaker a time limit and provide the microphone plan to the DJ or emcee. Tell the photographer when key dances and speeches begin so important reactions are captured.
Choose the Right Time for Cake Cutting, Last Dance, and Grand Exit
Place cake cutting after dinner or during a natural pause in dancing. If you want guests to enjoy dessert, schedule enough time for slicing and service before the dance floor becomes the main activity.
Plan the last dance and grand exit with your venue, transportation team, photographer, and coordinator. Confirm whether guests will line the path, whether cleanup begins before departure, and where you will go after the exit.
Use a Sample Timeline and Customize It
A sample wedding timeline gives you a practical starting point, while your ceremony time, venue layout, photography plan, and meal service determine the final schedule. Use a wedding itinerary template to place the fixed events first, then adjust each activity around your vendors and guests.
Sample Wedding Timeline for a 5 P.M. Ceremony
This sample wedding timeline suits a ceremony at 5 p.m. Adjust the time blocks after confirming your venue and vendor plans.
- 10:00 a.m. Hair and makeup begins
- 12:30 p.m. Photographer arrives for detail shots
- 1:00 p.m. Personal flowers arrive and are distributed
- 1:30 p.m. Couple gets dressed
- 2:00 p.m. First look
- 2:15 p.m. Couple portraits
- 2:45 p.m. Wedding party portraits
- 3:20 p.m. Family portraits
- 4:00 p.m. Travel or final venue preparation
- 4:30 p.m. Wedding party lines up
- 4:45 p.m. Guests are invited to take their seats
- 5:00 p.m. Ceremony begins
- 5:30 p.m. Cocktail hour
- 6:30 p.m. Grand entrance and welcome
- 6:45 p.m. Dinner service
- 7:45 p.m. Toasts and first dance
- 8:15 p.m. Parent dances and open dancing
- 9:15 p.m. Cake cutting
- 10:45 p.m. Last dance
- 10:55 p.m. Grand exit
Adjust the Schedule for Different Ceremony Times
Move the preparation and portrait blocks earlier for a ceremony before 5 p.m. For a later ceremony, keep the same order and move each block forward while checking daylight, venue access, and vendor arrival times.
A ceremony at 4 p.m. may require earlier hair and makeup appointments, while a ceremony at 7 p.m. gives you more evening light for portraits. Use a 4 p.m. wedding day itinerary timeline or 5 p.m. wedding day itinerary timeline as a starting point for those ceremony times.
Add a Wedding Weekend Itinerary When Needed
Create a wedding weekend itinerary when guests attend a rehearsal dinner, welcome event, ceremony, reception, brunch, or planned transportation. Give each event its date, time, address, dress guidance, parking details, and RSVP information.
Place the guest-facing version on your wedding website and send a printable copy to guests who prefer paper. Keep the detailed vendor schedule separate so guests see only the information they need.
Share and Finalize the Itinerary
Share one approved wedding itinerary with vendors and the wedding party, then provide shorter guest details through your wedding website or printed materials. Choose a format that is easy to update and make the final version clear enough to use from a phone or printed page.
Choose Word, Google Docs, or a Printable Template
Google Docs works well when your wedding planner, coordinator, and vendors need to review the same file. Word suits a document you plan to format and save as a PDF, while a printable wedding itinerary template helps people who need a paper copy.
Use headings, bold times, consistent location names, and separate pages for guest, wedding party, and vendor versions. Save a final PDF after edits so the shared schedule does not change by accident.
Who Needs the Full Day-Of Schedule
Send the full schedule to your wedding planner, coordinator, photographer, videographer, caterer, DJ or emcee, florist, venue manager, hair and makeup team, transportation provider, and rental company.
Give the wedding party its call times, portrait duties, processional order, transportation details, and reception responsibilities. Guests need ceremony and reception times, addresses, parking, attire notes, shuttle information, and any planned wedding website updates.
Confirm Final Timing With Your Vendors
Set a final review date about one to two weeks before the wedding. Ask each vendor to confirm arrival time, setup needs, meal timing, contact person, venue access, and departure plan.
Give the photographer the portrait list and special moments, then confirm the DJ’s cue sheet with the reception order. Print copies for the venue and coordinator, save the PDF on your phone, and assign one point person to handle timing questions on the day.