
Day of Wedding Itinerary: A Realistic Planning Guide
Your wedding day itinerary should place the ceremony, travel, portraits, reception, and rest periods into a clear schedule with room for delays. A ceremony-first timeline is the best planning method for couples and wedding parties because it lets you work backward from a fixed start time and protect the moments that need the most coordination.
A practical schedule gives each person the information they need without turning the day into a race. Your vendors need exact locations and setup times, your wedding party needs call times, and your guests need the main event times and travel details.
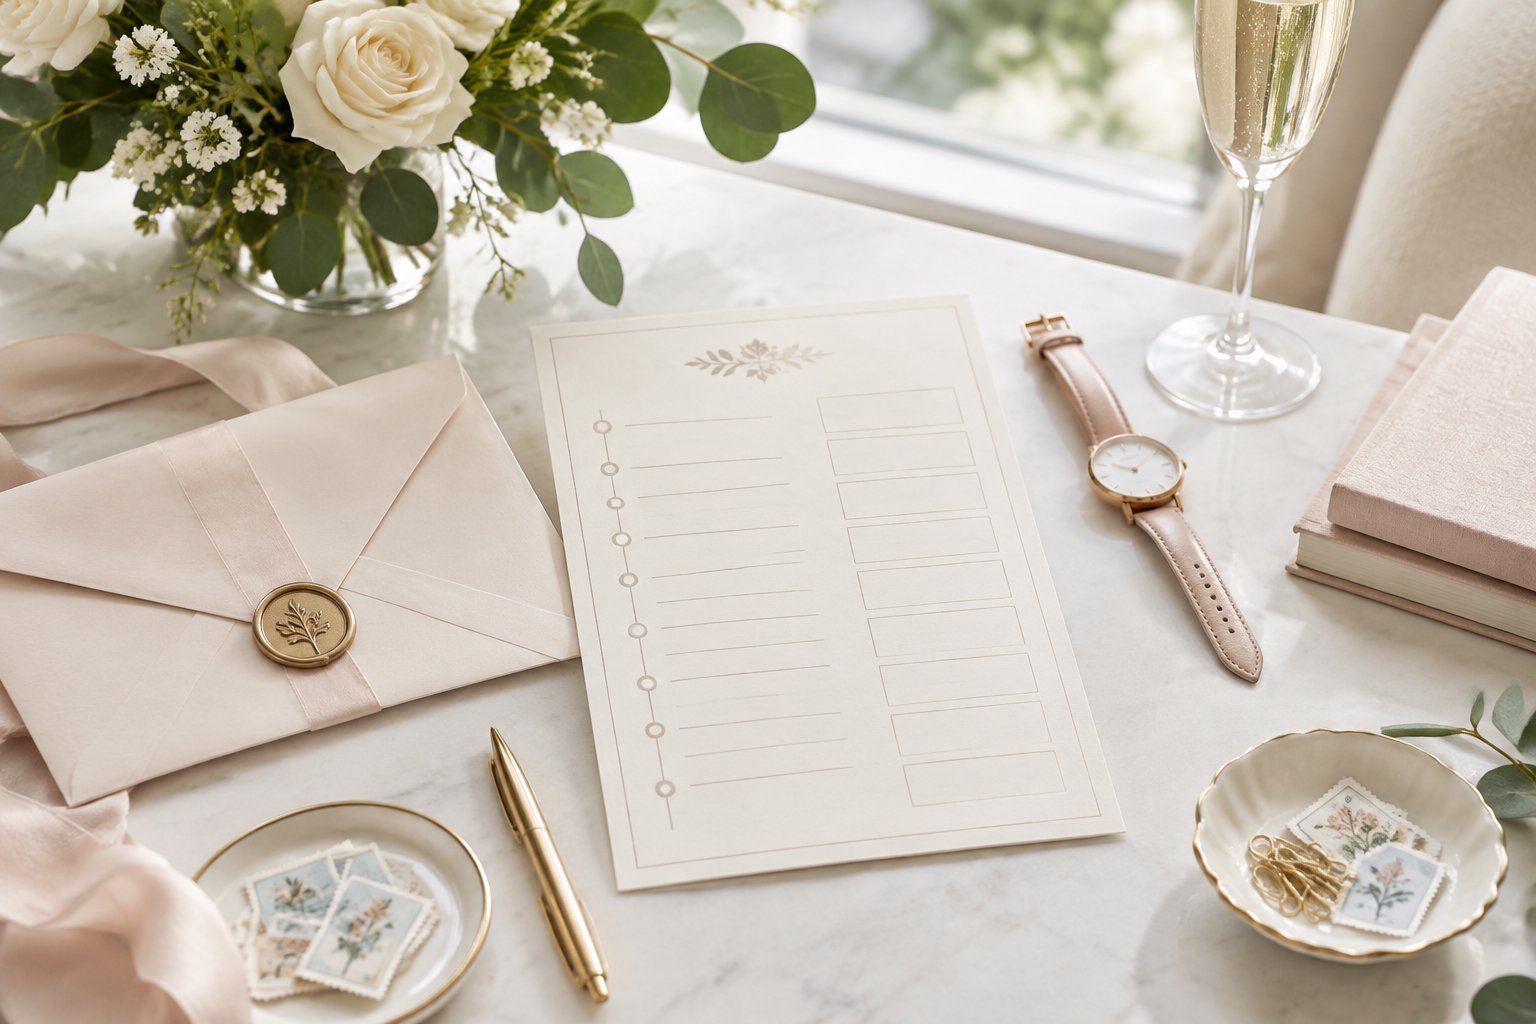
Start with your wedding date, ceremony start time, reception end time, venue rules, and travel time. Then add photography, meals, speeches, dancing, and private pauses around those anchors. When you are ready to turn your plans into a usable wedding schedule, a planner or coordinator can help you confirm the timing with every vendor.
Build the Day Backward From the Ceremony
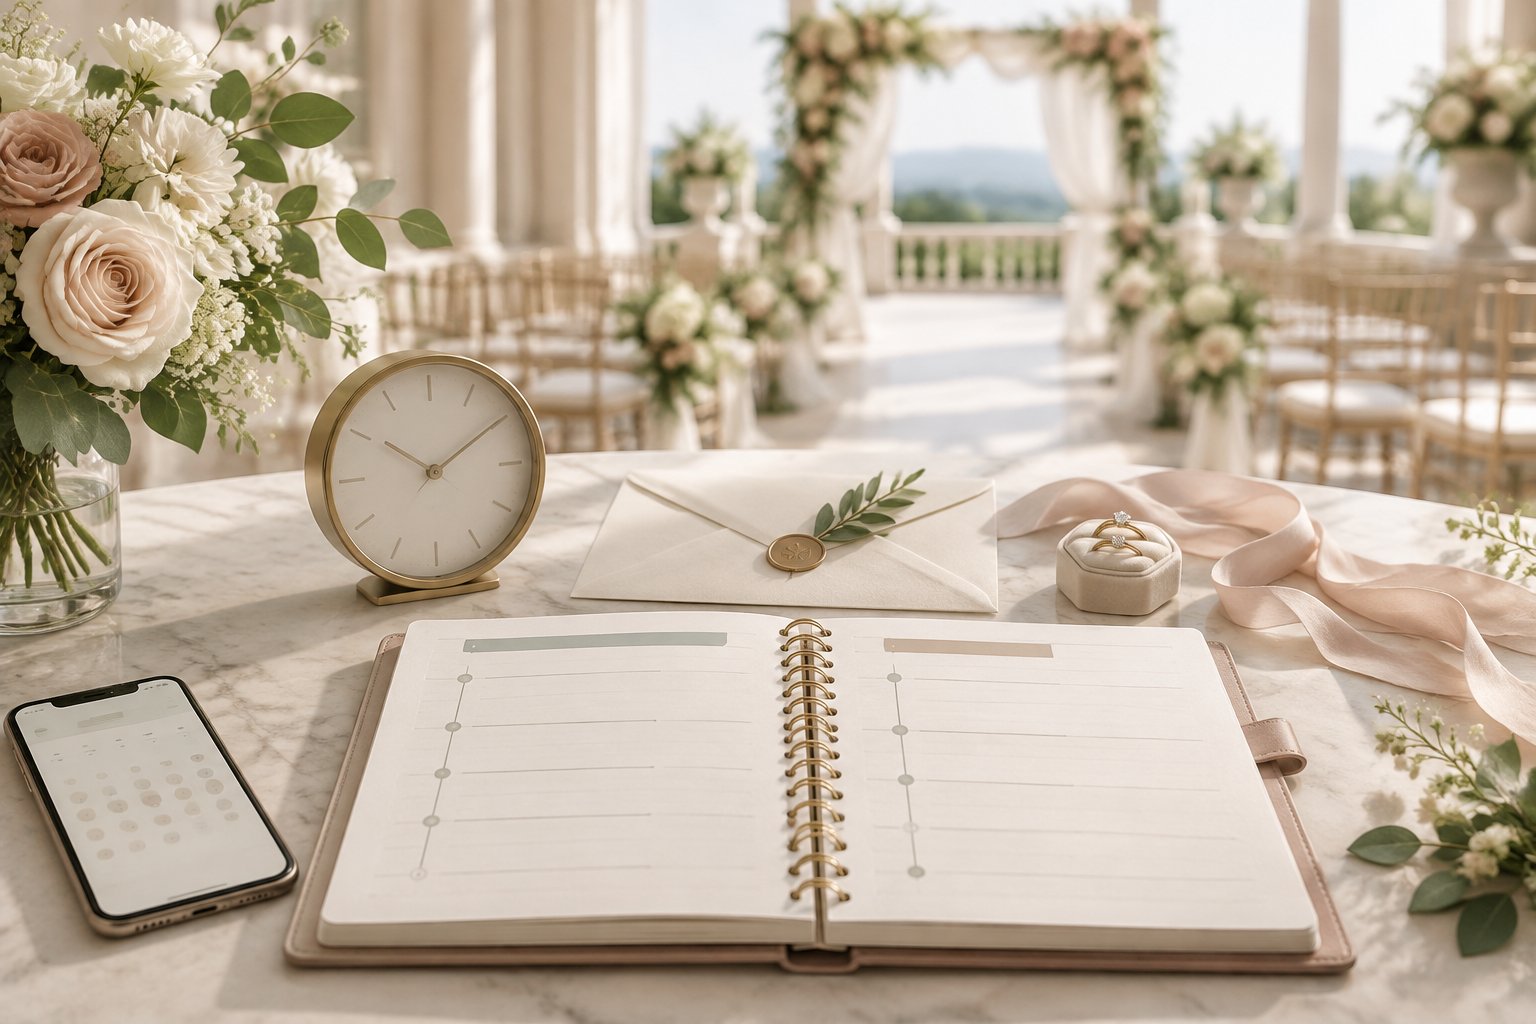
Build your wedding timeline backward from the ceremony start time, then move forward through the reception until the reception end time. This method shows you how early hair and makeup, transportation, portraits, and vendor setup must begin.
Your wedding timeline template should include the event, start time, end time, location, person responsible, and notes for transportation or setup. A useful wedding timeline example gives vendors precise instructions while leaving guests with a shorter version.
Set the Ceremony Start Time and Reception End Time
Lock in the ceremony start time first. Then confirm how long the wedding ceremony, cocktail hour, dinner, speeches, dancing, and exit will last.
A ceremony lasting 20 to 30 minutes creates a different wedding day schedule from a long religious ceremony. A reception that ends at 10 p.m. also requires a different plan from one that continues to midnight.
Write the reception end time into your contract and wedding planning timeline. Use it to place the grand entrance, dinner service, dances, and final send-off.
Account for Venue Changes and Travel Time
List every location change, including the hotel, bridal suite, ceremony site, portrait area, reception room, and transportation pickup point. Add time for loading vehicles, gathering people, parking, walking, and finding the correct room.
Ask your wedding venue about access hours, elevator use, photo restrictions, setup windows, and room flips. If the ceremony and reception use separate sites, confirm the route at the same time of day as your wedding date.
Your wedding planner or wedding coordinator can assign a person to check that the next space is ready before the group moves.
Add Buffers That Protect the Schedule
Add short buffers after high-risk parts of the day, such as hair and makeup, transportation, family portraits, and dinner service. A 10- to 15-minute cushion gives you space to handle a late arrival, a missing boutonnière, or a room that needs extra setup.
Keep buffer time visible on the master schedule. Label it as “transition,” “reset,” or “private pause” so someone does not fill it with another task.
A perfect wedding day timeline leaves room for water, a snack, restroom breaks, and a quiet moment with your partner.
Confirm the Plan With Your Planner and Vendors
Send the draft timeline to your photographer, caterer, florist, DJ or band, officiant, transportation team, venue, and wedding party. Ask each person to confirm their arrival time, setup needs, cue, location, and contact person.
Your planner should combine the replies into one master run sheet. Give vendors the detailed version, then prepare a shorter wedding timeline for the wedding party and a guest-facing schedule for attendees.
For ceremony-specific planning, compare your timing with this how to plan a wedding ceremony checklist.
Plan the Morning and Pre-Ceremony Photos
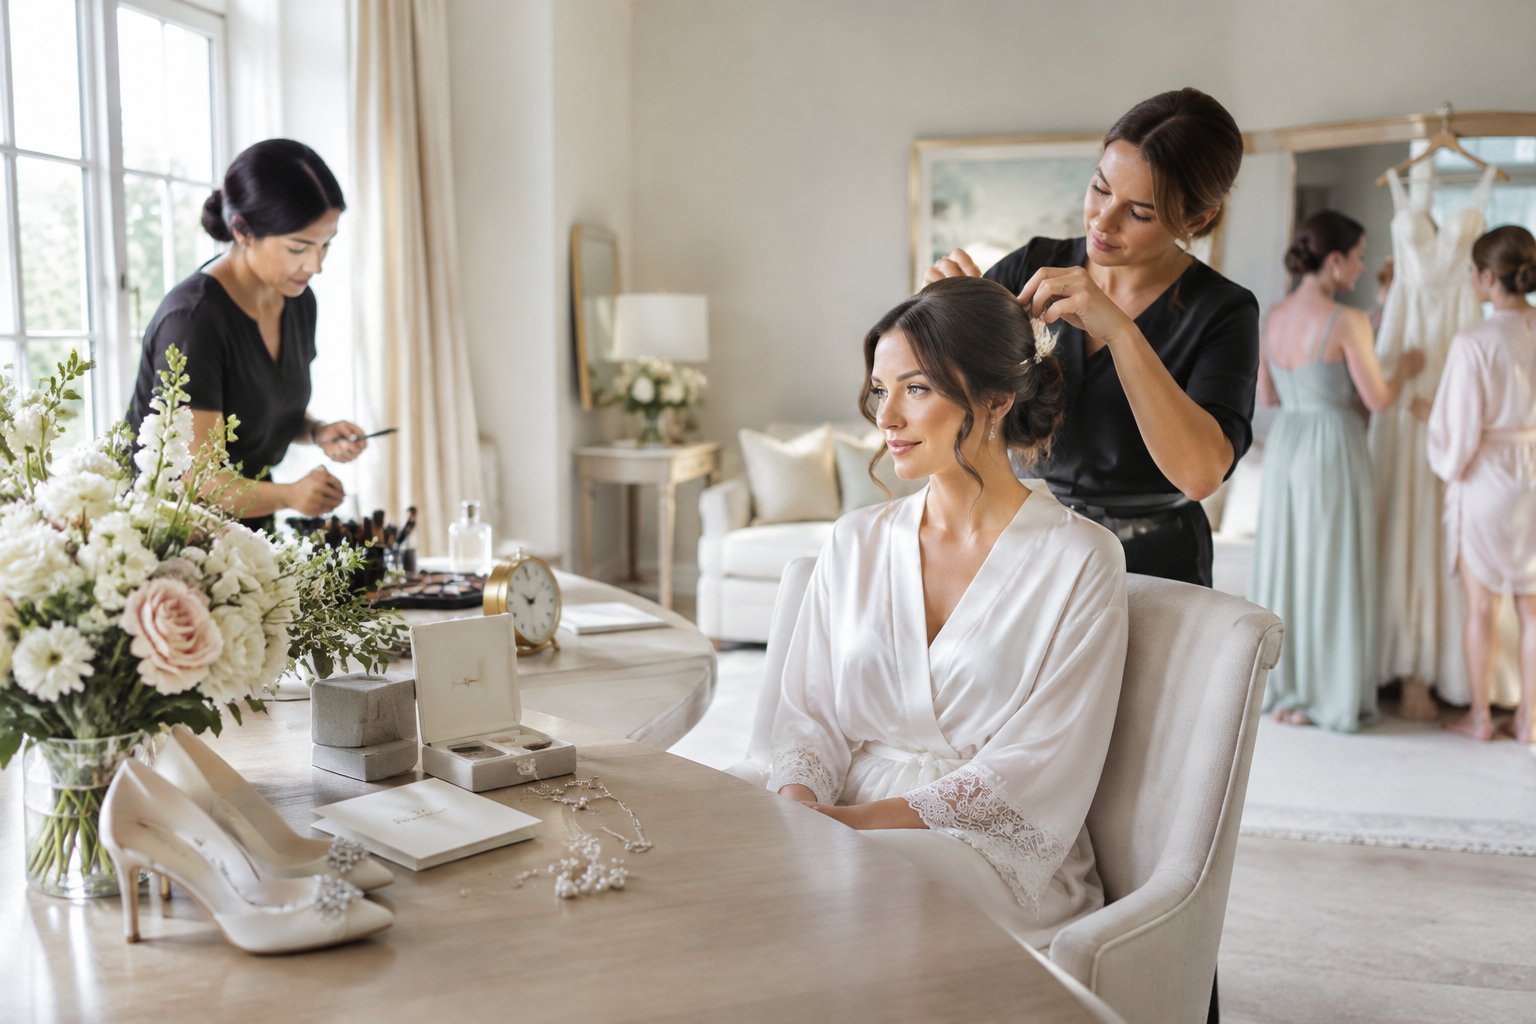
Your morning schedule should begin with the time you must be dressed and ready, then work backward through hair and makeup, breakfast, detail shots, and final touches. Share the call time with every person who needs styling, transportation, or photographs.
When Should Hair and Makeup Begin?
Start hair and makeup early enough to finish the last person before your photographer needs getting-ready photos and before anyone must leave for the ceremony. Your stylist can estimate the service time based on the number of people, desired looks, and available artists.
Build a written list with each person’s appointment time. Include the couple, bridesmaids, maid of honor, mothers, groomsmen, and anyone else receiving services.
Schedule a meal and water delivery before the busiest part of the morning. Keep the bridal suite clear of extra bags and assign one person to answer vendor questions.
Schedule Detail Shots and Getting Ready Photos
Give your wedding photographer access to the bridal suite or preparation room before you put on your wedding attire. Set aside the invitation suite, rings, vow books, shoes, jewelry, perfume, personal flowers, boutonnières, and meaningful keepsakes.
Detail shots work best when these items are together in one box or tray. Your photographer can then capture them quickly before documenting hair, makeup, gift exchanges, robe photos, and candid moments.
Use a wedding day photo checklist to identify family details or personal items you want included.
Allow Time for Attire, Flowers, and Final Touches
Reserve enough time for dressing, fastening buttons, tying ties, steaming fabric, placing veils, pinning boutonnieres, and checking bouquets. Complex wedding attire needs extra help and careful movement.
Keep personal flowers in water until they are needed. Ask the florist or a designated helper to deliver bouquets and boutonnières to the correct rooms, with a list of names.
Plan a final check for phones, vows, rings, emergency supplies, and transportation tickets before the wedding party leaves.
Organize Wedding Party and Family Portraits
Prepare a portrait list with names and combinations, then place the people needed for each group close to the photo location. Ask the maid of honor, best man, or another organized helper to call people in order.
Schedule wedding party portraits and family photos in blocks with a clear start and end time. Tell each group when and where to meet, and ask them to remain nearby until their photographs are complete.
Your photographer should know which images are essential, which are optional, and whether any family needs mobility support or extra time.
Choose a Portrait Plan That Fits Your Priorities

Your portrait plan should match your preferred guest experience, ceremony traditions, travel needs, and photo priorities. A first look moves many portraits before the ceremony, while a no-first-look plan places more photographs after the ceremony and before or during cocktail hour.
How a First Look Changes the Schedule
A first look creates private time for the couple before the wedding ceremony and lets you complete couple portraits, wedding party photos, and some family portraits earlier. After the ceremony, you can join guests more quickly or use the time for a smaller list of remaining photographs.
Schedule the first look in a quiet location with enough space for the reveal and portraits. Tell the wedding photographer and coordinator who must be present and who should stay away.
First look photos also give you a calm transition before guest arrival and the processional.
What Happens When You Skip the First Look?
Skipping the first look keeps the couple apart before the ceremony and shifts couple portraits, wedding party photos, and family portraits to the time afterward. Reserve a generous portrait block so the schedule does not squeeze out your cocktail hour or private break.
Give your photographer a complete family list before the wedding day. Ask the officiant or coordinator to release the couple and family members immediately after the recessional.
If guests will move through the portrait area, choose a separate location for photographs and assign a helper to manage the groups.
Save Time for Golden Hour and Sunset Portraits
Check the sunset time for your wedding date and reserve a short golden hour session during the reception. A 10- to 20-minute break can provide soft outdoor portraits without removing you from the celebration for long.
Tell the DJ, planner, and photographer when you plan to leave the reception. Place sunset portraits after a meal or before open dancing, when a trusted person can keep the reception moving.
Bring comfortable shoes and a wrap if the outdoor location requires walking or cooler temperatures.
Assign a Helper to Gather Family Members
Choose one person who knows both families and can find people quickly. Give that helper the portrait list, location, phone numbers, and a marked copy of the wedding schedule.
Ask guests to stay near the ceremony site until their group is called. Place larger family groups first, then move to smaller combinations so people can return to the celebration sooner.
A helper with clear authority keeps your photographer from spending portrait time searching for relatives.
Coordinate the Ceremony and Guest Experience
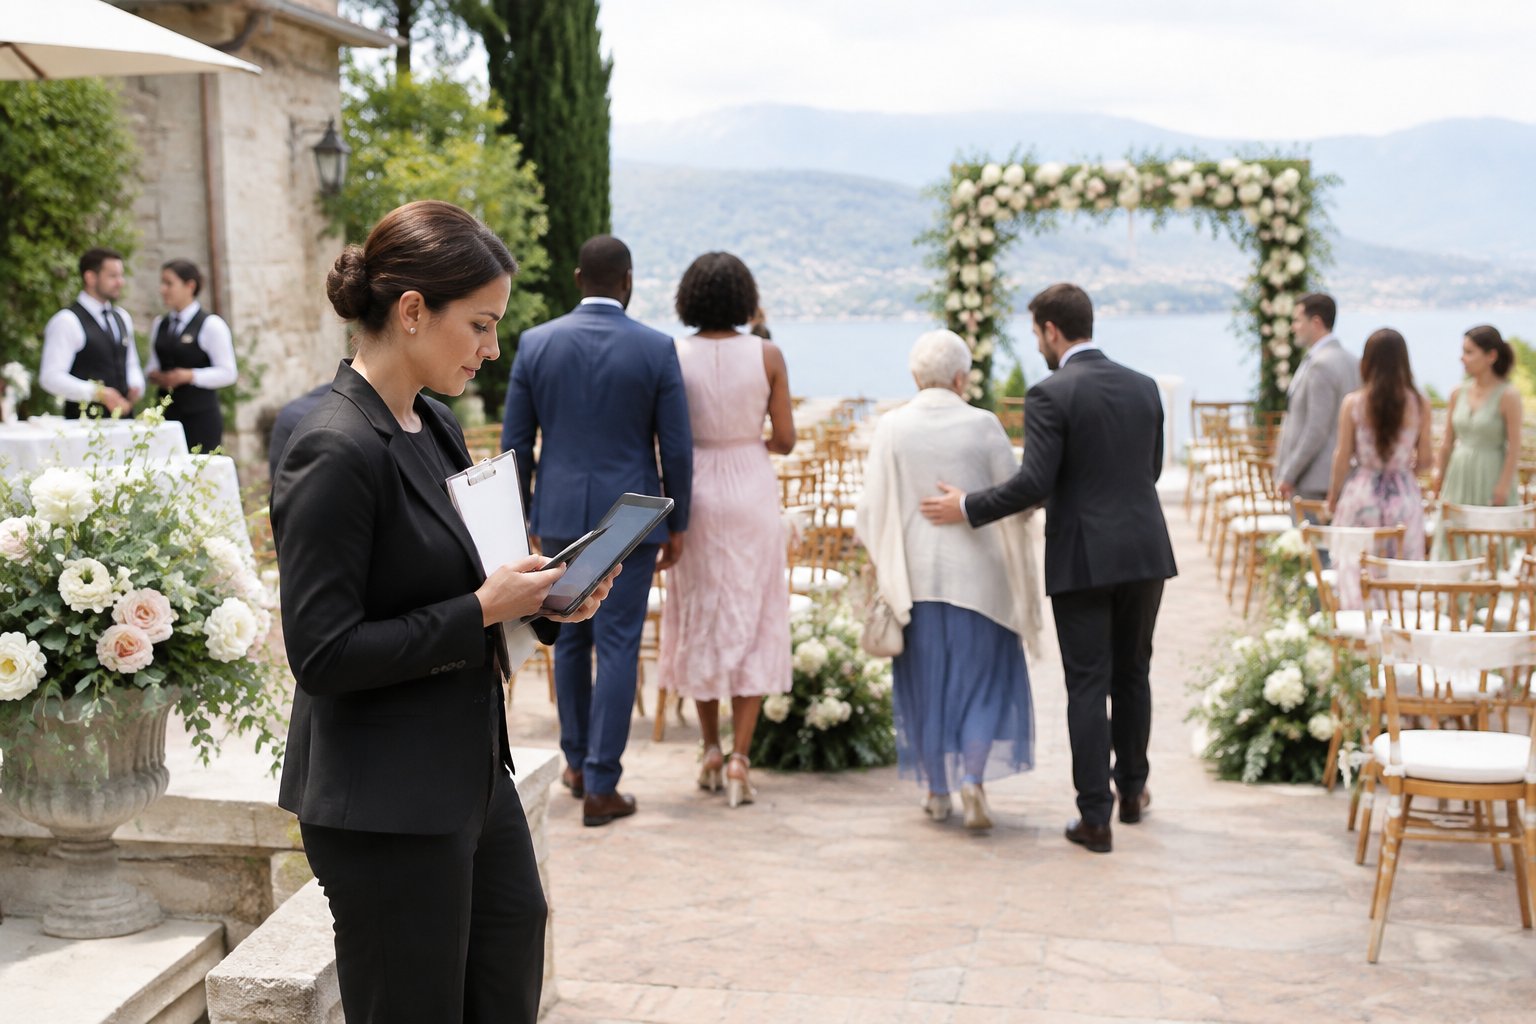
Your ceremony plan should guide guests from arrival through the recessional with clear cues, accessible directions, and enough time for seating. Confirm the guest arrival window, music start, processional order, ceremony length, and transition to the next location.
Set Guest Arrival and Prelude Music
Set guest arrival 30 to 45 minutes before the ceremony start time when the venue, parking, and seating plan support that window. Start prelude music before the first guests enter and keep it running as people take their seats.
Place signs near parking, transportation drop-off, restrooms, guest book, and ceremony entrances. Assign greeters or ushers to answer questions and help guests with mobility needs.
Your wedding invitations and wedding website should share the arrival time, venue address, parking details, dress code, and any shuttle instructions.
Map the Processional Through the Recessional
Write the processional in exact order, including the officiant, parents, grandparents, wedding party, ring bearer, flower person, and couple. Confirm where each person waits and who gives the cue to begin.
Include music selections, microphone checks, readings, vows, unity rituals, signing procedures, and the recessional. The ceremony coordinator should keep the next person ready while the current person walks.
After the recessional, direct guests to the cocktail hour, guest book, transportation, or a waiting area. A printed wedding itinerary template helps the coordinator track each handoff.
Adjust Timing for a Religious Ceremony
Ask your officiant about required readings, prayers, rituals, music, receiving lines, and rehearsal needs. Religious ceremony customs can add time before or after the vows, so include each part in the master wedding day itinerary.
Confirm rules about photography, videography, music, decor, attire, and guest movement with the house of worship or religious leader. Share those rules with every vendor before the wedding date.
If the ceremony and reception are in separate locations, add a guest travel plan and a clear departure cue.
Share Only the Useful Schedule With Guests
Give guests the ceremony start time, arrival time, venue address, parking or shuttle details, cocktail hour start, reception start, meal notes, and exit information. A guest-facing schedule should fit on a card, wedding website page, or mobile message.
Keep private call times, vendor contacts, setup instructions, portrait lists, and emergency notes in the coordinator’s master file. Guests need confidence about where to go and when to arrive.
Update your wedding website when transportation, venue access, or event timing changes.
Sequence the Reception for Energy and Service
Your wedding reception itinerary should place the grand entrance, meal service, speeches, dances, cake cutting, and open dance floor where guests can follow the flow without long pauses. Coordinate every cue with the DJ or band, caterer, photographer, venue, and wedding party.
Move From Cocktail Hour to the Grand Entrance
Use cocktail hour to welcome guests, serve drinks and food, complete remaining portraits, and prepare the reception room. Give the DJ or band a clear cue for the final five minutes and tell guests when seating begins.
Plan the grand entrance after guests are seated and the wedding party is ready. Confirm the introduction order, pronunciation, music, and whether the couple goes directly into the first dance.
If dinner is plated, the catering team should know when introductions end so service begins without a long gap.
Time Welcome Toasts, Dinner, and Speeches
Place a brief welcome speech near the start of the reception, then coordinate toasts around dinner service. Your caterer can advise when guests need uninterrupted time to eat and when servers will clear plates.
Ask each speaker for an estimated length and set a speaking order. Give the DJ a list of names and pronunciation notes, while the coordinator signals when each person should approach the microphone.
A reception timeline with several long speeches can delay dinner and dancing. Keep the microphone handoff organized and place a meal in front of speakers before their turn when possible.
Place Dances and Cake Cutting at the Right Moment
Schedule the first dance and parent dances after the meal, before opening the dance floor, or in short breaks between courses. Confirm whether you want a mother-son dance, father-daughter dance, or another family dance.
Cake cutting works well after dinner or once the dance floor has opened. Tell the baker, caterer, photographer, and DJ when the cake moment begins, especially if the cake will be served as dessert.
Bouquet toss and garter toss remain optional. If you include them, place them after guests have had time to dance and explain the activity through the DJ.
Keep the Dance Floor Going Until the Exit
Open the dance floor with a song that welcomes a broad group of guests, then mix music styles and energy levels throughout the night. Plan a late-night snack if guests will continue dancing after dinner.
Take a short private break before the last dance so you can reset, hydrate, and prepare for the exit. Confirm the last song, transportation, guest departure route, lighting, and safety plan.
A photo booth can remain available during dancing, while the coordinator keeps the grand exit on schedule and confirms that the couple has collected personal items.
Create Clear Versions for Every Person Involved
Create one master wedding itinerary for coordination, one vendor and wedding party run sheet, one guest-facing schedule, and one wedding weekend itinerary when your celebration includes more than one event. Each version should show only the details its readers need.
Make a Vendor and Wedding Party Run Sheet
The vendor and wedding party version should include exact times, locations, contact names, setup duties, transportation, cues, meal times, portrait groups, and contingency notes. Add phone numbers for the coordinator, venue lead, photographer, caterer, transportation contact, and entertainment lead.
Give the wedding party their call time, attire instructions, bouquet or boutonnière assignment, processional order, portrait location, and reception responsibilities. Include the rehearsal dinner details if the group needs to travel from that event.
Your planner can distribute the final file digitally and print copies for key people.
Create a Simple Guest-Facing Schedule
A guest schedule should include arrival, ceremony, cocktail hour, reception, meal, dancing, transportation, and exit details. Share it through your wedding invitations, wedding website, welcome sign, or printed program.
Use plain language and local time. Include the full venue address, parking instructions, shuttle departure times, and accessibility details.
You can use a sample wedding timeline as a starting point, then remove private information and vendor tasks before sharing it.
Add Events for a Full Wedding Weekend
A wedding weekend itinerary should include the welcome event, rehearsal, rehearsal dinner, ceremony, reception, farewell gathering, transportation windows, and hosted meals. Add addresses, dress codes, RSVP instructions, and who pays for each optional activity.
Give guests enough time between events for rest, travel, changing clothes, and meals. Mark events as required, hosted, or optional so people can plan their own weekend.
For a destination celebration, keep travel time visible and add local contact information to the guest version. A destination wedding checklist can help you organize travel-related details.
Finalize and Reconfirm the Details
Finalize the wedding schedule about two weeks before the date, then reconfirm it with every vendor and key participant. Check the forecast, transportation, venue access, guest count, meal service, photo locations, music cues, and reception end time.
Save the master copy in a shared digital folder and print a backup. Send the wedding party their personal call times, while your coordinator keeps the complete run sheet.
If you use The Knot or another planning platform, make sure the version shared with guests matches the schedule your vendors received. The day-of plan should show exact times, locations, owners, and contact details for every moving part.