
Hen Party Destinations Logo Ideas and Design Tips
A strong hen party destinations logo gives your group one visual identity for the trip, from the first invitation to the final photo. For most groups, an editable Canva-style template is the best starting point because you can adjust the destination, colors, names, and wording quickly without design experience. A custom designer suits you when you want a one-of-a-kind mark, detailed artwork, or files prepared for professional printing.

Start with the bride’s personality, your destination, and the kind of fun you have planned. A beach bachelorette calls for a different mood from a countryside hen party, while a shared monogram can connect either theme to the bride.
Keep the wording short enough to read on a phone screen and a tote bag. A destination name, wedding year, nickname, or playful phrase gives the logo a personal anchor. Once you have a direction, you can use the ideas below to shape a polished look that works across the whole party.
What Makes a Destination-Inspired Logo Work?
A destination-inspired logo works when it combines one clear location cue, a readable name, and a mood that fits the girl group. Your design should stay recognizable on small stickers, digital invites, embroidered clothing, and large welcome signs.
Match the Place Without Using a Postcard Cliché
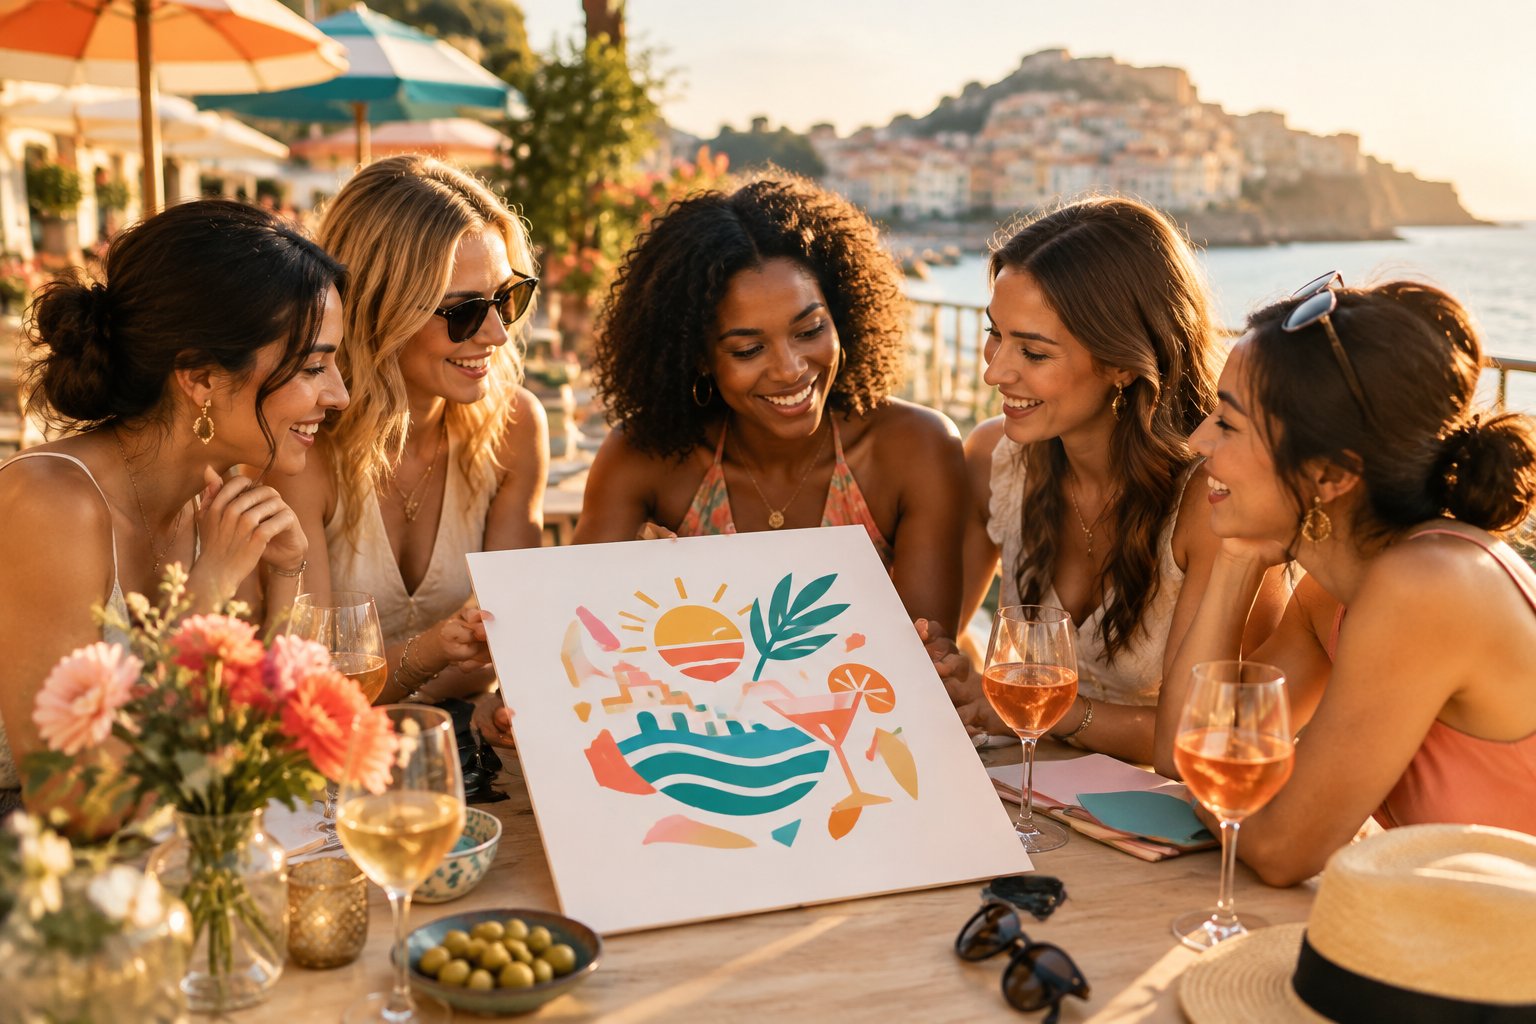
Choose one detail that points to the destination. A curved coastline, tiled roof, palm leaf, historic arch, local flower, or mountain outline gives the logo a sense of place. A simplified detail feels cleaner than filling the design with planes, globes, maps, cocktails, and landmarks at once.
Look for a local visual reference you can reduce to a simple line or shape. A Lisbon-inspired mark might use a tile pattern, while a Nashville design could use a small guitar pick shape or a bold music-hall sign style. Keep the reference respectful and easy to recognize.
Add the destination name only when it improves clarity. If the location is already clear from the trip name, use the open space for the bride’s initials or a short phrase.
Choose a Style That Fits the Bride and Group
Let the bride’s taste guide the design before you choose fonts or icons. A relaxed coastal party might suit soft colors and loose lettering, while a luxury city weekend could use a sharp serif, a dark background, and a small metallic accent.
Pick one main style and repeat it across your assets:
-
Playful: rounded type, bright color, simple illustrated icons
-
Modern: clean sans-serif lettering, strong spacing, geometric shapes
-
Romantic: elegant script paired with a clear supporting font
-
Vintage: badge layouts, warm neutrals, and hand-drawn details
Keep the main wording readable at a small size. Decorative script works well for one short name or phrase, while a clean secondary font handles dates and destination details.
Destination Logo Concepts for Popular Trip Styles
The best logo concepts connect the party’s visual mood with one memorable detail from the trip. Start with the setting, then choose colors, type, and symbols that support the activities your group will enjoy.

Coastal and Beach Getaway Designs
Use a relaxed palette of ocean blue, coral, sandy beige, or sunny yellow for a seaside bachelorette. A curved wave, shell outline, sun disk, or abstract horizon gives you a clear coastal reference.
Try a circular badge with the destination across the top and the bride’s name in the center. A small date along the bottom makes the mark useful for keepsakes. For a more modern look, place the name beside a single flowing line that suggests both a wave and a travel route.
City-Break and Nightlife Motifs
City designs work well with bold type and one recognizable architectural detail. Choose a skyline outline, street sign shape, local transit symbol, or simplified building profile. A cocktail glass, disco star, or spark can add party energy when the group plans dinners and nightlife.
Use two strong colors with a neutral background. Deep green with cream feels polished, while black with hot pink or electric blue creates a lively night-out mood. Keep the skyline low and simple so the bride’s name stays easy to read.
Countryside, Spa, and Wine-Tasting Themes
Soft green, clay, lavender, cream, and burgundy suit a countryside or wellness-focused trip. A botanical sprig, rolling hill, vineyard row, or arched window can express the setting without making the logo feel busy.
For a spa party, use generous spacing and calm lettering. For wine tasting, a small grape leaf or bottle silhouette works well beside a monogram. A shared emblem lets you use the same design on robes, welcome bags, menus, and reusable glasses.
European Weekend Away Visual Ideas
Give a European weekend logo a travel-club feel with a compact badge, destination initials, and a small local reference. A tiled border, café chair, flower, church dome, or regional pattern adds character while keeping the design flexible.
You can pair the city name with a phrase such as “Bride’s Weekend,” “The Final Fiesta,” or the wedding year. A passport-inspired layout suits a trip with several stops, while a single landmark line works well for one-city travel. Check that every word remains readable when the mark is reduced for a group chat icon.
How to Build a Hen Party Logo
Build your hen logo around a short name, a limited palette, and artwork that remains clear at every size. You can create a first draft with a template editor, then ask developers or designers to refine the files when you need advanced artwork or production support.
Pick a Color Palette and Type Pairing
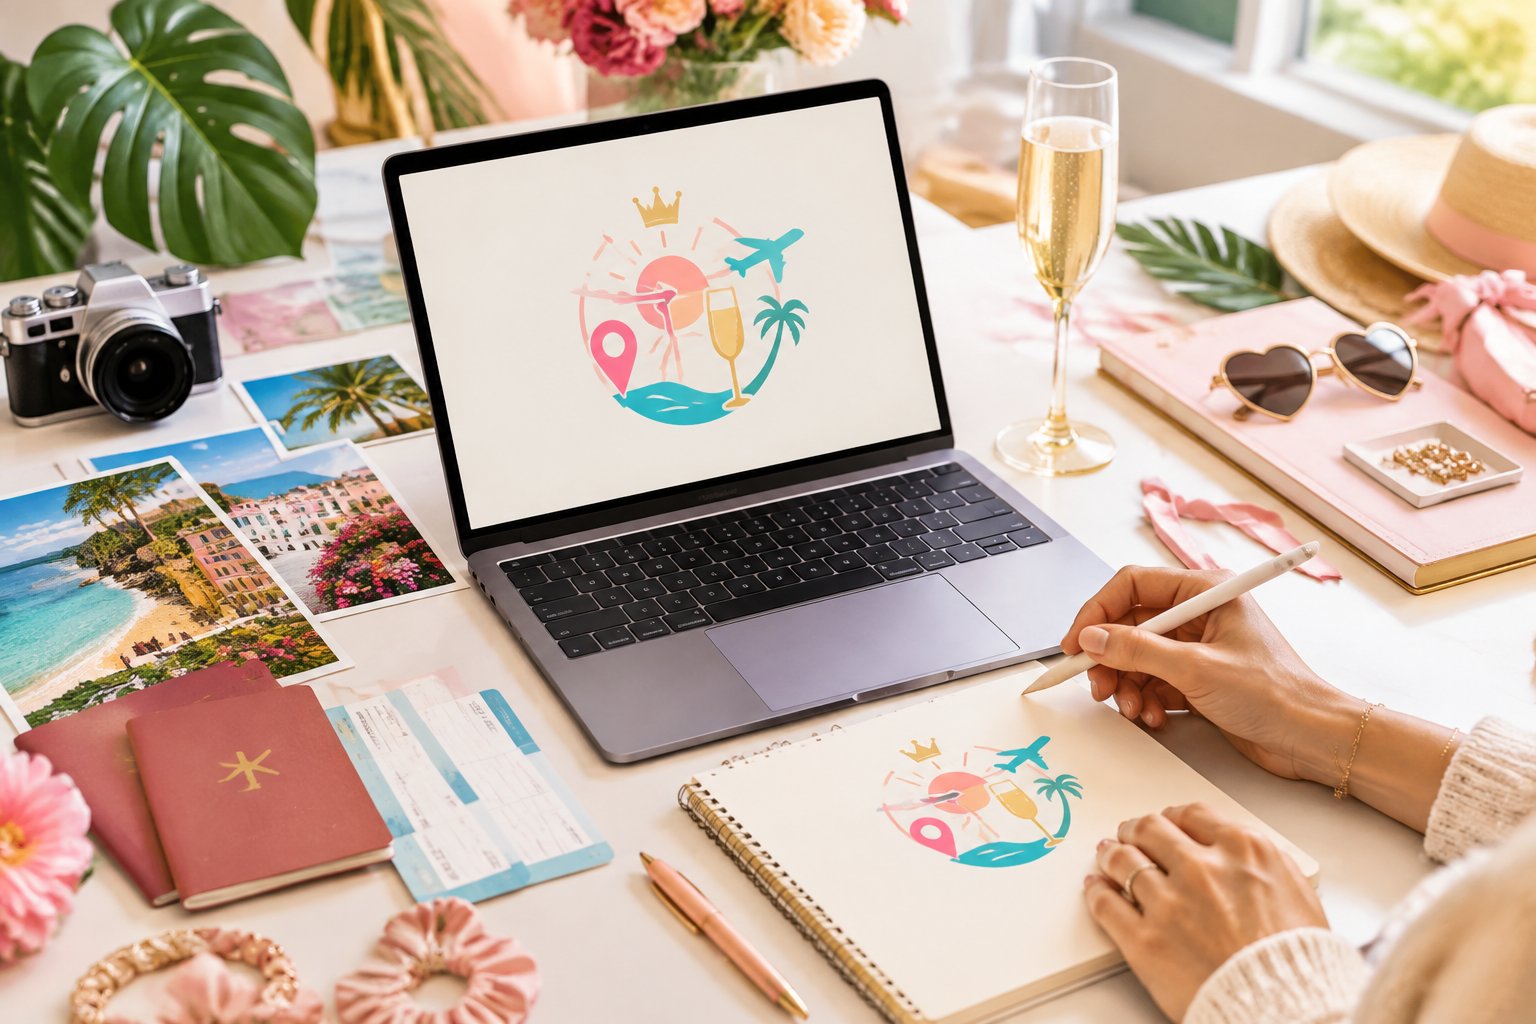
Choose two main colors and one optional accent. A neutral base helps the logo work on light and dark materials, while one bright color gives the party energy.
Build the type pairing around a clear role for each font:
-
Use a display font for the bride’s name or party phrase.
-
Use a clean sans-serif for the destination, date, or supporting line.
-
Keep decorative lettering to short words.
-
Adjust spacing until the name has room to breathe.
Test the palette on a white background, a dark background, and a photo. If the text disappears in any version, add a solid shape behind it or prepare a reversed logo.
Use Icons, Illustrations, and Monograms
Choose one main icon and let the lettering carry the rest. A small local landmark paired with the bride’s initials feels personal and stays easier to reproduce than a full scene.
A monogram gives you a compact secondary mark for profile images, stickers, napkins, and embroidery. You can place the initials inside a circle, overlap them in a custom ligature, or combine them with a simple route line.
Save the icon and wordmark as separate elements when possible. That setup gives you a full logo for invitations and a symbol-only version for small surfaces.
Create a Design That Still Works in One Color
Design the one-color version before adding gradients, shadows, or metallic effects. A clear silhouette and strong letter spacing will reproduce well on stamps, vinyl, embroidery, and single-ink printing.
Check the logo at several sizes. Remove tiny details that merge together, increase thin strokes, and keep enclosed spaces open. Prepare a dark version, a light reversed version, and a transparent version for use over photos.
Ask your printer about the smallest text size and line weight they can reproduce on the chosen material. Their limits affect whether your detailed illustration works on fabric, paper, or drinkware.
Where to Find Templates, Illustrations, and Custom Designs
Templates suit small projects with a short deadline, stock vectors help you build a flexible design system, and custom work gives you tailored artwork with production-ready files. Your choice should match the amount of personalization and control you need.
Buying Editable Designs on Etsy
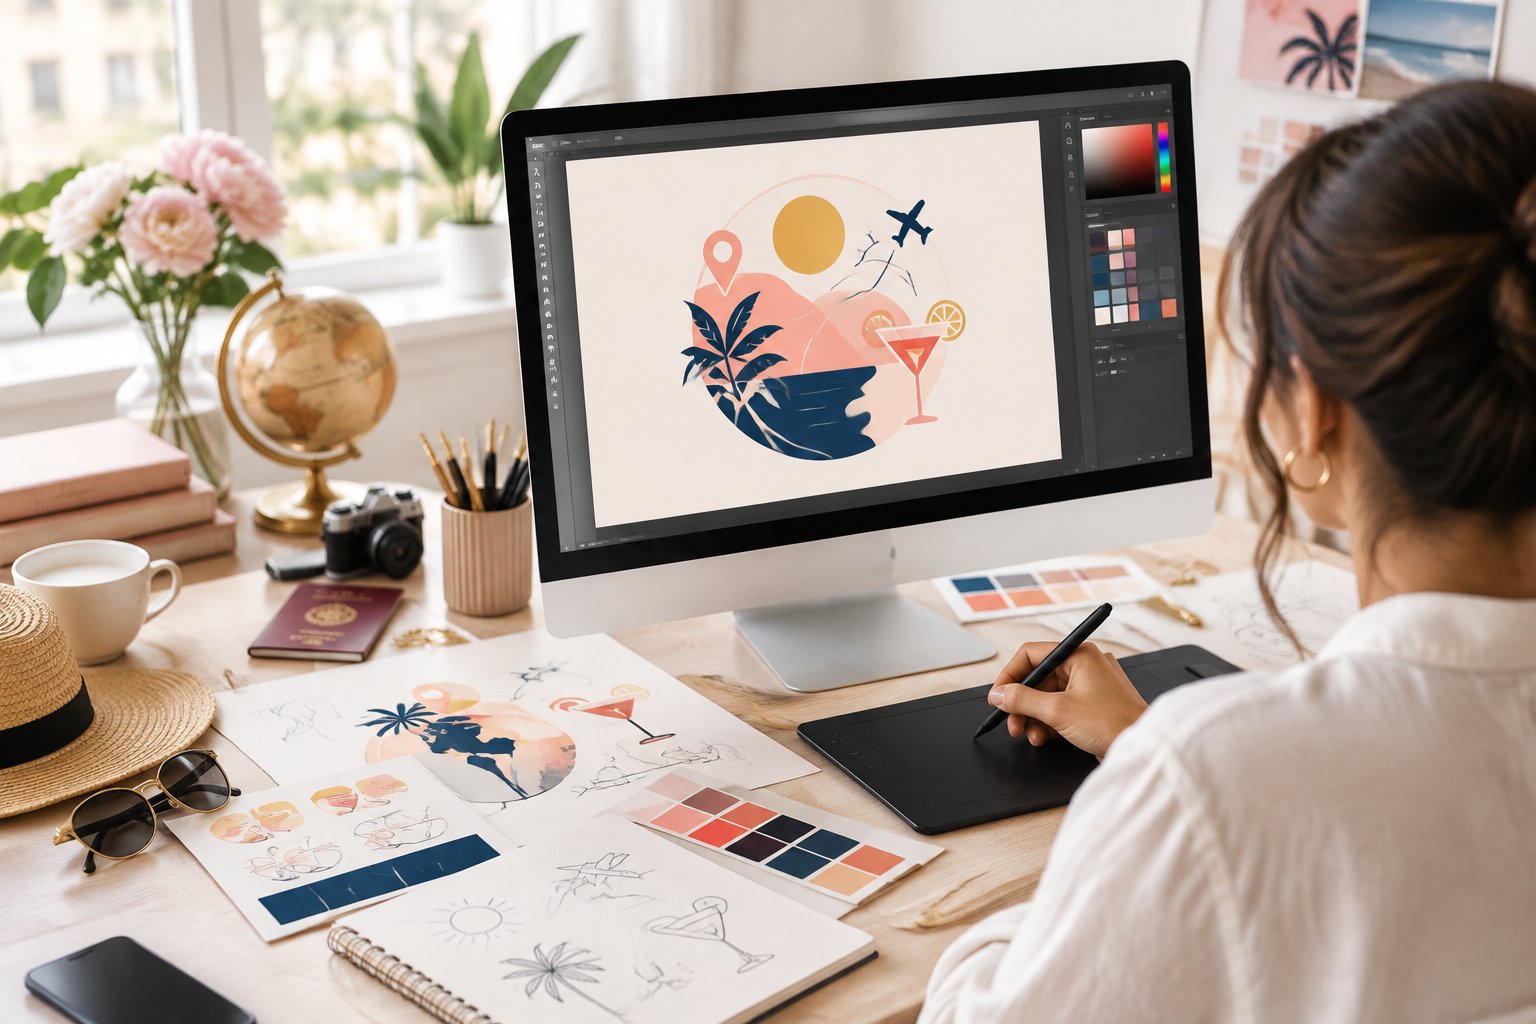
Etsy offers many editable hen party designs, including destination badges, bride tribe marks, monograms, and shirt graphics. Search with the destination, preferred style, and file type you need, such as “Miami bachelorette SVG” or “wine country hen party template.”
Read the listing details before buying. Check which text fields you can change, whether the design uses a paid font, what files are included, and whether commercial use is allowed. Confirm the editing platform and delivery time, especially if you need printed items soon.
Keep a copy of the original file before making changes. Save your personalized version with the event name and date so you can find it quickly when sending it to suppliers.
Using Stock Vectors and Understanding Licenses
Stock vectors give you individual icons and illustrations that you can combine with your own wording. Review the license for clothing, merchandise, paid advertising, social posts, and items sold to guests. A personal-use license may not cover every use connected to a paid event service or business promotion.
Check whether attribution is required and whether you receive an editable vector file. SVG, EPS, or AI files provide more control than a flat image. Avoid mixing artwork with different visual styles, since line thickness and shading can make the finished logo look uneven.
Keep license records with your project files. Save the asset name, purchase receipt, and permitted uses before sending the design to a printer.
When a Custom Designer Is Worth the Cost
A custom designer makes sense when you need original lettering, a detailed destination illustration, several coordinated versions, or a quick professional handoff. Ask for a written scope that covers sketches, revisions, final formats, usage rights, and delivery dates.
Share a short creative brief with the bride’s style, destination, color ideas, wording, products, and print deadlines. Include examples of designs you like, then explain the specific qualities you want to borrow, such as clean lettering or a vintage badge shape.
Request vector artwork plus transparent PNG files. Confirm that you receive the rights needed for personal merchandise, digital sharing, and future keepsakes.
How to Use the Logo Across the Celebration
Use the logo as a small design system across digital details, wearable items, décor, and guest favors. Keep the main version consistent while allowing simplified marks for small products.
Invitations, Digital Itineraries, and Group Chats
Place the full logo on the invitation, then use the monogram or icon for the group chat image. Add the destination, dates, RSVP details, and key travel notes in a readable supporting font.
Use the same color palette in your itinerary, welcome message, and schedule. A small logo in the header gives every page a shared identity without taking space from essential information.
For digital files, export a transparent PNG and a square version. Check the design on a phone before sending it to the whole party.
T-Shirts, Tote Bags, and Party Decorations
Use a bold, simplified logo for shirts and totes. Large lettering across the chest or upper center of a tote reads well in photos, while a small monogram works on a sleeve, pocket, or bag corner.
For decorations, repeat the logo on welcome signs, cups, napkins, flags, menus, and drink tags. Choose fewer printed items when the budget is tight, then prioritize pieces guests will use throughout the weekend.
Ask suppliers for a proof before production. Review the logo size, placement, ink colors, and fabric contrast at the same time.
Welcome Bags, Place Cards, and Photo Backdrops
A welcome bag creates a clear arrival moment when it carries the logo alongside a short note or itinerary. Add the mark to travel pouches, fans, room-drop cards, or reusable bottles.
Use the monogram on place cards and small tags so the text remains uncluttered. A larger backdrop can carry the full logo, destination, and event phrase, with enough blank space for group photos.
Keep the backdrop wording short. A clean layout leaves room for people to stand in front of it without hiding the main design.
Exporting and Sharing Files With Suppliers
Prepare a labeled file package before you contact printers, embroiderers, venues, or merchandise suppliers. An organized folder reduces questions and helps every vendor use the correct version.
Which Logo File Types Do You Need?
Request vector and raster files for different production needs:
-
SVG: flexible for websites, cutting machines, and scalable digital use
-
PDF: useful for print layouts and vendor review
-
PNG: transparent background for digital use and mockups
-
JPG: solid-background previews and quick sharing
-
EPS or AI: editable vector artwork when a supplier requests it
Include a full-color logo, one-color logo, reversed logo, icon-only mark, and versions with transparent backgrounds. Name files clearly, such as bride-weekend-full-color.svg or destination-monogram-white.png.
A high-resolution PNG suits many small digital uses, while vector files preserve sharp edges at large sizes.
How to Give Printers and Vendors a Clear Brief
Send the logo files with the product type, finished size, material, quantity, colors, placement, and deadline. State whether the logo should be printed, embroidered, engraved, cut, or used as a digital graphic.
Tell the supplier which version to use and provide a reference preview. Ask about their preferred format, color settings, bleed requirements, and minimum line weight before production begins.
If several vendors are involved, send the same brand sheet to each one. Include color values, font names, clear-space guidance, and a note that the artwork must keep its proportions.
Keeping a Reusable Set of Design Assets
Store the master files in one shared folder with separate folders for vectors, PNGs, print, digital, and licenses. Keep the editable source file untouched and create working copies for each product.
Add a one-page brand sheet with the approved colors, fonts, logo versions, minimum size, and contact details for the person managing the artwork. This gives vendors a quick reference and helps you reuse the design for future wedding events.
A shared folder or transfer service works well for large files. If you use an API-based workflow with access to 10,000 integrations, label every asset and set clear permissions before sharing it with suppliers or larger corporations. For a one-off celebration, a clearly named ZIP file and a secure download link provide a practical handoff.