
Honeymoon Quilt Block: Sizes, Pieces, and Assembly
The honeymoon quilt block is a star design pieced from half-square triangles, hourglass units, and squares. For a 12-inch finished block, you’ll cut units that fit a nine-patch layout, sew with a ¼-inch seam allowance, and trim the triangle units for accuracy.
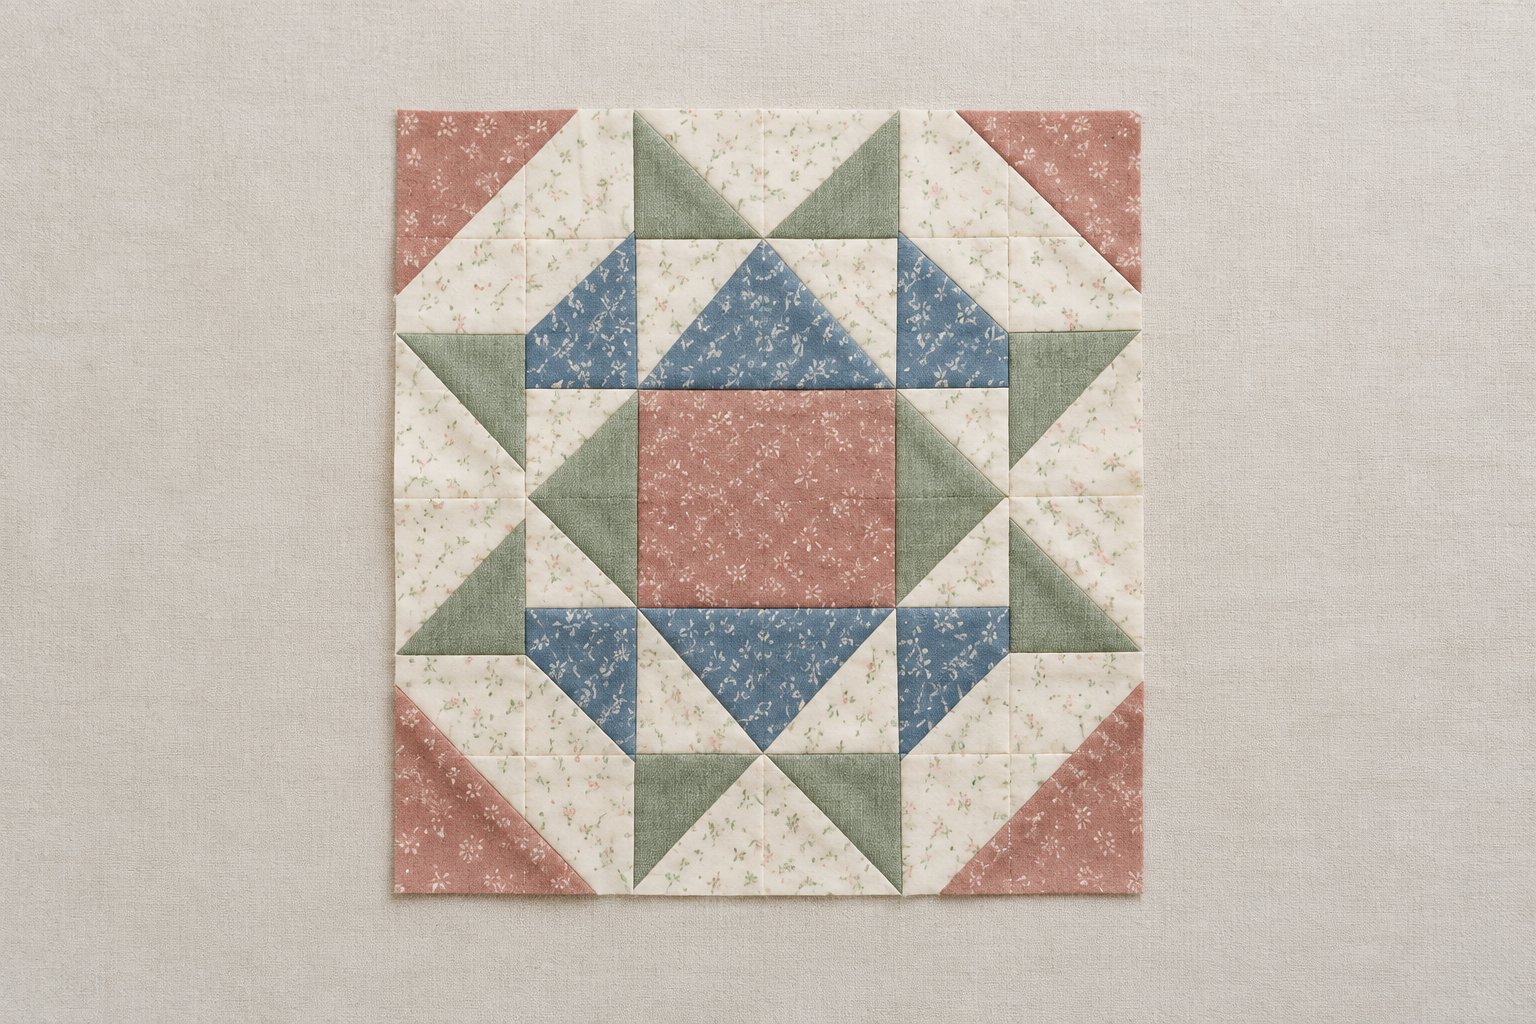
Choose three fabrics with clear light, medium, and dark values, then use the cutting sizes below to prepare a 12-inch block for a pillow, wall hanging, or quilt.
What Makes This Star Block Distinctive?
The honeymoon quilt block gets its star points from the way its triangle units meet across a balanced nine-patch layout. Half-square triangles shape the corners, while hourglass units add larger points around the center.
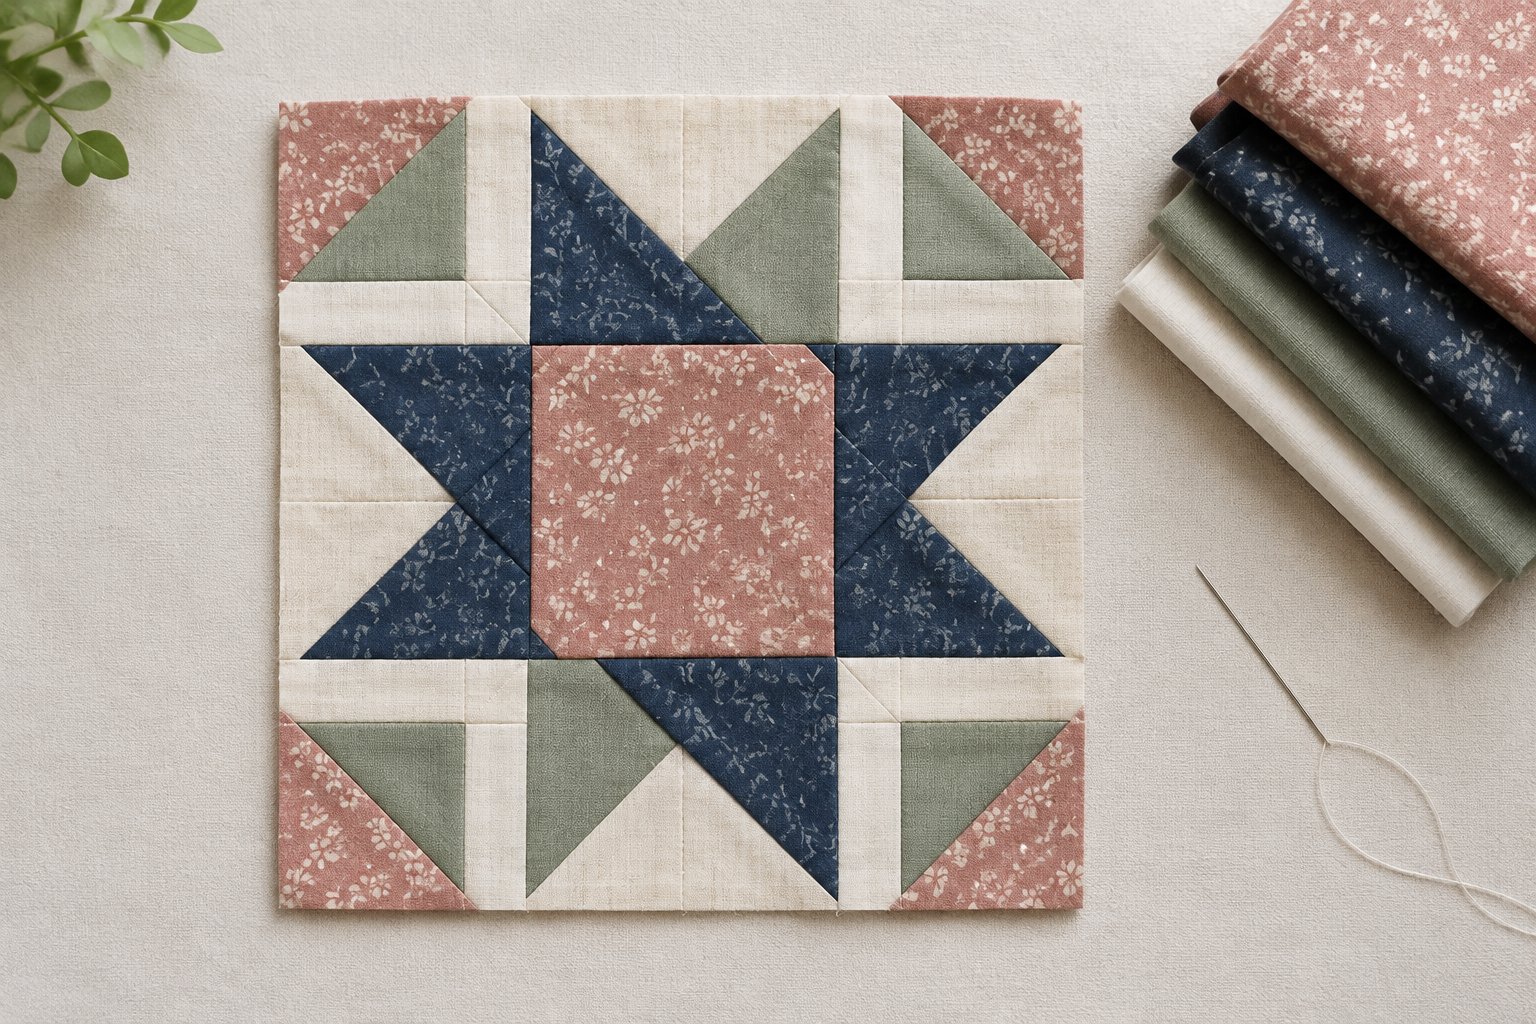
The block uses repeated units, so careful fabric placement gives the design its crisp, symmetrical look. Pressing and matching seams helps keep the points aligned when you join the rows.
How Do the Half-Square Triangles and Hourglass Units Create the Design?
Half-square triangles create smaller two-color triangles in the corner units, while hourglass units form four-part shapes around the center. Together, they make the star’s points and guide the eye toward the middle square.
For strong definition, place a light fabric beside a medium fabric in the half-square triangles, then use a dark fabric in the hourglass units. The contrast helps each shape stay clear when you join several blocks.
What Fabric and Cutting Sizes Do You Need?
For a 12-inch finished block, cut the pieces below and use a consistent ¼-inch seam allowance. Elaine Huff of Fabric406 also provides other finished-size options, including 6- and 9-inch blocks, along with a downloadable PDF.
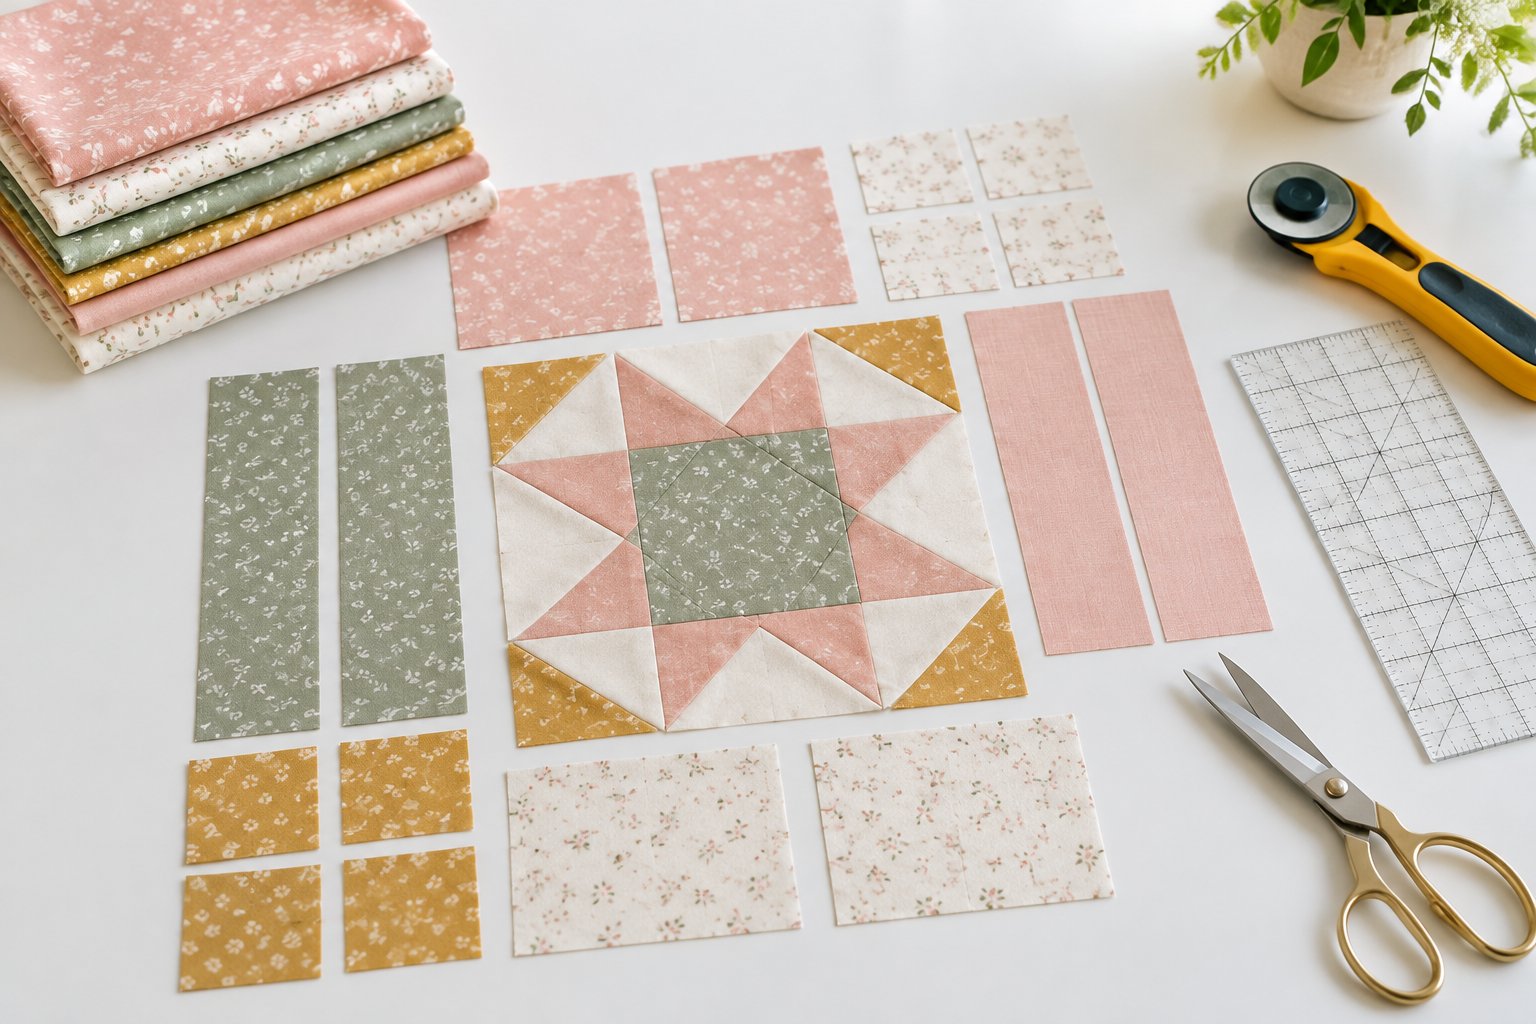
For this 12-inch version, the block measures 12½ inches before it is sewn into a quilt. That extra half inch accounts for the seam allowance around the block.
Which Finished Block Sizes Can You Make?
You can make this block in 6-, 9-, or 12-inch finished sizes. The matching unfinished measurements are 6½, 9½, and 12½ inches.
The cutting list below makes the 12-inch version. If you choose a smaller size, use the matching size chart in your pattern or downloadable PDF so each unit fits the same nine-patch layout.
| Fabric | Pieces to cut |
|---|---|
| Light or white | 2 squares at 5½ inches; 4 squares at 3 inches; 4 squares at 2½ inches |
| Medium 1 | 1 square at 4½ inches; 4 squares at 2½ inches |
| Medium 2 | 4 squares at 3 inches |
| Dark | 2 squares at 5½ inches |
How Much Fabric Contrast Helps the Points Stand Out?
Use a clear difference in value between the light, medium, and dark fabrics. A light background beside medium triangle pieces and dark hourglass pieces makes the star points easier to see.
Before cutting, place your fabrics side by side and check that their values differ. Prints work well when their pattern scale leaves the triangle shapes easy to read.
How Do You Make the Pieced Units?
Make eight half-square triangles, four hourglass units, and four corner units before assembling the block. A ¼-inch seam allowance and careful trimming help the pieces fit together squarely.
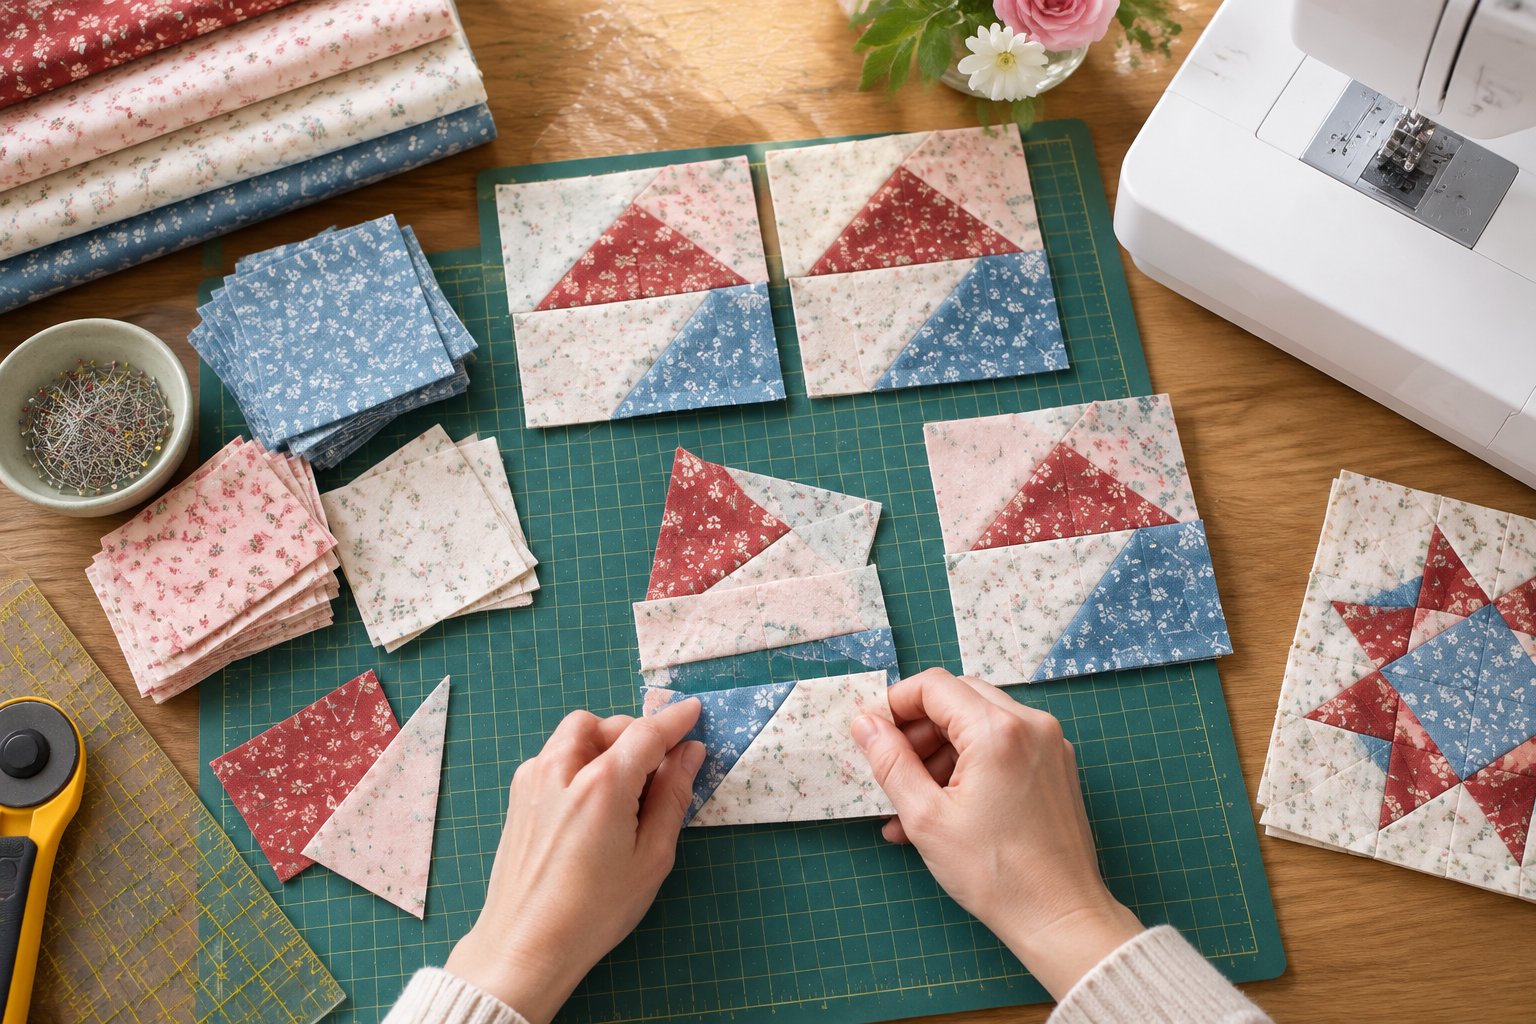
Press seams after sewing each unit, then check the measurements before moving on. Accurate units make it easier to match the seams in the finished layout.
Make and Trim the Half-Square Triangles
Pair each 3-inch light square with a 3-inch medium 2 square, right sides together. Draw a diagonal line on the back of one square, sew ¼ inch from both sides of the line, then cut along the line.
Press the units open and trim each one to 2½ inches square. Repeat until you have eight half-square triangles.
Piece the Hourglass Units
Pair each 5½-inch light square with a 5½-inch dark square, right sides together. Draw a diagonal line, sew ¼ inch from both sides, and cut along the marked line.
Press the two units open. Pair them light sides together and dark sides together, then sew ¼ inch from both sides of a diagonal line across the joined unit. Cut on the line, press open, and trim the four hourglass units to 4½ inches square.
Assemble the Four Corner Units
Arrange one 2½-inch light square, one 2½-inch medium 1 square, and two half-square triangles into a four-patch layout. Sew the pieces into two rows, pressing the seams away from the half-square triangles.
Join the rows and press the seam. Repeat to make four corner units, each measuring 4½ inches unfinished.
How Do You Assemble the Finished Block?
Arrange the four corner units around the hourglass units and center square, then sew the pieces into three rows. Matching the seams as you join them helps keep the star points aligned.
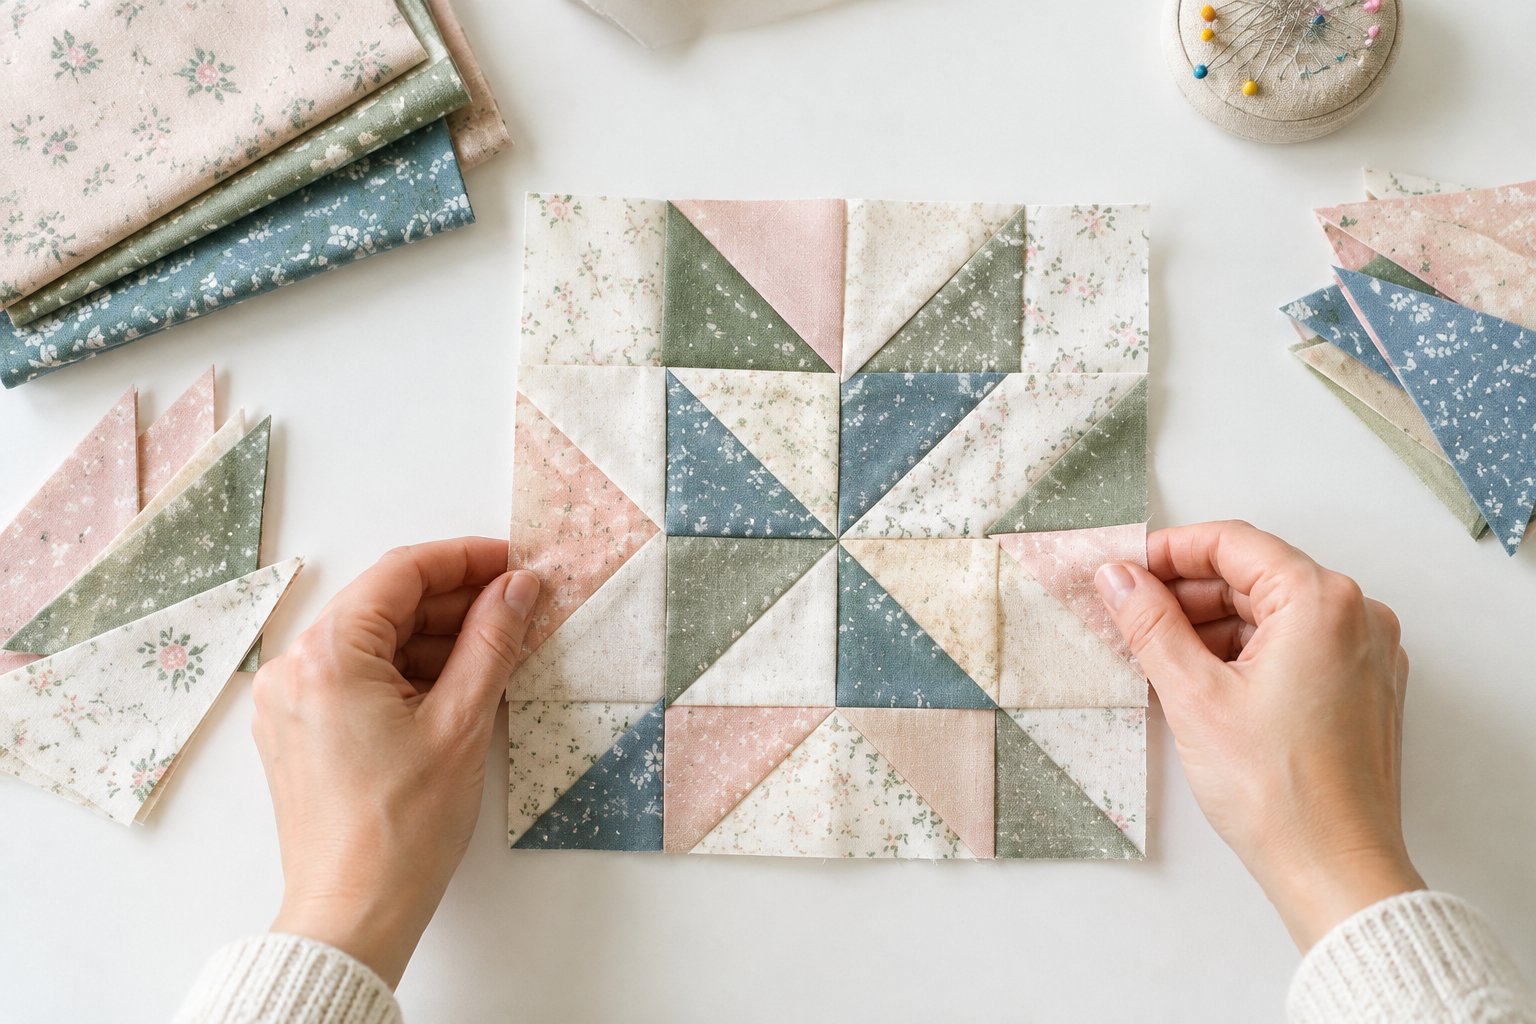
Set each seam by pressing the sewn pieces before pressing the seam allowance to one side. Check that the block measures 12½ inches unfinished when assembly is complete.
Arrange the Units in a Nine-Patch Layout
Place the 4½-inch medium 1 square in the center. Arrange one hourglass unit in the middle of each outer edge, then position a corner unit in each corner.
Turn the corner units so the light and medium squares sit in the intended spots and the triangle points face toward the center. Check the full layout before sewing.
Join the Rows and Press the Seams
Sew the three units in each row together with a ¼-inch seam allowance. Press the seams toward the hourglass units, then join the rows while matching the intersections.
Press the row seams toward the outside of the block. Give the block a final check with your ruler; the unfinished square should measure 12½ inches.
How Can You Use the Block in a Quilt Layout?
Repeated honeymoon blocks make a lively quilt top, and rotating the hourglass units changes the star pattern. You can also add sashing or alternate blocks to create more space between the motifs.
The design works well for a wedding or anniversary project, and it can inspire a personalized gift alongside other wedding quilt ideas. Make a test layout on a flat surface before joining the blocks.
Try Rotating the Hourglass Units
Turn the hourglass units within each block to change the direction of the points. Keep the rotations consistent across the quilt for a repeating pattern, or alternate them to create more movement.
Try arranging four blocks together first. This small layout shows how the seams and points interact before you commit to a full quilt.
Add Sashing or Alternate Blocks
Add sashing between blocks to frame each star and give the quilt top a more open look. Square cornerstones at the sashing intersections add another point of color.
For a more varied layout, alternate honeymoon blocks with hourglass units. Once the top is assembled, choose quilting lines that follow the star points or form a grid across the blocks.