
How Do You Make a Budget Backdrop? Creative Tips for Stunning Decor on a Dime
Creating your own budget backdrop for photography can be exciting and cost-effective. You can make a beautiful DIY photo backdrop using simple materials like fabric, cardboard, or paper for under $20. This way, you can enhance your photos without breaking the bank.

Whether you’re shooting for a special event or just need a fun space for selfies, a creative backdrop can make all the difference. You have the freedom to choose colors and patterns that match your style, ensuring that your backdrop is as unique as your personality.
Let’s explore some easy methods and tips for making your own photography backdrops, so you can impress your friends without spending a fortune. You’ll find that with a little creativity and effort, you can achieve stunning results.
Planning Your Backdrop
Creating a budget-friendly backdrop requires careful thought about materials, size, and color. By focusing on these key areas, you can design a backdrop that enhances your event or photoshoot without overspending.
Choosing Materials
When selecting materials, think about what fits your budget and style. Common options include fabric, paper, and even plastic tablecloths. Each material has its own unique look and feel.
- Fabric: Offers a soft and elegant touch. Look for affordable options at local fabric stores or online.
- Paper: Ideal for a pop of color, as it comes in various shades and patterns. Consider using wrapping paper or craft paper.
- Plastic Tablecloths: These are cost-effective and come in many colors. They’re also easy to clean and reuse.
Make sure the materials you choose suit the event’s theme and your creative vision!
Determining Size
The size of your backdrop depends on where you plan to place it and how many people will be photographed. Start by measuring the space available. Here are some tips:
- Height: Aim for at least 6-8 feet tall to accommodate group photos.
- Width: Depending on the number of subjects, 6-10 feet is usually sufficient.
Also, consider if the backdrop will be a focal point for a stage or a smaller piece for a photo booth. Adjust these measurements based on your setting to ensure your backdrop works perfectly.
Selecting Texture and Color
Texture and color can dramatically change the mood of your backdrop. Think about how these elements relate to your event.
- Texture: Mixing materials like fabric with paper can create depth. Soft fabrics provide warmth, while shiny or glossy materials can add a modern touch.
- Color: Use bold colors to draw attention or softer hues for a more subtle vibe. Adding two or three colors can create an interesting look without overwhelming the theme.
Your choices should align with the sentiment you wish to convey in your photographs while remaining budget-friendly.
Creating the Base
To make a budget backdrop, you need a solid base. This includes setting up a frame, applying primer and paint, and attaching base elements. Each step is important for ensuring your backdrop looks great and lasts.
Setting Up the Frame
Start by choosing a frame that suits your space. You can use PVC pipes, wooden dowels, or even chicken wire for a more textured look. If you opt for chicken wire, it can give your backdrop a rustic charm while being lightweight.
Measure the area where you will set your backdrop. Cut your frames to size. Use a simple cross or T-shape for stability. Secure the joints with strong tape or glue. Make sure it stands firm and can hold any elements you plan to add later.
Applying Primer and Paint
Before you paint, apply a coat of primer to your backdrop materials. This step helps the paint stick and creates a smoother finish. Use a water-based primer for easy clean-up.
Once the primer dries, choose your paint color. You can use acrylic or spray paint based on the texture you’re aiming for. If you want to create a soft look, consider using a sponge technique. This technique blends colors nicely. Paint in even strokes and let it dry completely.
Attaching Base Elements
Now that your frame is ready, it’s time to attach base elements. You can add canvas backdrops for a smooth surface. These require minimal effort and come in various colors.
For a more dynamic look, consider using fabric or streamers. Attach them securely using staples or fabric glue. You can also add items like fairy lights or paper flowers to enhance the design. Make sure everything is well attached and won’t fall during use.
By following these steps, you’ll create a strong foundation for your budget-friendly backdrop. Happy crafting!
Adding Decorative Elements
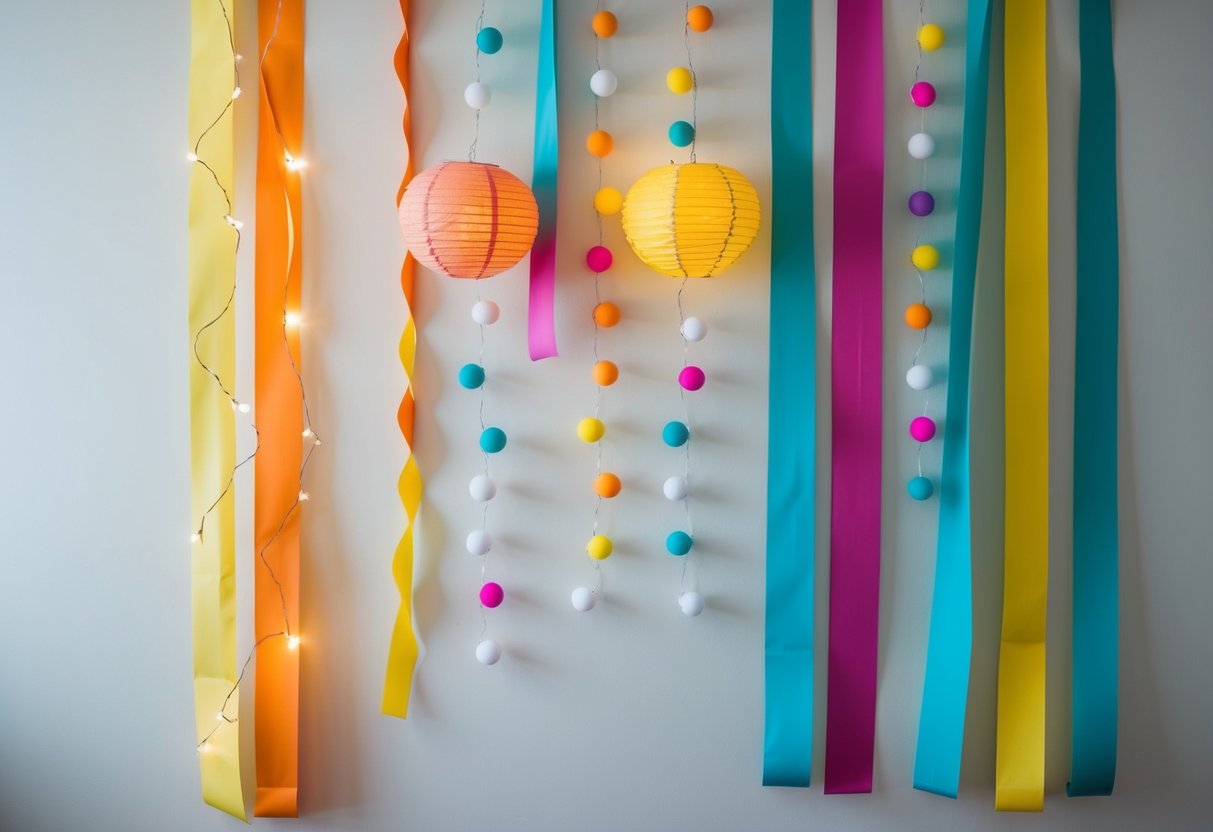
To create an eye-catching budget backdrop, consider using decorative elements that enhance its visual appeal. Focus on adding paper flowers, tissue paper designs, and 3D elements to bring your backdrop to life without spending much.
Making Paper Flowers
Making paper flowers is a fun way to add color and dimension to your backdrop. You can use various types of paper, such as colored or patterned paper, to create flowers. Start by cutting circles or petal shapes from your paper.
Next, layer the petals and secure them together with glue. Hang these flowers on your backdrop for a cheerful look. You can mix sizes and colors for more dynamic designs. If you want, you can even use a template to ensure consistent shapes.
Designing With Tissue Paper
Tissue paper is another inexpensive option that can make your backdrop pop. You can create colorful tassels or pom-poms easily. To make a pom-pom, stack several sheets of tissue paper, fold them accordion-style, and secure the center with a piece of string or wire.
Fluff the ends to form a full pom-pom and attach them to your backdrop. You can also create ruffled sections by cutting strips of tissue paper and gathering them to form waves. This adds texture and interest, making your backdrop unique and festive.
Incorporating 3D Elements
Adding 3D elements can elevate your backdrop and make it stand out. Consider using objects like balloons, fairy lights, or decorative branches. You can cluster balloons together in colors that match your theme to create focal points.
Additionally, attaching string lights can add a magical glow, especially in low light. If you prefer a more natural look, use branches or greenery intermixed with your paper flowers. This combination creates lush textures that draw attention and make your backdrop inviting.
Final Touches and Usage Tips
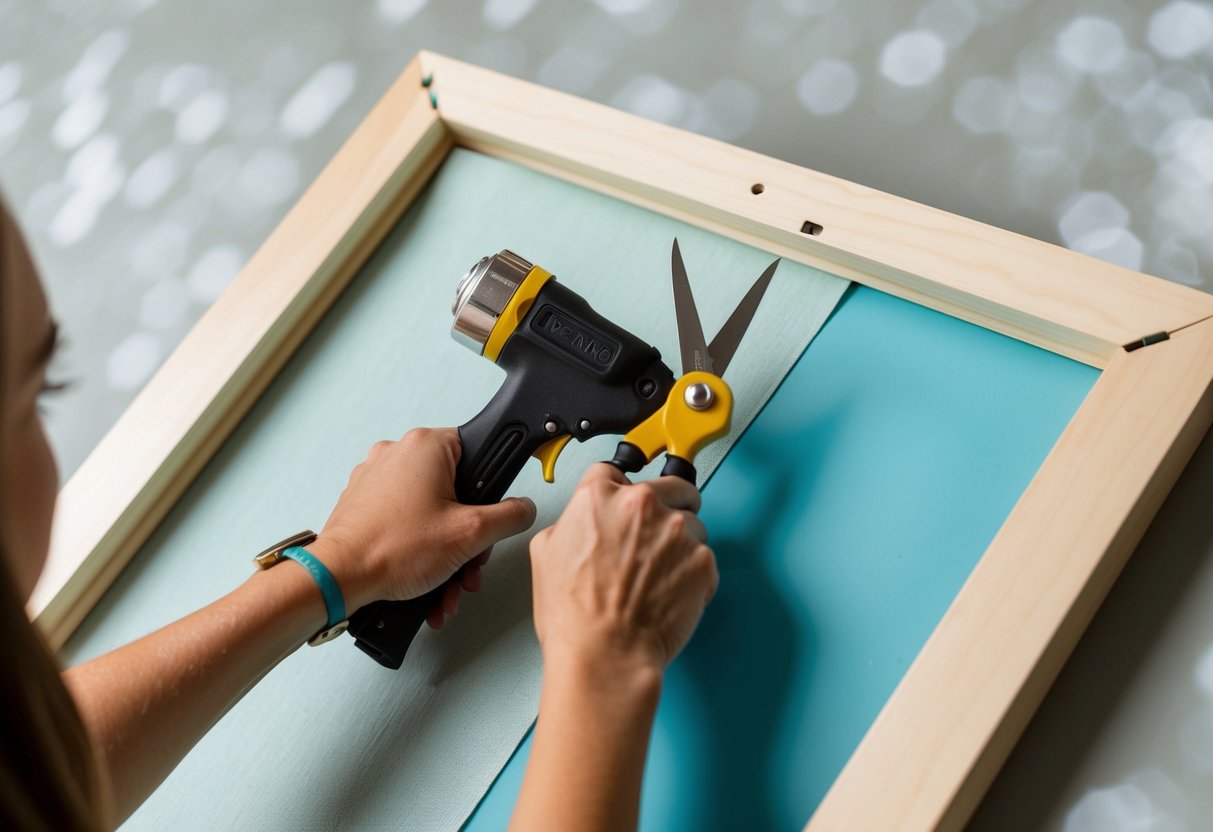
After creating your budget backdrop, it’s time to add those final touches and ensure it’s ready for use. You want your backdrop to look great and be easy to set up, so here are some helpful tips.
Smoothing and Finishing
Once your backdrop is in place, it’s important to make sure it looks smooth and polished. If you’re using materials like streamers or fabric, check for any wrinkles. Use a steamer or iron on a low setting to carefully remove any creases.
Scissors may come in handy if you need to trim any uneven edges. For a painted canvas backdrop, touch up any areas that need extra paint for a uniform look.
For a polished finish, consider adding lightweight decorations, like marshmallows or paper cutouts. These additions can enhance your backdrop without making it cluttered.
Setting Up for Photography
When setting up your backdrop for photography, ensure it is well-lit. Natural light is often the best option, so try to position it near a window if possible.
You can also use soft, diffused lighting to avoid harsh shadows. If you’re using a photo booth, make sure the backdrop is stable and secured. This prevents any unexpected movements during the shoot.
Before taking photos, test the setup by taking a few sample shots. This way, you can adjust the angle or focus if needed. Keep a few props nearby to add personality to your photos.
Maintenance and Storage
To keep your backdrop looking fresh for future use, you need to store it properly.
If you’ve used paper or fabric, roll them up gently to avoid creases. For a painted canvas backdrop, you should hang it flat or store it in a sturdy tube.
After each use, check your backdrop for any damages or wear. Addressing any issues right away will ensure it’s ready for the next event.
If you notice any stains or marks, clean them carefully using a damp cloth. Make sure to take care not to ruin any paint or material.