
How Do You Make Makeup Look Good in Pictures? Simple Tips for Flawless Photos
When taking great photos, the right makeup can make all the difference in how you look on camera. You want to focus on creating a smooth, even complexion, as well as highlighting your best features. Many people struggle with making their makeup look good in photos, but with a few tips and techniques, you can achieve a flawless look that shines.
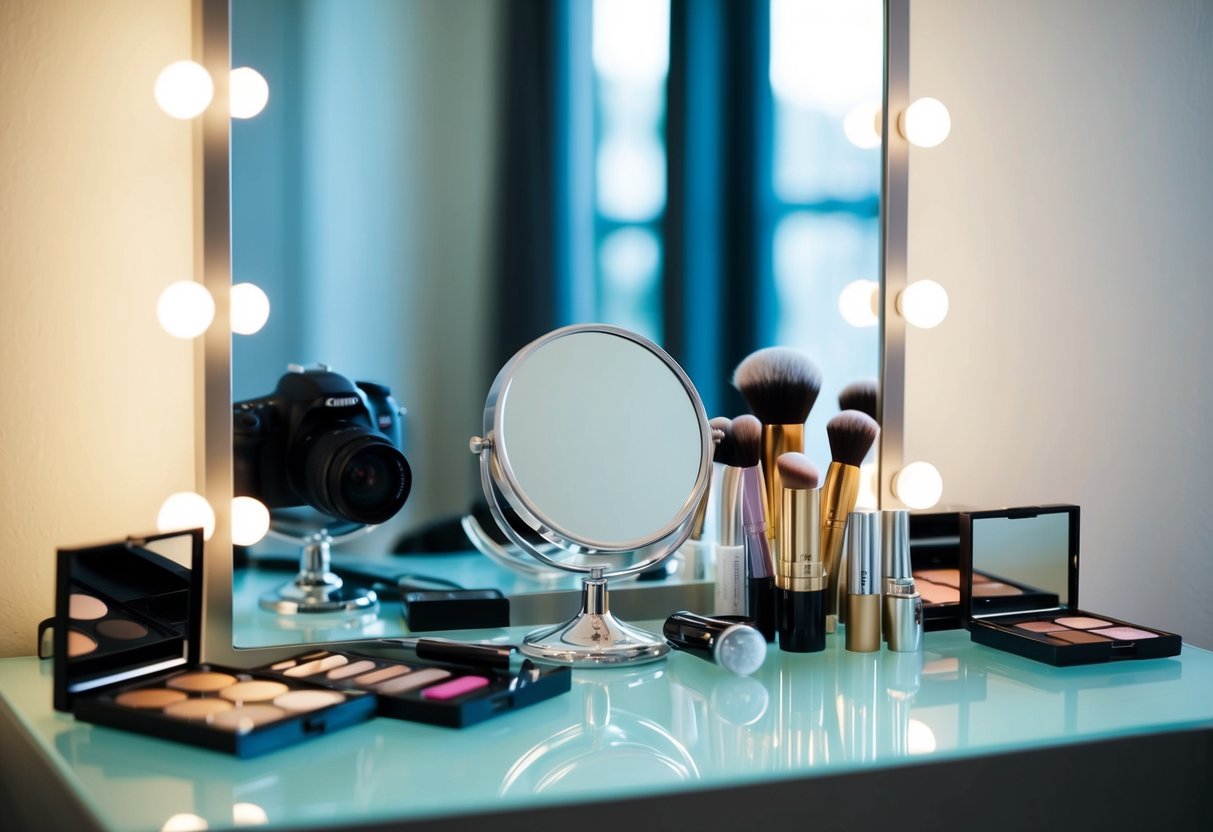
Start by ensuring your foundation matches your skin tone perfectly and offers good coverage without being too heavy. A well-blended base can help your skin appear radiant and photo-ready. You can also use products like concealer to target problem areas without the need for thick layers of foundation. The goal is to create a balanced makeup routine that enhances your features while still looking natural.
Don’t forget about emphasizing your eyes! A simple eyeshadow application that highlights your eyes can really draw attention without overwhelming your face. Choosing the right makeup tips and techniques can elevate your look and help you feel confident in front of the camera, making each picture you take a stunning representation of you.
Preparing Your Skin
Getting your skin ready is key to making your makeup look great in pictures. Proper preparation helps your makeup apply smoothly and last longer, ensuring a flawless finish that shines in photos.
Hydration and Priming
Start by hydrating your skin. Use a hydrating moisturizer to keep your skin soft and plump. Look for ingredients like hyaluronic acid or glycerin, which help attract moisture. Apply the moisturizer evenly and give it a few minutes to soak in.
Next, use a primer. This step is essential for creating a smooth base. A good primer reduces the appearance of pores and fine lines. Choose a formula that suits your skin type—mattifying for oily skin or moisturizing for dry skin. Apply it with your fingers or a brush, covering your entire face.
Applying Foundation and Concealer
When applying foundation, select a shade that closely matches your skin tone. Use a beauty sponge or brush for the best results. Start in the center of your face and blend outward. This technique helps avoid uneven patches and gives a more natural look.
After foundation, move on to concealer for any blemishes or dark circles. Choose a shade slightly lighter than your foundation. Pat it on with your finger or a small brush, focusing on areas that need extra coverage. Blend it well to ensure it looks seamless, and your skin will look radiant in all those photos!
Eye Makeup for the Camera
Making your eye makeup pop in photos is vital for achieving a stunning look. Focusing on brows, shadows, and lashes will enhance your eyes and create a memorable appearance.
Shaping and Filling Brows
Well-defined brows frame your face and highlight your eyes in photos. Start by choosing a brow pencil or powder that matches your natural brow color. Use short, light strokes to fill in sparse areas. This creates a natural look.
Aim for a clean shape that complements your eye shape. The arch should follow your natural brow bone. Don’t forget to blend with a spoolie brush to soften any harsh lines.
Setting your brows with a clear gel helps keep them in place for hours. This step ensures your brows look defined, even in intense lighting.
Enhancing Your Eyes with Shadows and Liner
Eyeshadow can transform your look, adding depth and interest. Choose colors that complement your eye color, like earthy tones for blue eyes or bronze shades for green eyes.
When applying eyeshadow, use a lighter shade on the brow bone to highlight and a medium shade on the lid. A darker shade in the crease creates dimension. Blending well is key to a seamless look.
For eyeliner, a bold black liner works wonders. Apply along your upper lash line for definition. A small wing at the outer corner can elongate the eyes and add drama.
Finishing Touches with Mascara and False Lashes
Mascara is essential for making your lashes pop. Apply several coats to both upper and lower lashes to achieve volume. Wiggle the wand at the base for added lift, which makes your eyes appear larger.
If you want extra impact, consider using false lashes. Choose a pair that adds length without being overly dramatic. Apply them just above your natural lashes for a seamless look.
You can finish with a coat of mascara on your false lashes to blend them in. This step ties everything together and ensures your eyes stand out beautifully in pictures.
Defining Facial Features
Defining your facial features can make a big difference in how your makeup looks in pictures. Using contour, highlight, blush, and bronzer skillfully helps create depth and dimension.
Contour and Highlight Techniques
To define your facial features, start with contouring. Use a matte contour powder or cream that’s a few shades darker than your skin tone. Apply it to the hollows of your cheeks, along your jawline, and on the sides of your nose for a sculpted look.
Next, highlight to elevate your best features. Choose a highlighter that complements your skin tone. Apply it on the tops of your cheekbones, the bridge of your nose, and your brow bones. This contrast between contour and highlight adds dimension, making your face pop in photos.
Adding Color with Blush and Bronzer
Adding blush is essential for a fresh look. Choose a shade that suits your skin tone and smile to find the apples of your cheeks. Apply the blush lightly, blending it upward towards your temples for a natural flush.
Bronzer adds warmth to your face. Use it lightly around your forehead, cheekbones, and jawline. Make sure to blend well for a seamless finish. This blend of blush and bronzer will help your features stand out and look vibrant in photos.
Finishing Touches for a Photo-Ready Look
To achieve a flawless, photo-ready look, it’s important to pay attention to the final details. Choosing the right lip products and setting your makeup properly can make all the difference in how you appear in pictures.
Choosing the Right Lip Products
For your lips, selecting the right products is essential. Consider using a lip liner to define your lips. It helps prevent feathering, ensuring your lipstick stays in place. Choose a lip liner that matches your lipstick shade for a seamless look.
Opt for a matte lipstick for a modern, chic appearance. Matte finishes photograph beautifully and offer long-lasting wear. If you prefer some shine, add a layer of lip gloss on top for a fresh, youthful vibe.
Try to avoid overly shiny lip products, as they can create glare in photos. Laura Mercier has great options for lip colors that look stunning on camera.
Setting Your Makeup
Setting your makeup is key to ensuring it lasts throughout the day or event.
Start by adding a light layer of translucent powder to help control shine and smooth your skin’s texture. This step will help create a soft, matte finish.
To further lock in your look, use a quality setting spray.
Spritz it lightly all over your face, allowing it to dry. This will not only help your makeup stay in place but also provide a natural finish without looking too heavy.
If you like a touch of glow, consider using a shimmer spray on your cheekbones or brow bones after setting your makeup.
Just a small amount can catch the light beautifully in photos while keeping the rest of your look matte.