How Many Months Before a Wedding Do You Send Save the Dates? Find Out Here!
Planning a wedding can be both exciting and overwhelming. One crucial step in the process is sending out your save the dates. You should send save the dates 4 to 6 months before a local wedding, and 8 to 12 months before a destination wedding. This gives your guests plenty of time to mark their calendars and make travel arrangements if needed.
For those of you planning a destination wedding or getting married on a major holiday, it’s wise to give your guests extra notice. Sending your save the dates up to a year in advance is recommended to ensure that everyone has enough time to prepare.
Once you’ve settled on your wedding date and location, make sure to send out your save the dates promptly. This early notice will help set the stage for a memorable celebration with all your loved ones. Need more tips? Check out this detailed guide on wedding save-the-date etiquette.
Understanding Save the Dates

Save-the-dates are a key part of wedding planning. They ensure your guests have plenty of time to plan and make arrangements for your big day. Learn about the purpose of save-the-dates and the etiquette involved in sending them.
The Purpose of Save the Dates
Save-the-dates let your guests know when and where your wedding will take place. They are sent well before the formal invitation, giving your loved ones time to mark their calendars. This is especially important for destination weddings or events near holidays.
These cards act as a pre-invitation, confirming that your guests are on the list. They help guests plan travel and accommodations if necessary. Overall, save-the-dates make sure everyone can celebrate with you.
Save-the-Date Etiquette
When sending save-the-dates, timing is crucial. For local weddings, send them 4 to 6 months in advance. For destination weddings, aim for 8 to 12 months. This gives guests enough time to make travel plans and accommodations.
Include key information like the wedding date and location. Be clear but concise. You don’t need all the details yet—just enough to help guests start planning.
Send save-the-dates to anyone you’re certain you will invite. Double-check your guest list to avoid last-minute changes. Following these guidelines helps you and your guests prepare smoothly for your special day.
Crafting Your Save the Dates

Crafting the perfect save the dates involves thoughtful design, choosing the right wording, and incorporating personal touches like photos and themes.
Designing Your Save the Dates
When designing your save the dates, consider the overall look and feel you want to convey. This might include color schemes, fonts, and types of paper.
Color schemes should match or complement your wedding colors. Fonts can range from elegant calligraphy to bold modern styles.
Incorporate textures or finishes like matte or glossy. Embellishments such as foil stamping or letterpress can add a touch of luxury.
Lastly, make sure the design reflects both your personalities. If you love rustic charm, think about using kraft paper. For a more classic look, opt for white or cream cardstock with gold accents.
Choosing the Right Wording
The wording on your save the dates should be clear and concise. Begin with a friendly greeting, followed by your names.
Include the date of your wedding and the location. Examples of save the date wording include “Save the Date for the Wedding of Jane Smith and John Doe” or “Mark Your Calendars for June 21, 2024.”
Don’t forget to mention that a formal invitation will follow. This assures guests that they will receive more details closer to the date.
Adding a loving or fun note at the end can personalize it even more, such as “We can’t wait to celebrate with you!”
Incorporating Photos and Themes
Using photos in your save the dates adds a personal touch. Choose a favorite photo from an engagement shoot or a candid moment that captures your relationship.
A theme can also tie your save the dates to your wedding. If you are having a beach wedding, use images of the ocean.
When incorporating themes, think about how they will translate into the rest of your wedding stationery. Your save the date should offer a sneak peek of what’s to come, from colors to motifs.
Consider adding small elements that match your wedding’s vibe, such as nautical icons for a seaside celebration or floral designs for a garden wedding.
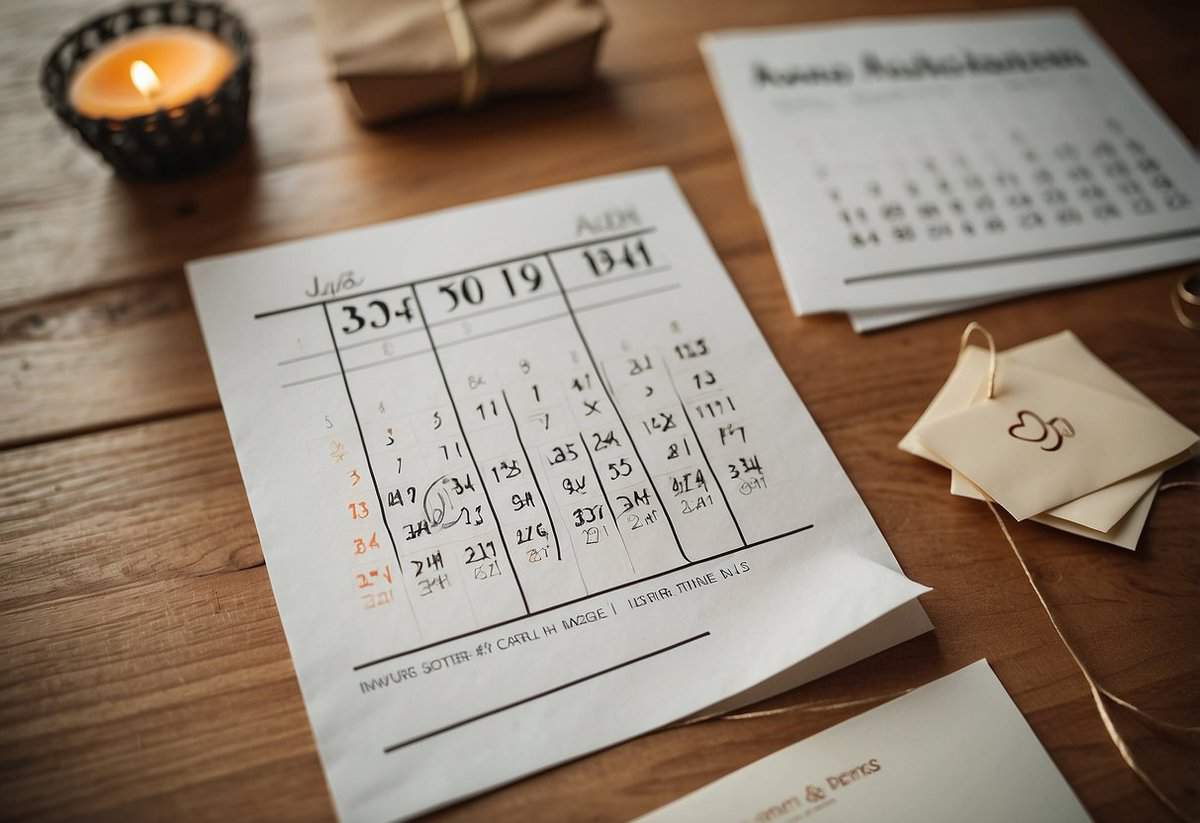
Timing and Sending

Understanding the timing for sending save the dates is crucial to ensure your guests have enough notice to attend your wedding. Addressing them correctly is also essential to avoid any confusion.
When to Send Save the Dates
For a local wedding, send your save the dates 4 to 6 months in advance. If you are planning a destination wedding or one that falls on a major holiday, you should send them 8 to 12 months beforehand. This gives guests ample time to make necessary travel arrangements.
Sending them too early might result in guests forgetting about the date, while sending them too late can lead to scheduling conflicts. By adhering to these timelines, you balance giving enough notice with keeping your wedding fresh in their minds.
Addressing and Mailing
It’s important to address your save the dates correctly. Include full names and correct titles to avoid any confusion. Use formal names rather than nicknames to keep it professional. Double-check addresses to ensure accuracy.
Mail your save the dates through a reliable postal service to ensure they arrive on time. Consider using tracking options for destination weddings, so you can ensure they are delivered. This helps in getting early RSVPs and knowing your guest count. Ensure your envelopes are sturdy to protect the contents during shipping. A return address on the back can help if there are delivery issues.
Using clear and easy-to-read fonts for the addresses can also enhance readability and ensure they reach the right person without delay.
Guest Considerations

When planning your wedding, it’s important to think about your guests’ needs. This includes managing your guest list and handling special considerations for destination weddings, plus ensuring accommodations and travel arrangements are covered.
Managing the Guest List
Start by listing everyone you want to invite. This helps you stay organized and ensure you don’t accidentally leave anyone out.
Break down your guest list into categories like family, friends, and colleagues. This makes it easier to keep track.
Send out your save-the-dates 6-8 months ahead of time to give locals enough notice. For destination weddings, send them 8-12 months in advance.
Be sure to include “save-the-date” cards for everyone on your list, even if they have verbally confirmed their intention to attend.
Special Notes for Destination Weddings
Destination weddings require extra planning for your guests. They need more time to arrange time off work and book travel.
Aim to send save-the-dates 8-12 months in advance. This gives guests plenty of time to plan and save money for the trip.
Mention key details like the city and country, even if you don’t have the exact venue yet.
Include information about travel documents, like passports, that guests may need.
Accommodations and Travel Arrangements
Help out-of-town guests by arranging hotel room blocks. This ensures there are enough rooms and can often secure a better rate.
Include hotel information in your save-the-dates. Mention special rates and booking deadlines.
Provide a list of nearby hotels, especially if you don’t have room blocks. Mention different price ranges to suit various budgets.
Give information on transportation options, like airport shuttles or ride-sharing services. This makes it easier for guests to get around.
Including these details shows your guests you care about their experience and can help make your wedding a memorable event for everyone.
Additional Wedding Stationery

When planning a wedding, it’s important to consider other types of stationery beyond save-the-dates. Invitations and RSVPs are essential, but there are also many other items like wedding day paper goods and stationery for post-wedding events.
Invitations and RSVPs
Invitations are a big part of wedding stationery. They set the tone and style of your wedding. Your invitations should go out about six to eight weeks before your wedding date.
Most invitations include the event details, a reply card for RSVPs, and an envelope. You may also want to include directions or accommodation information. Remember, getting responses from your guests in a timely manner can help you finalize your wedding-day plans.
Wedding Day Paper Goods
On the wedding day, you’ll need several types of paper goods. Programs let guests know the order of events and who’s who in your wedding party.
Menu cards tell guests about the meal being served. Escort cards or seating charts are essential to show where everyone’s sitting. Don’t forget place cards on the tables to mark each guest’s seat. Signage can be useful to direct guests around your venue and to inform them of any special elements, like a gift table or guest book.
Stationery for Post-Wedding Events
After the wedding, thank-you cards are a must. Sending a thank-you card shows your appreciation for gifts and attendance. It’s best to send them within a month after your wedding.
If you’re hosting an after-party or a brunch, you might want invitations for these events, too. Creating announcements for those who couldn’t attend but wish to share your joy can also be a nice touch for your stationery suite.
Using these items thoughtfully ensures every detail of your celebration feels personal and well-coordinated.