How to DIY Arch Backdrop: Simple Steps for Stunning Decor
Creating a DIY arch backdrop can bring a unique touch to your party or event. It is a fun project that saves you money and allows for personal creativity. You can make a beautiful arch backdrop using simple materials like foam board or wood.
Imagine having a stunning focal point for photos or decorations that reflects your style. Whether you’re planning a birthday party, wedding, or any celebration, an arch backdrop can enhance the atmosphere beautifully. With just a few supplies and some guidance, you’ll be ready to impress your guests.
Ready to get started? In this article, you’ll discover different methods and tips for building an arch that suits your event perfectly.
Planning Your DIY Arch Backdrop

Creating an arch backdrop is an exciting project that can add charm to any event. The planning stage is crucial. You’ll want to focus on your style, the right size, shape, and the materials needed to bring your vision to life.
Choosing Your Style
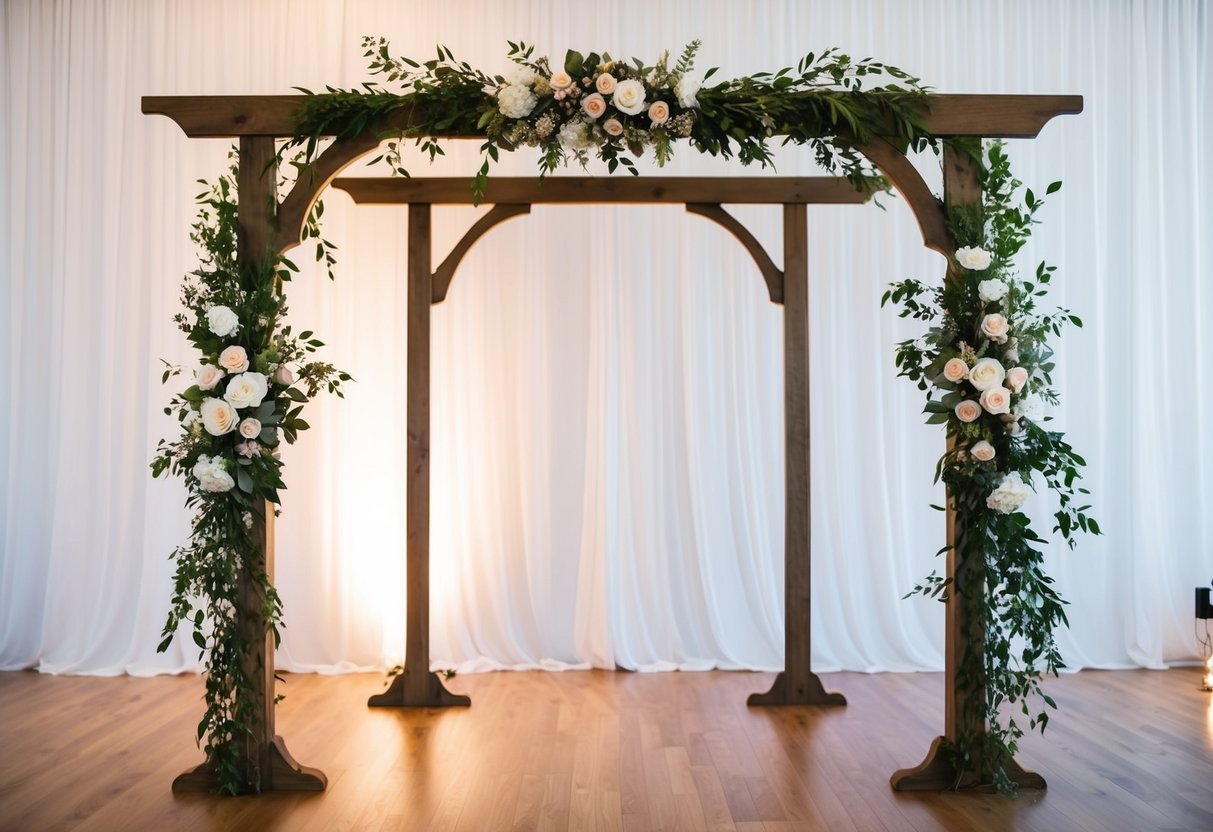
When planning your arch backdrop, the style you choose sets the tone for your event. Consider the theme: rustic, modern, floral, or elegant. Each style has unique elements.
For a rustic look, use wood and greenery. Modern styles may incorporate metal or geometric shapes. Meanwhile, floral styles use vibrant colors and varied blooms. Make a mood board to visualize your ideas. This can help you combine colors and materials that reflect the atmosphere you want to create.
Determining Size and Shape
The size and shape of your arch backdrop should suit the space and purpose. Think about where you’ll use it. Will it be indoors or outdoors?
Measure the area to ensure your arch fits well. Typical dimensions range from 6 to 10 feet in height.
As for shape, traditional arches are curved, but you can also opt for square or rectangular designs. A wider arch can create a dramatic effect, while a narrow one might fit snugly in smaller venues. Just remember to balance your design with the surroundings!
Materials Needed
Gathering the right materials is key to a successful DIY arch backdrop. Here’s a list to get you started:
- Frame: Use wood, PVC pipe, or metal.
- Decor: Flowers, greenery, or fabric.
- Tools: Drill, saw, and screws or glue.
- Accessories: Twine, ribbons, or lights for added flair.
Plan ahead by checking your supplies. Make sure everything is sturdy and will withstand the event’s atmosphere, especially if outdoors. You want your backdrop to be both beautiful and durable.
Assembling the Arch Structure

Assembling your arch backdrop involves two main tasks: building a sturdy base and constructing the arch itself. Both steps require attention to detail to ensure your backdrop is stable and visually appealing.
Building the Base
To start, gather materials such as wooden planks or metal pipes. The base needs to be solid, as it supports the entire structure.
Steps to Build the Base:
- Measure and Cut: Cut two long pieces for the base’s length and two shorter pieces for the width.
- Assemble the Frame: Connect the pieces to form a rectangle, using screws or bolts for strength.
- Bracing: Add diagonal supports to the corners. This helps prevent wobbling.
Once assembled, check that the base is level. Use a level tool for accuracy. Finally, secure the base to the ground if needed, especially for outdoor setups.
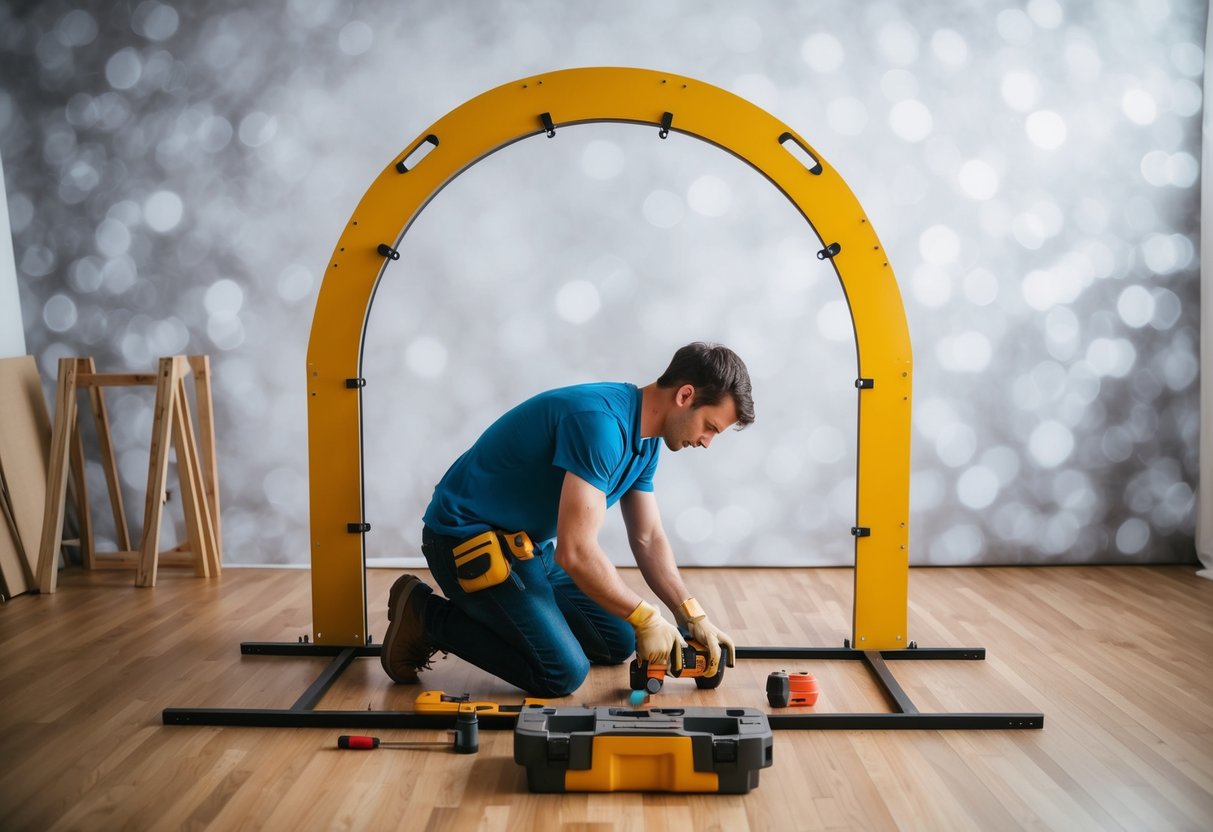
Constructing the Arch
Now that the base is ready, you can focus on constructing the arch. This part adds height and charm to your backdrop.
Steps to Construct the Arch:
- Choose Materials: Use PVC pipes, wooden planks, or metal rods.
- Shape the Arch: Bend your material to create the desired curve. If using wood, cut it into a curved shape.
- Secure to the Base: Attach each end of the arch to the base using brackets or clamps.
Make sure the arch is tall and wide enough for your needs. Test its stability by gently shaking it. Adding decorations like flowers or lights will enhance its appearance.
Decorating Your Arch

Adding decorations to your arch can really bring it to life and make your event special. You can choose elements that match your theme and create a beautiful focal point.
Selecting Decorations
When selecting decorations, consider the theme of your event. Flowers are a popular choice. Fresh or artificial flowers can add color and elegance. You may also use fabric like tulle or chiffon for a soft look.
Tips for decoration selection:
- Choose colors that mix well with your event theme.
- Incorporate personal elements like photos or keepsakes.
- Use lighting, such as fairy lights, to create a magical effect.
Remember, balance is key. If your arch is too busy, it may look cluttered. Take time to arrange your items before securing them.
Attaching Decor Elements
Once you’ve chosen your decorations, it’s time to attach them. Use a good glue or decorative tape for lightweight items like paper or fabric.
For heavier elements, consider using zip ties or strong string to secure them. You can also use hooks or clips for a more flexible option.
Steps for attaching:
- Start from the top and work your way down.
- Space items evenly for a pleasing appearance.
- Secure everything tightly, especially if it will be outdoors.
By following these steps, your arch backdrop will look stunning and ready for your event!
Installation and Safety
Ensuring your arch backdrop is safely installed is vital for both its aesthetics and your guests’ safety. Follow the steps below for securing the arch and making final checks to ensure everything is ready for your event.
Securing the Arch
When you put up your arch, strong support is essential. Start by locating a sturdy base. If your arch is made from wood, attach it securely to the ground using L-brackets or stakes. This will add stability.
If it’s a balloon arch, make sure to use weighted bases. Fill buckets with sand or water and attach them to the base of the arch. This prevents tipping or accidental falls.
Double-check that all parts are tight and secure. Use screws or nuts and bolts for added stability. If possible, get someone to help you while you set it up, as it’s more manageable with two people.
Final Touches and Safety Checks
After you put up your arch, you need to add the finishing touches. First, step back and assess if it looks even and attractive. Then, adjust any decorations as needed for a polished look.
Next, do a safety check. Make sure that the arch won’t fall over easily. Tug gently on it to test its stability. If it shakes, reinforce the supports.
Lastly, look for any sharp edges or loose parts. Smooth out rough areas with sandpaper to prevent any injuries. Make sure to keep pathways clear around the arch to allow easy access for guests.