
How to Do Makeup Step by Step for a Wedding: A Friendly Guide for Your Perfect Day
Planning your wedding makeup can be exciting but also a bit overwhelming. A step-by-step process will guide you through DIY wedding makeup. Whether you prefer a natural glow or a more glamorous style, these tips will help you feel confident on your big day.
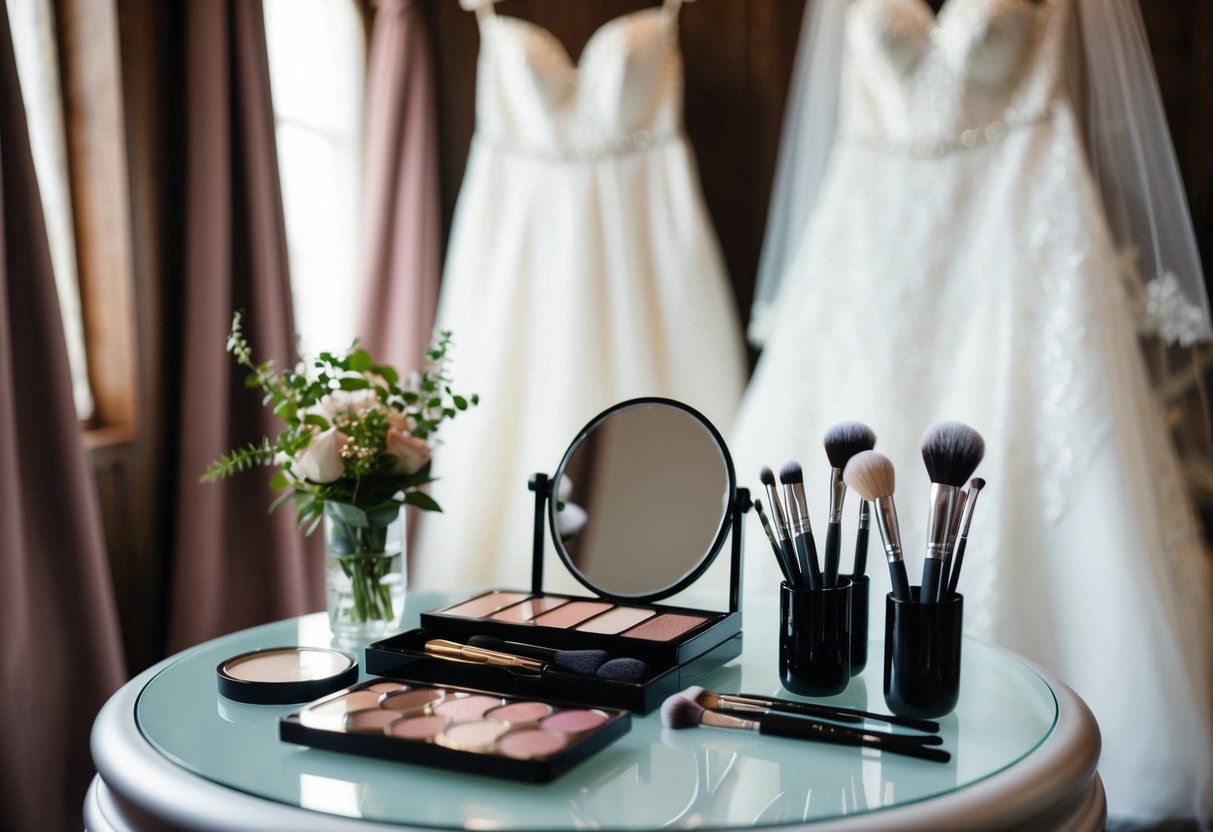
Many brides choose to do their own wedding day makeup to save money or simply enjoy the experience. With the right products and techniques, you can achieve a radiant appearance that lasts all day.
In this blog post, you’ll discover essential steps for applying makeup that will ensure you look perfect for your wedding. From prepping your skin to selecting the right shades, we’ll cover everything you need to know to create a gorgeous look that reflects your personal style. Get ready to shine as you say “I do”!
Preparing Your Skin
Getting your skin ready for makeup is essential, especially for a special day like a wedding. Proper skin prep helps your makeup look smooth and last longer. This section will guide you through determining your skin type, cleansing and moisturizing, and applying primer.
Determining Your Skin Type
Knowing your skin type is the first step to effective skincare. It helps you choose the right products and techniques for your unique needs.
- Normal Skin: Balanced moisture, not too oily or dry.
- Oily Skin: Shine and larger pores; more prone to breakouts.
- Dry Skin: Flaky or rough texture; often feels tight.
- Combination Skin: A mix, with some areas oily and others dry.
Once you identify your skin type, you can select suitable moisturizers and primers to enhance your wedding makeup.
Cleansing and Moisturizing
Start your skincare routine with a gentle cleanser. Choose one that suits your skin type to remove dirt and oil without stripping moisture. Then, follow these steps to cleanse effectively:
- Use lukewarm water to wash your face.
- Apply cleanser in circular motions.
- Rinse thoroughly and pat dry with a clean towel.
After cleansing, apply a moisturizer that fits your skin type. For oily skin, opt for oil-free formulas. If your skin is dry, a richer cream can provide hydration.
Key ingredients to look for include:
- Hyaluronic Acid: For hydration.
- Glycerin: Helps to lock in moisture.
This step sets a smooth canvas for your makeup.
Applying Primer for a Flawless Base
Primer is crucial for creating a long-lasting makeup look. It fills in fine lines and pores, providing a smooth surface. Choose a primer based on your skin type.
- Silicone-based primers work well for oily skin, helping to control shine.
- Hydrating primers are great for dry skin, adding moisture.
To apply primer, follow these steps:
- Use a pea-sized amount.
- Apply with your fingers or a brush.
- Focus on areas like your nose, cheeks, and forehead.
Let the primer sit for a minute before applying foundation. This ensures a tight grip on your makeup, helping you look flawless throughout the day.
Creating the Foundation
Getting your foundation right is the key to achieving a flawless wedding look. This part of your makeup routine sets the stage for everything else. With the right products and techniques, you can create a beautiful base that enhances your natural beauty and lasts throughout the day.
Choosing the Right Foundation
Start by selecting a foundation that matches your skin tone. Test various shades on your jawline to find the best fit. Look for a formula that complements your skin type, whether it’s oily, dry, or combination.
Types of Foundation:
- Liquid: Provides buildable coverage and works for most skin types.
- Cream: Offers a thicker consistency, ideal for dry skin.
- Powder: Great for oily skin to control shine.
Consider foundations with a satin or matte finish for a refined look. A lightweight, breathable formula will keep your skin comfortable. Don’t forget to apply a primer first for better adhesion!
Concealer for Radiant Skin
Next, use concealer to brighten and cover any imperfections. Choose a shade that’s one or two tones lighter than your foundation. This technique can help in achieving that radiant skin effect.
Apply concealer under your eyes to combat dark circles. Then, use a small brush or your fingertip for precision.
Application Tips:
- Use a tapping motion for an even blend.
- Apply to blemishes, redness, or any spots you want to conceal.
Make sure to blend well to avoid noticeable lines. This step enhances your foundation, ensuring your skin looks flawless and fresh, even in photographs.
Setting Powder and Spray
Finish your makeup routine with a setting powder and spray. A translucent setting powder helps to lock everything in place, preventing your foundation from creasing.
Application Steps:
- Use a fluffy brush to apply the powder.
- Focus on oily areas, like the T-zone.
After applying setting powder, mist your face with a setting spray. This adds a touch of hydration and helps your makeup stay put all day.
Using these products carefully will ensure you achieve a smooth and radiant complexion on your special day.
Eye Makeup Mastery
Mastering eye makeup is essential for a stunning wedding look. You’ll want to define your brows, apply eyeshadow flawlessly, and finish with the perfect mascara. Here’s how to achieve each step with ease.
Defining Brows with Eyebrow Pencil
Start by choosing an eyebrow pencil that matches your hair color. A good pencil helps fill in gaps and shape your brows for a polished look.
- Brush your brows with a spoolie to see your natural shape.
- Outline your brows lightly. Begin at the inner corner and move towards the tail.
- Fill in any sparse areas with short, light strokes. This creates a natural look.
- Blend the pencil with the spoolie again to soften any harsh lines.
For a long-lasting effect, use a clear brow gel to set everything in place. This step ensures your brows look great from the ceremony to the reception.
Applying Eyeshadow Like a Pro
Choose an eyeshadow palette that complements your wedding colors. A mix of matte and shimmer shades will bring depth to your eyes.
- Start with a primer for better color payoff and longevity.
- Apply a neutral base to your eyelids. This prepares the canvas for the vibrant colors.
- Use a transition shade in the crease. This might be a soft brown or peach to create depth.
- Layer on your chosen colors. Apply your darker shades to the outer corners and lighter shades to the inner corners for brightness.
Don’t forget to blend well! A blending brush helps merge colors seamlessly for a professional finish. For added drama, apply a bit of shimmer to the center of your lid.
Finishing Touches with Mascara
Mascara brings life to your lashes. For weddings, consider using waterproof mascara to withstand tears and long hours of celebration.
- Curl your lashes before applying mascara. This step lifts and opens up your eyes.
- Apply mascara starting at the base and wiggling upward. This adds volume.
- Layer for extra drama, but avoid clumping. Use a clean spoolie to separate any stuck lashes.
For added glamour, consider false lashes. They can enhance your look without making it overly dramatic. Just ensure you choose a style that suits your natural shape.
Adding Color and Contour
Enhancing your features with color and contour is important for a polished wedding makeup look. This section will show you how to accentuate your cheekbones and find the perfect lip color to complete your bridal beauty.
Accentuating Cheekbones with Blush and Contouring
To create beautiful cheekbones, start with contouring. Choose a contour powder or cream a few shades darker than your skin. Apply it in the hollows of your cheeks, along your jawline, and on the sides of your nose. Then, blend well for a natural shadow effect.
Next, add blush to bring your cheeks to life. Cream blush gives a dewy look that photographers love. Use a shade that complements your skin tone. Apply it to the apples of your cheeks and blend upwards towards your temples. This technique creates a fresh and youthful appearance.
A highlighter can add a stunning glow. Apply it to the tops of your cheekbones, the bridge of your nose, and under your brow bone. This will catch the light and emphasize your features beautifully.
Choosing the Right Lip Color
Finding the ideal lip color is key to finishing your wedding look. Consider the overall theme and colors of your wedding. A bold red or deep berry can add drama, while soft nudes or pinks create a romantic vibe.
When you apply your lip color, use a lip liner to outline your lips first. This helps define the shape and prevents feathering. After that, fill in with your chosen lipstick, and consider a gloss for added shine.
Test the lip color against your makeup in natural light to ensure it blends well. Make sure to consider how the color looks with your blush and eyeshadow for a harmonious finish.