Is It Cheaper to Do Your Own Wedding Invites? A Cost-Effective Guide
Planning your wedding can be exciting, but it can also get pricey, especially when it comes to things like wedding invitations. If you’re thinking about how to keep your costs down, you might be wondering if making your own wedding invitations is the way to go. In many cases, creating DIY wedding invitations can save you money compared to buying professionally printed ones.
When you choose to design your own invites, you gain the freedom to customize them according to your style and budget. You can carefully select materials that fit your theme without overspending. Plus, the DIY process can add a personal touch that your guests will appreciate.
As you consider your options, it’s important to weigh the costs of supplies and the time involved in making your own invitations. Some couples find that the savings are worth the effort, while others prefer the convenience of buying ready-made options. Your wedding should reflect your vision while staying within your budget, so take the time to explore what works best for you.
Exploring DIY Wedding Invitations

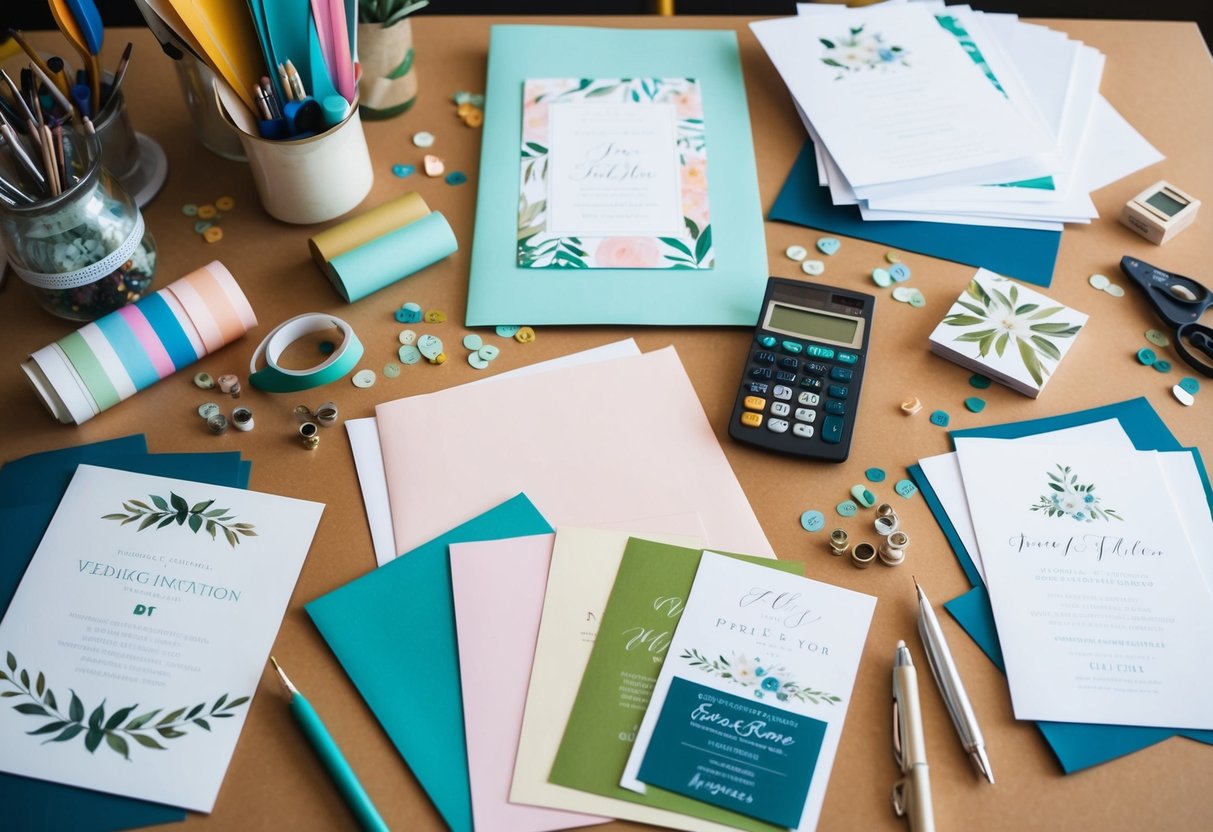
Creating your own wedding invitations can be a fun and rewarding experience. You can express your creativity and customize each detail to fit your style. Here’s what you should consider when exploring DIY wedding invitations.
Benefits of Making Your Own Wedding Invitations
Making your own wedding invitations can save you money. Professional invitations can cost at least $3 each, which adds up quickly. By creating them yourself, you can reduce costs significantly.
Another benefit is the ability to customize every aspect. You can choose the design, colors, and fonts that match your theme. This personal touch ensures that your invites reflect your personality and the vibe of your wedding.
Plus, DIY invitations allow for creativity. Whether you prefer a classic look or something unique, the options are endless. With a little time and effort, you can create invites that stand out and impress your guests.
Understanding the Basics of Invitation Design
Invitation design starts with a concept. Think about your wedding theme and colors. This will help guide your choices for layout and style.
Next, focus on the essential information. Include the date, time, location, and RSVP details. Make sure the text is clear and easy to read. You might want to use different fonts to highlight important details, but keep it balanced to avoid clutter.
Using design software can be helpful. There are many user-friendly options available that offer templates and design tools. With basic skills, you can create a professional-looking invitation right from your home.
Selecting the Right Materials and Tools
Choosing the right materials is crucial for your DIY invitations. Start with quality stationery. Cardstock is a popular choice for its thickness and durability. You can also use textured paper for added elegance.
Don’t forget about the tools you need. A good paper cutter will help you achieve clean edges. Scissors can work, but they may not be as precise. You might also want decorative items, like ribbons or stamps, to enhance your design.
Finally, consider envelopes. They are essential for presenting your invitations. Check that they fit your invitations properly. You want everything to look polished and coordinated when your guests receive their invites.
Cost Considerations and Budgeting
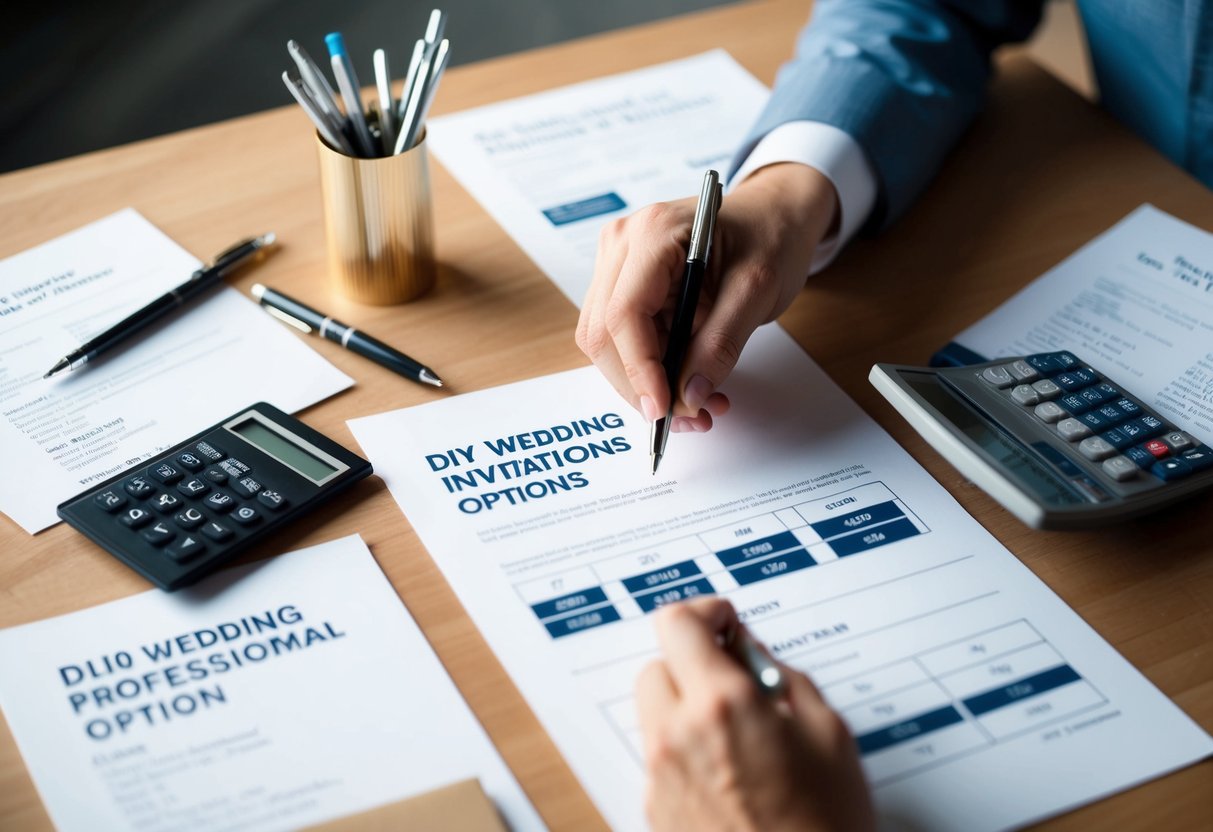
When planning your wedding invitations, it’s important to consider all the costs involved. Finding ways to stay within your budget can make a significant difference. You will want to look at printing costs, how to find affordable stationery options, and the financial difference between hiring a professional designer versus doing it yourself.
Calculating Printing Costs
Understanding printing costs is essential. Various printing methods can affect the price significantly. Digital printing is often more affordable for smaller batches, while offset printing may be better for larger orders.
To give you an idea, prices can range from $0.30 to $2.00 per invite. If you are printing 100 invitations, the total could be between $30 and $200. Don’t forget to account for extra costs like envelopes, postage, and any additional design elements you may want to include.
Finding Affordable Stationery Options
Finding affordable stationery helps to keep your wedding budget in check. Many stores offer discounted paper and envelopes, which can reduce costs. Look for sales or bulk-buy options.
Consider using online retailers that specialize in wedding stationery. Websites often provide design templates that you can customize, further saving on design costs. You can also check local craft stores for seasonal discounts on materials.
Comparing Professional Designer Fees and DIY Savings
Hiring a professional designer may seem appealing, but it can strain your budget. Average design fees can range from $150 to $500 or more, depending on the complexity of the invitation.
Doing it yourself can lead to significant savings. For instance, if your DIY invites cost about $1 each, you would spend $100 for 100 invites compared to potentially $300 with a designer. Weigh your options carefully; create a budget that allows for all elements, including time and effort.
Designing and Printing Your Invites

Creating your own wedding invitations can be a fun and cost-effective way to add a personal touch to your special day. By using the right DIY printing techniques and choosing customizable templates, you can ensure your invitations look great while being friendly to your budget.
DIY Printing Techniques
When you decide to print your own invitations, there are a few key techniques to consider. First, choose a quality printer. An inkjet or laser printer can both work, but make sure it can handle the paper weight you select.
Next, use high-quality cardstock, as this gives your invitations a professional feel. You should also experiment with different paper types, like matte or glossy finishes. Finally, consider printing a test page to check colors and layout before printing the full batch. This helps you avoid mistakes and save time.
Navigating Invitation Templates
Using wedding invitation templates can simplify the design process. Many websites offer customizable templates that allow you to add your personal touch. You can choose from various themes and styles to match your wedding’s vibe.
When selecting a template, look for one that offers plenty of personalization options. This might include custom text, colors, and design elements. You can often find templates that fit your wedding theme, whether it’s rustic, elegant, or modern. Using these templates can save you time and effort while ensuring your invites look wonderful.
Adding Personal Touches to Your Wedding Invitations
Personal touches make your wedding invitations special. Consider adding elements like a unique font or meaningful graphics. You can also include a photo of you and your partner to give a personal vibe.
Another idea is using your own artwork or illustrations, which showcases your creativity. Don’t forget about using color schemes that reflect your wedding theme. By mixing these design elements, you can create invitations that are truly yours. Remember, these small details can make a big difference in how your guests view your invites.
Time Management and Execution

When considering DIY wedding invitations, think about how much time you can dedicate to the project and how you’ll manage responses from your guests. Balancing your time and organizing the RSVP process are key to a smooth experience.
Evaluating Time Commitment for DIY Invitations
Creating your own invitations can be a fun project, but it also requires a clear time commitment. Start by estimating how long it will take to design, print, and assemble your handmade invites.
Consider these factors:
- Designing: Plan for at least 3-5 hours to find or create a design you love.
- Printing: This could take another 2-3 hours, depending on your setup.
- Assembly: When putting everything together, factor in an additional 2-4 hours.
Total time could reach 10-12 hours or more! Assess your work schedule and personal commitments. If you have limited time availability, a DIY project could become stressful. Make sure you set aside focused time to enjoy the process without rushing.
Organizing the RSVP Process
The RSVP process is an essential part of your wedding planning. Once your invitations are ready, you’ll want to ensure that your guests can easily respond.
Start by including clear RSVP cards with your invites. Here are some tips for organizing effectively:
- Include a clear deadline: This helps guests respond in a timely manner.
- Consider digital options: Offering an online RSVP option makes it easy to track responses.
To manage your wedding guest list, create a simple tracker. Use a spreadsheet to note guests, their responses, and any special requests. This organization will save you time later and keep you on track as your big day approaches.