Mailing Wedding Invitations Tips: Stress-Free Sending Guide
Sending out wedding invitations can be exciting but also a little overwhelming. With many steps to follow and details to remember, it’s easy to feel lost. You’ll want to make sure your invites reach your guests on time and in perfect condition. This article will guide you through the process and offer helpful tips.
From choosing the right postage to avoiding common mistakes, there are several factors to keep in mind. Whether you’re handling the mailing yourself or getting some assistance, having the right information can make a big difference. By following these tips, you’ll ensure your invitations are beautifully sent out and appreciated by all your guests.
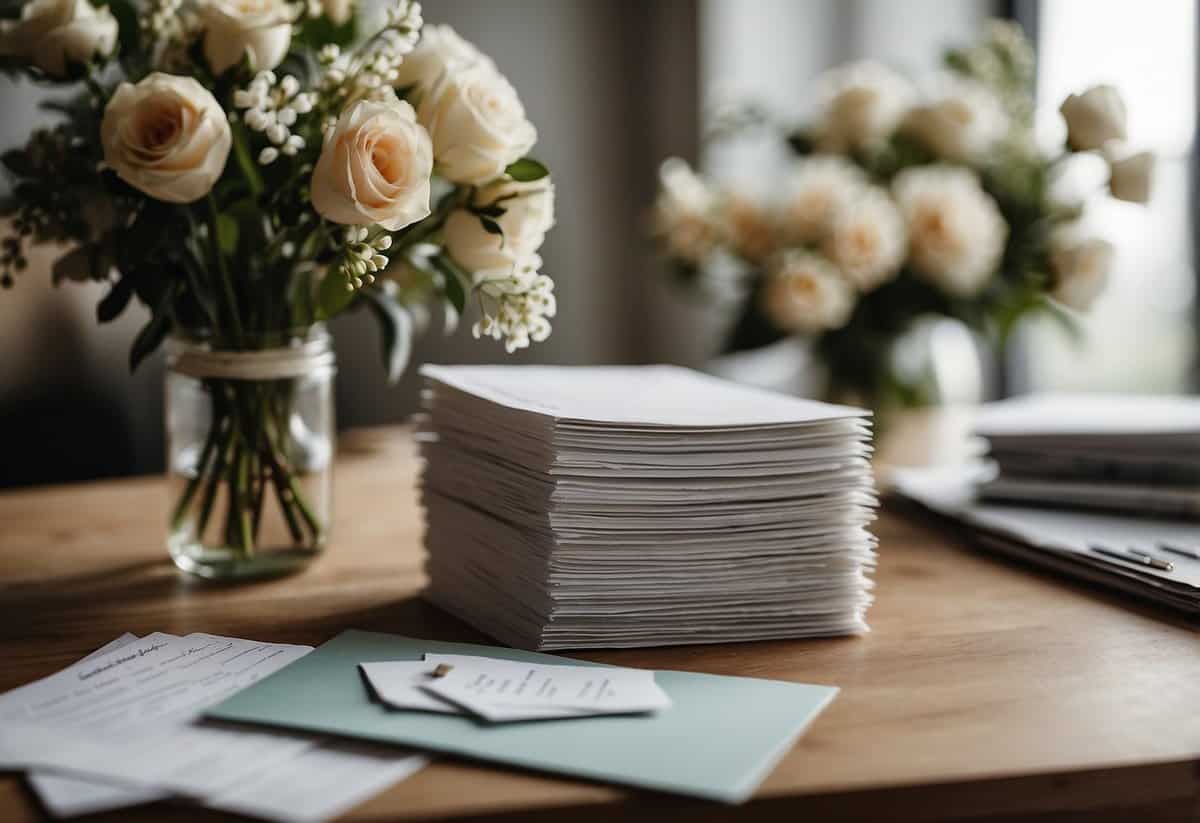
1) Order extra invitations

Always order more wedding invitations than you think you need. This helps you avoid the stress if you make a mistake or if you need to invite more people later.
It’s a good idea to have at least 25 extra invitations. Why? Some might get lost in the mail. Also, your family might want a few keepsakes.
Extra invitations also come in handy if you decide to invite people from a B-list. This way, you’re prepared for any changes in your guest list.
2) Double-check addresses
It’s important to double-check all addresses before mailing your wedding invitations.
Double-checking ensures that your invitations reach the right people without any mistakes.
Make sure the names are spelled correctly and include proper titles like “Mr.” or “Mrs.”.
If possible, verify your guest list details with your family or friends to catch any errors.
This extra step shows you care and respect your guests.
3) Use calligraphy pens
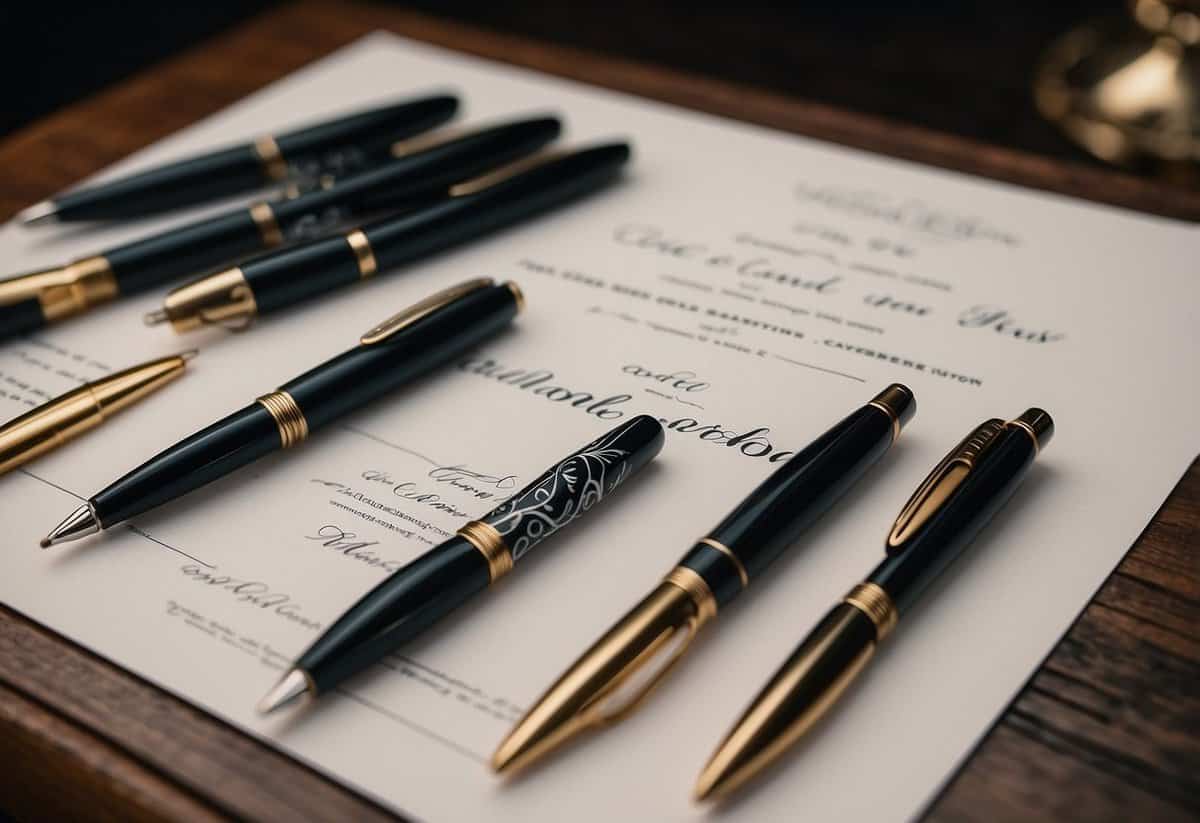
Using calligraphy pens can add a special touch to your wedding invitations. These pens are designed to create beautiful, flowing script that’s much more elegant than regular handwriting. They come in different nib sizes, so you can choose the one that best suits your style.
Practice is key when using calligraphy pens. It’s important to get comfortable with the pen and paper before you start on the actual invitations. Spend some time practicing your strokes and lettering on scrap paper.
There are plenty of tutorials and guides available online to help you learn the basics. Watching a few videos and following along can make a big difference. Patience and practice will go a long way in making your wedding invitations look perfect.
4) Seal with Wax Stamps
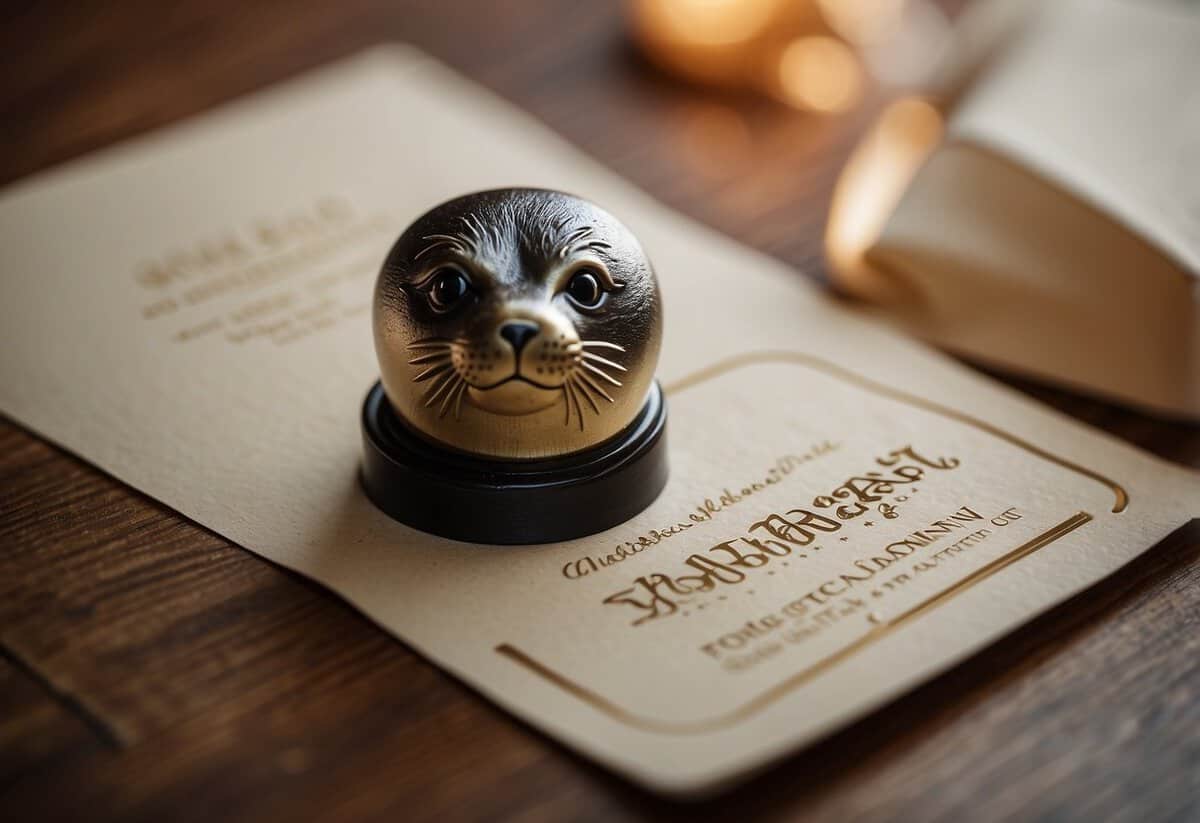
Sealing your wedding invitations with wax stamps adds a lovely touch. It makes the envelopes look elegant and special. You can choose from many designs, like initials, flowers, or even bees.
To get started, you’ll need a wax seal stamp and sealing wax. Brass stamps work best because they create clear and detailed impressions. Warm the wax, and then press the stamp into it carefully.
If the stamp sticks, try dabbing it with a bit of oil, like grape seed oil. Just be careful not to get too much oil on your paper. Practice a few times to get the hang of it.
Consider putting the seal on the inner envelope. This way, the outer envelope protects it during mailing. If you prefer sealing the outer envelope, ask the post office to hand-cancel your invitations. This means they won’t go through the sorting machine, and your seals will stay intact.
5) Include RSVP cards
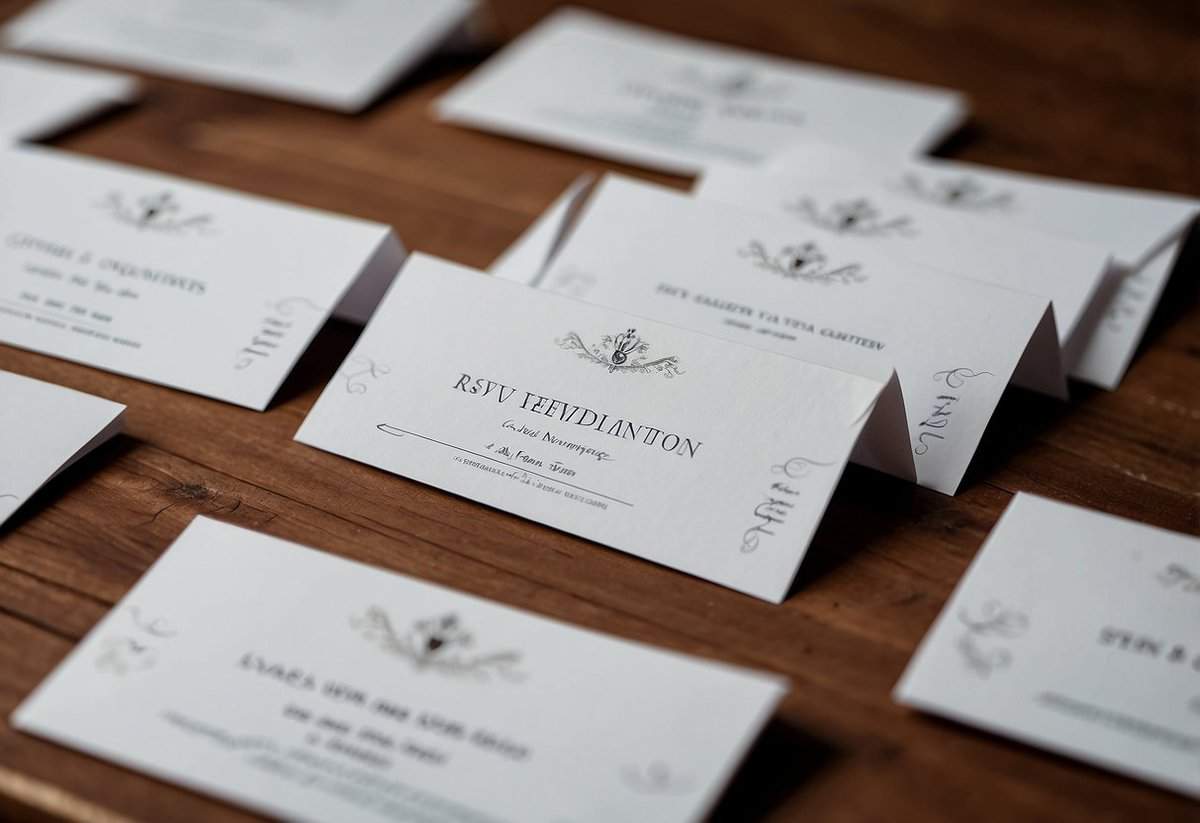
Including RSVP cards in your wedding invitations is essential. These small cards help you track who will be attending your big day.
Make sure each RSVP card has a place for guests to write their names. This way, you’ll know exactly who is responding.
You should also include options for meal choices if you’re offering different dishes. This can help with catering needs.
Remember to add a section for dietary restrictions. It’s important to accommodate all your guests.
Include a reply-by date on the RSVP card. Give guests around three to four weeks to respond.
Don’t forget to include a stamped envelope for guests to return the RSVPs. This makes it easy for them to send their replies back to you.
Offering a space for song requests or other special notes can add a personal touch. Guests feel more involved in your celebration.
6) Add Personal Notes
Adding personal notes to your wedding invitations can make a huge difference. It makes your guests feel special and appreciated.
Start by writing a short message to each guest. It could be something like, “Can’t wait to celebrate with you!”
Using their names in the note also adds a personal touch. Mention a shared memory or something you look forward to at the wedding.
Don’t worry about making the notes long. Just a sentence or two can show you care. Handwriting these notes can make them feel even more special.
Remember, it’s the thought that counts. Your guests will love the extra effort.
7) Stamp Envelopes Properly
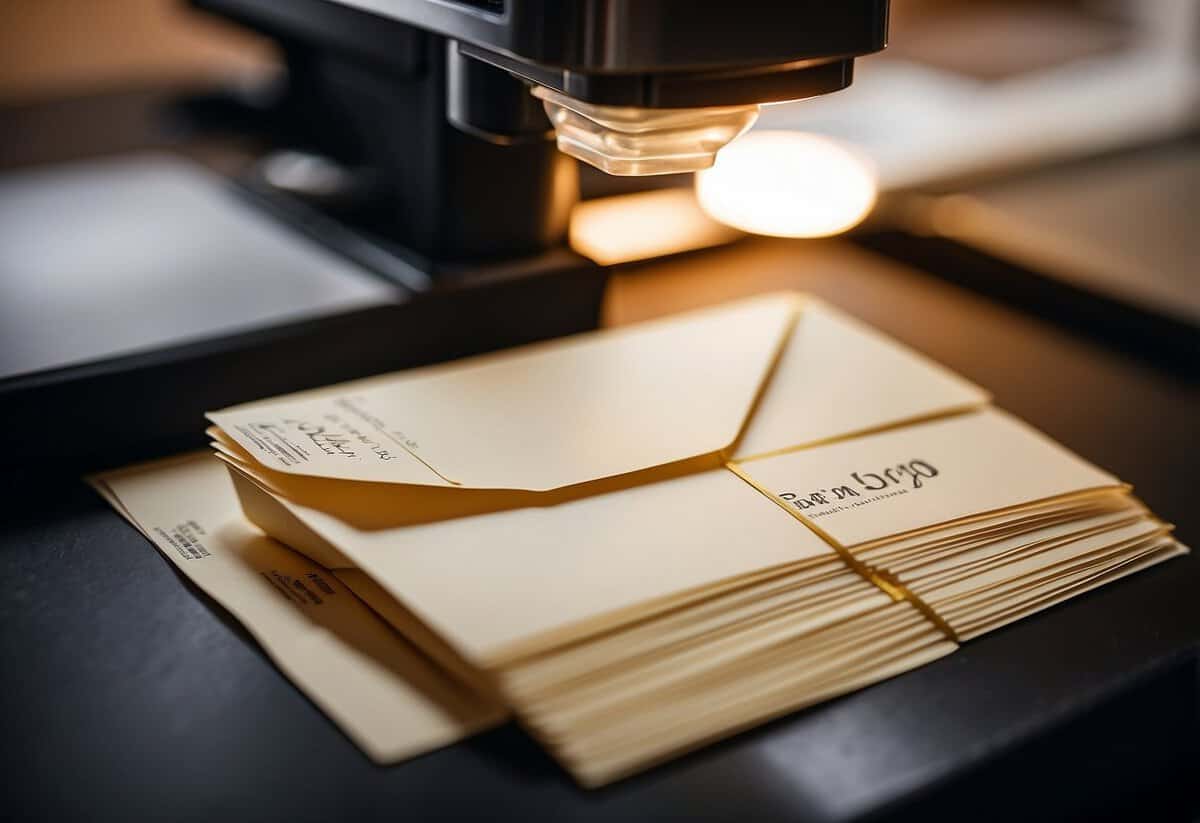
Make sure each envelope has the right postage. Go to the post office and weigh one of your invitations. This will help you know how much postage you need.
If your envelope is heavy or oversized, you might need extra stamps. Regular letters usually need one stamp, but wedding invitations can be different.
After you know the correct postage, place the stamps neatly on the top right corner of the envelope. This makes sure your invitations don’t get delayed or returned.
8) Consider Hand-Delivery
Hand-delivering wedding invitations to close family and friends can add a personal touch. It shows that you care enough to take time out of your day to see them in person. This is especially meaningful for VIP guests like parents, grandparents, and the wedding party.
Hand-delivery can also save on postage costs. Each invitation can cost around $0.58 to $1.00 in postage. Hand-delivering helps you skip this expense for some of your guests.
When you hand-deliver invitations, you can also get immediate feedback and share in the excitement. It gives you a chance to catch up and personally invite them to your special day.
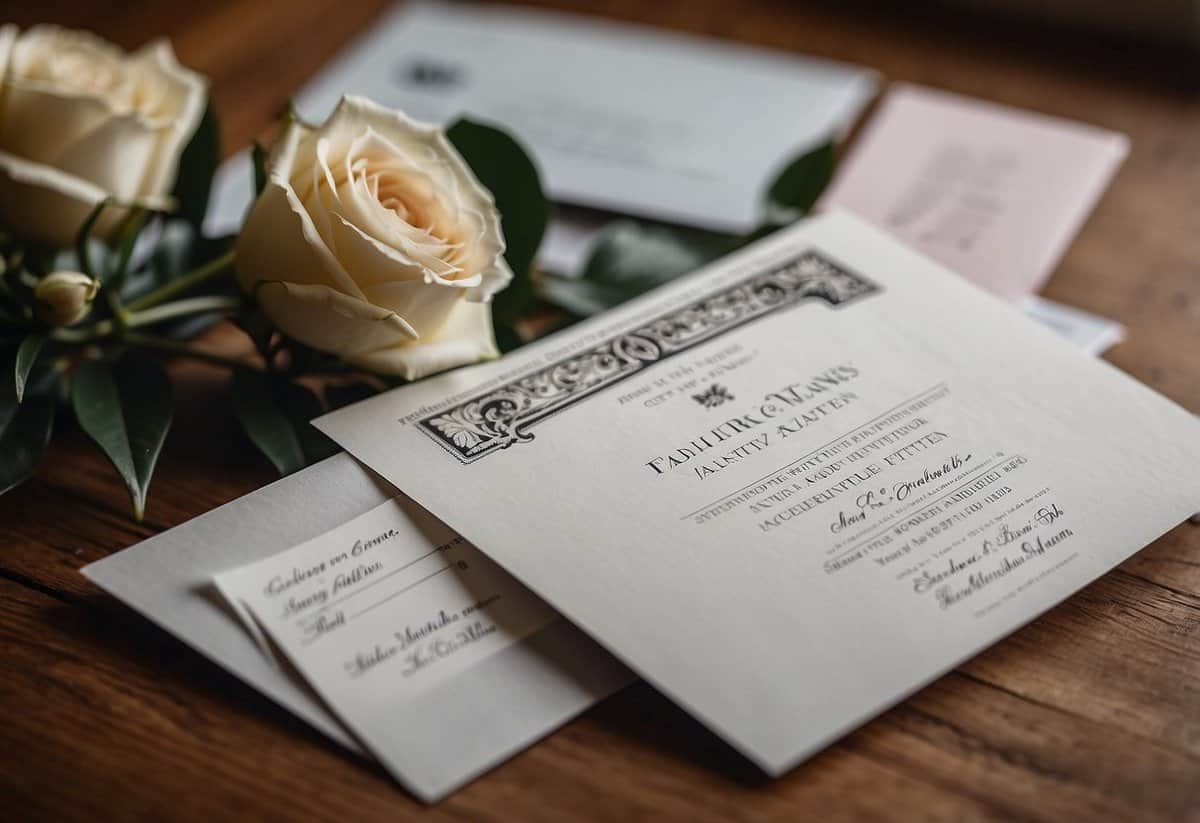
9) Choose elegant paper
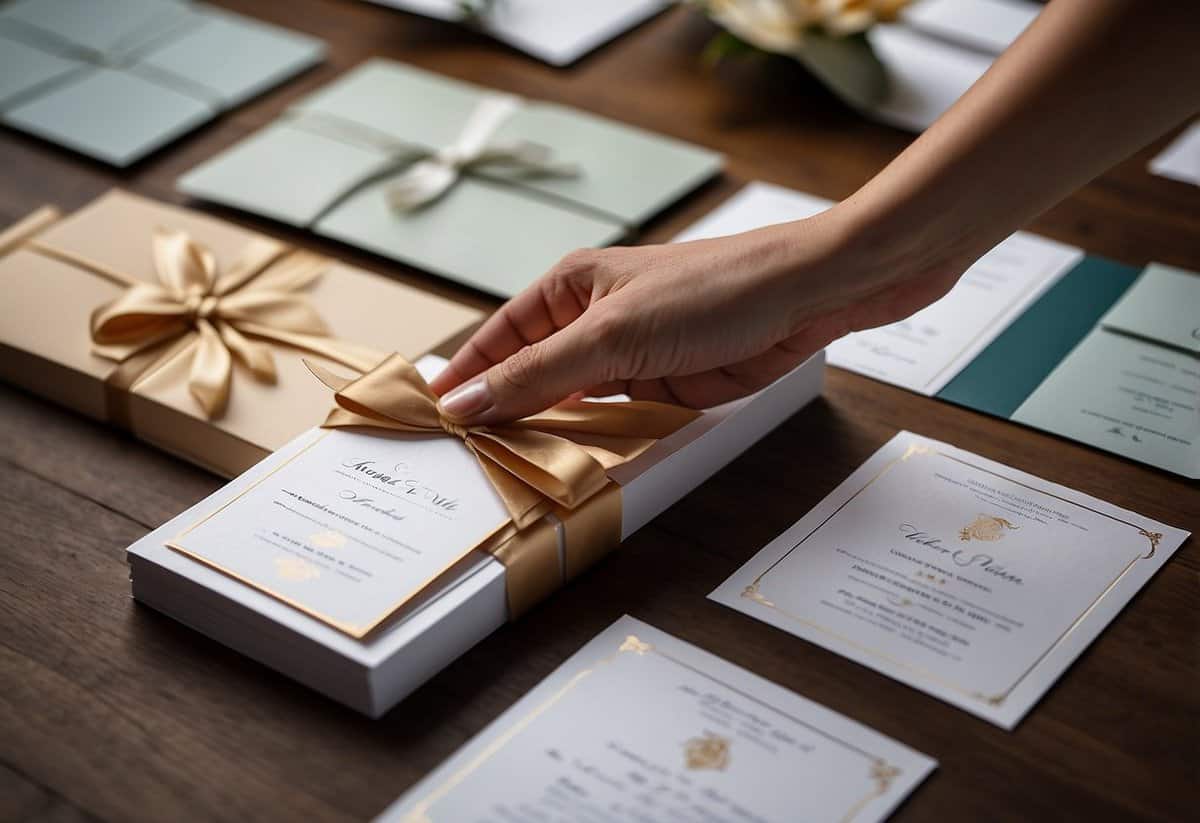
Choosing the right paper for your wedding invitations sets the tone for your big day.
Consider using vellum for a classy, translucent look. Vellum layers beautifully and can add a soft, elegant touch to your invitations.
Duplexed papers offer a unique feel. These are two sheets glued together, giving a sturdy and sophisticated appearance.
For a dramatic flair, light foils like silver or white on darker papers can make your invitations stand out.
Always request a sample to feel the texture and see the true colors before finalizing your order.
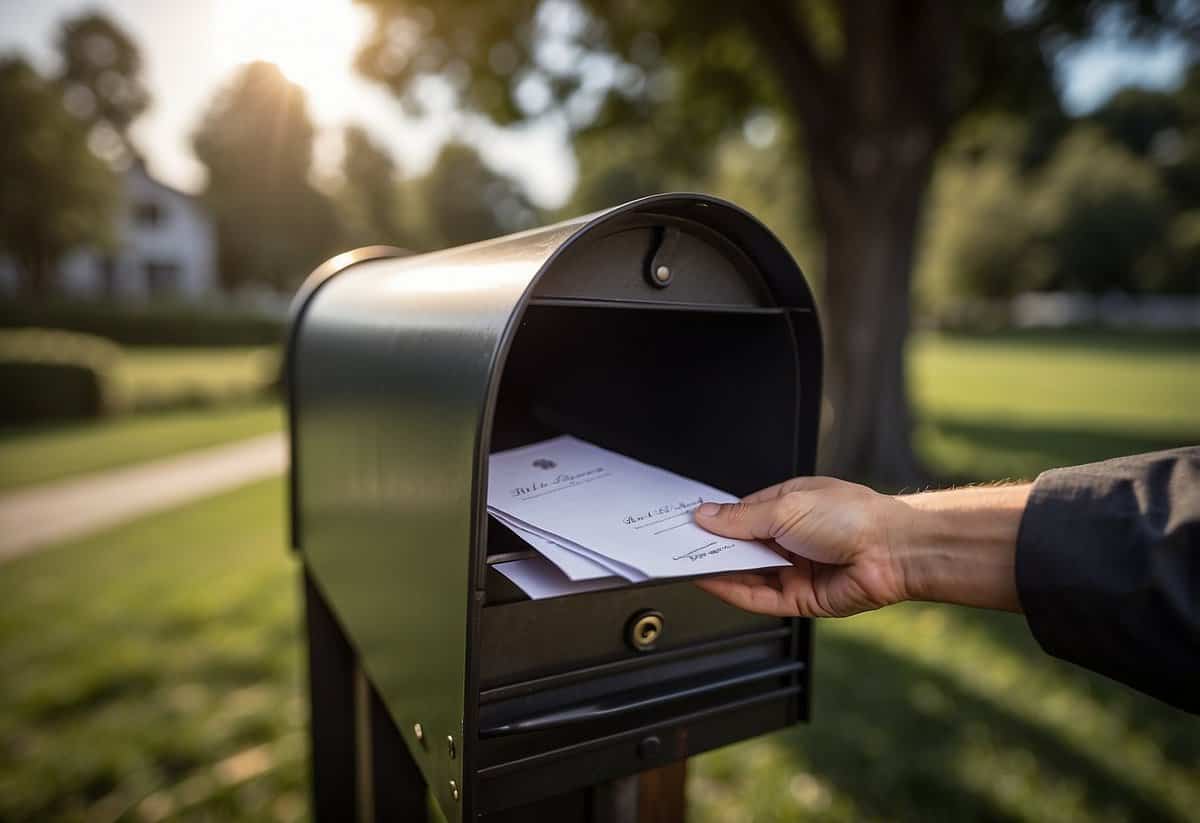
10) Send early to guests
Sending your wedding invitations early is important. Aim to mail them 6-8 weeks before the big day. This timing gives your guests enough time to RSVP and make their plans.
For out-of-town guests, you might want to send the invites even earlier. Around 8 weeks should work well, ensuring they can arrange travel and accommodations.
Don’t forget to send all invitations at the same time, even to local guests. This helps keep everything organized and ensures everyone gets the same information. Early mailing is key to a smooth and well-attended wedding.
Choosing the Right Time to Send
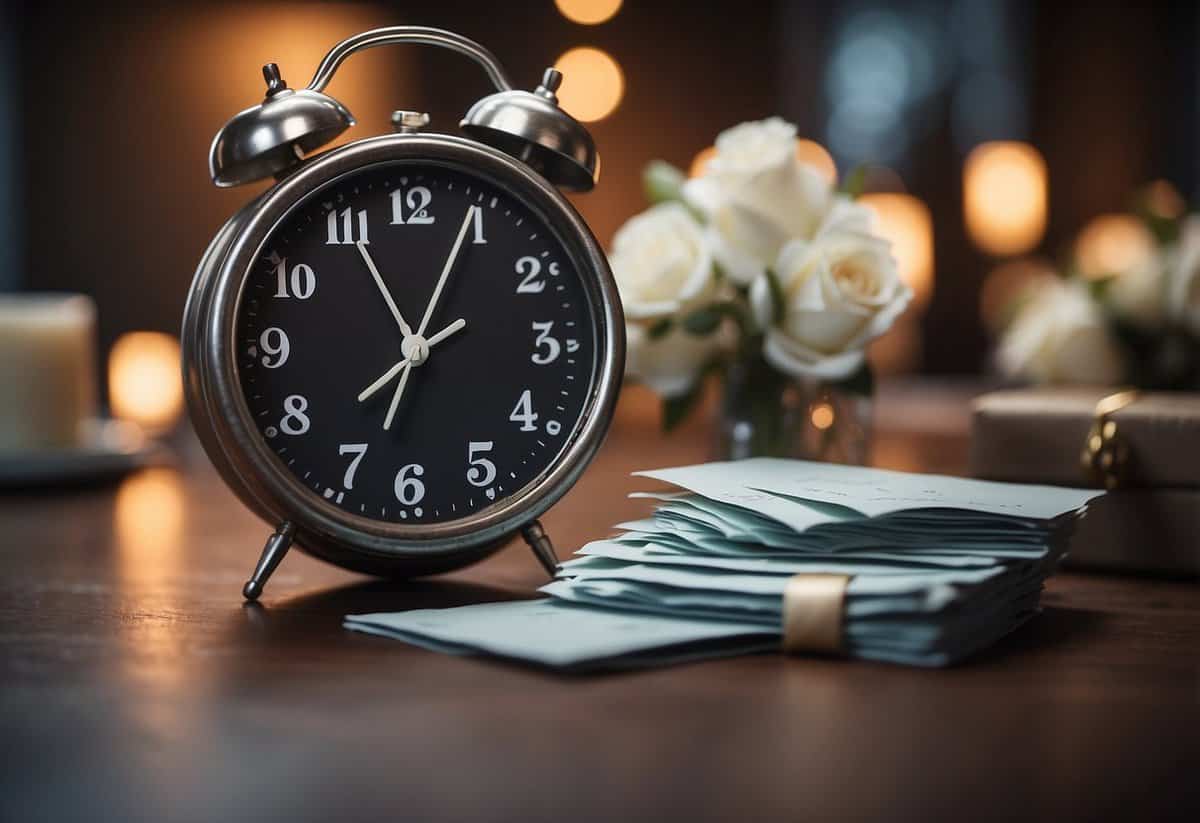
Selecting the best time to send your wedding invitations is crucial for ensuring your guests can plan appropriately. Timing depends on traditional wedding etiquette and your guests’ schedules.
Understanding Wedding Etiquette
Typically, you should send your wedding invitations six to eight weeks before the wedding day. This timing offers guests ample notice to plan their travel and arrangements. If you have out-of-town or out-of-state guests, it’s especially important to stick to this timeframe.
For destination weddings, invitations should go out even earlier—about three months before the event. This extended timeline allows guests to arrange travel, accommodations, and time off work. Save-the-Dates sent six to twelve months in advance can be very helpful for destination weddings too.
Considering Guests’ Schedules
Consider your guest list and their possible obligations before setting an invitation mailing date. For weddings during peak travel seasons or holidays, send invitations a bit earlier. This helps guests avoid conflicts with their own travel plans or vacations.
If you’re planning a local wedding and most guests live nearby, the standard six to eight weeks might suffice. However, for guests with busy schedules, an RSVP deadline of two to three weeks before the wedding date ensures you can finalize numbers and arrangements promptly.
Using Save-the-Dates is a strategic way to give all your guests advanced notice, especially if your wedding date falls during a busy time of year.
Addressing Invitations Properly
Addressing your wedding invitations is a crucial step that sets the tone for the event. Using the right etiquette ensures your guests feel respected and welcomed.
Formal vs. Informal Addressing
When addressing wedding invitations, consider the formality of your event. For formal weddings, use titles and full names. Write out addresses completely, including street names and states. For example:
- Mr. and Mrs. John Smith
- 1234 Maple Street
- New York, New York 10001
For informal weddings, you may use first names and less formal titles. This approach is more relaxed and personal. An example includes:
- John and Jane
- 5678 Oak Drive
- Boston, MA 02112
Choose the style that best fits the tone of your wedding to be consistent with your theme.
Handling Different Scenarios
Addressing envelopes can be tricky when dealing with various guest situations. For couples with different last names, list both names on separate lines, such as:
- Ms. Emily Brown
- Mr. Michael Johnson
For families, address the envelope to both parents and include children on the inner envelope:
- Mr. and Mrs. William Taylor
- Billy and Suzy
When inviting a solo guest with a plus-one, use “and Guest” for clarity:
- Mr. David Green and Guest
These tips ensure everyone feels included and respected in your invitation process.