
Should Makeup Be Darker for Pictures? Tips for Flawless Photography Looks
Many people wonder if they should choose darker makeup for a better look when taking photos. The answer is yes, darker makeup can help your features stand out and look more defined in pictures. This is especially true for photography styles that use light editing, where softer colors may wash you out.
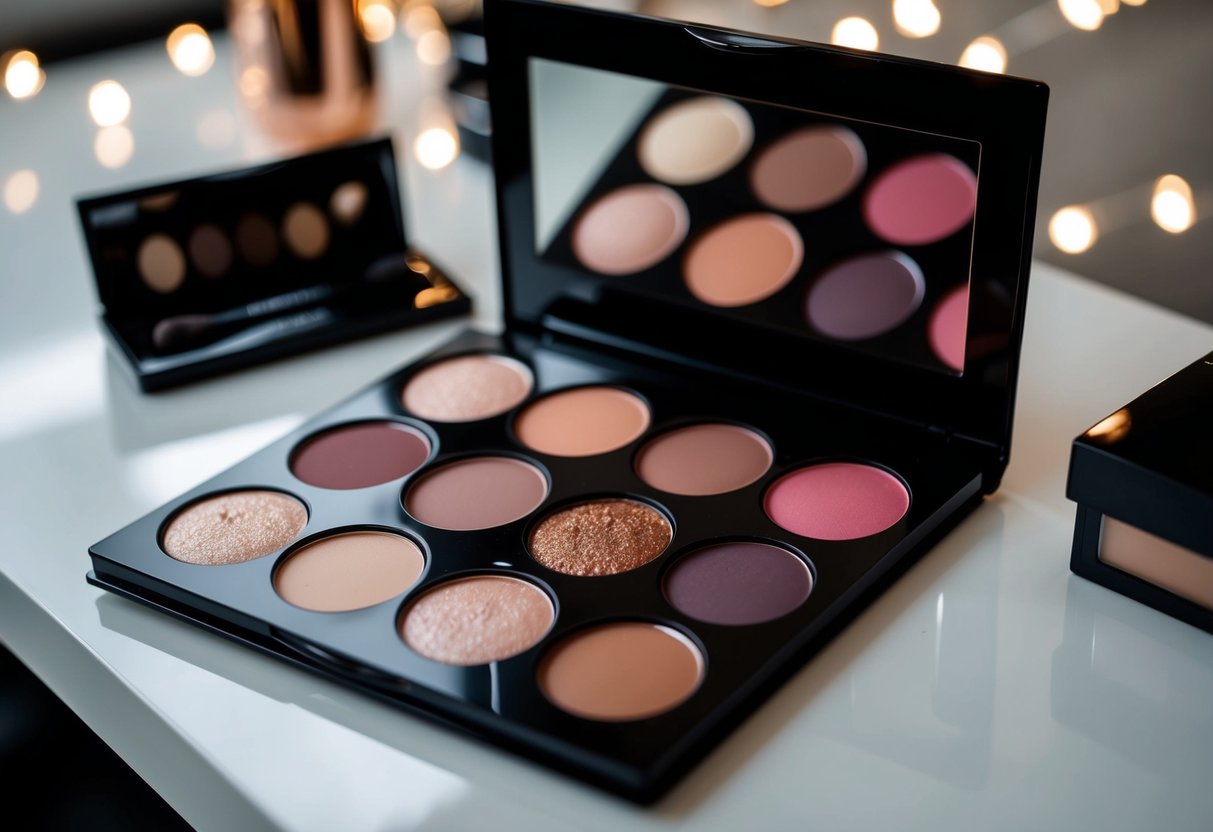
In the world of photography, the right makeup can make all the difference. Using slightly darker shades for your liner and lip color can enhance your appearance on camera. Makeup tips for photos often suggest this approach to ensure your look is balanced and appealing, allowing your personality to shine through.
So, whether you’re preparing for a family portrait or a special event, remember that a little extra color can help you look your best. By selecting makeup with a bit more depth, you can achieve a stunning look that pops in photos, making your memories even more beautiful.
Understanding Photo-Ready Makeup Basics
When preparing for photos, understanding the right makeup techniques can enhance your appearance. Key aspects like primer, foundation, and concealer will create a smooth canvas, ensuring you look great under the camera’s lens.
Importance of Primer and Foundation
Using a primer is essential for a flawless base. It helps your makeup stay in place and smooths out the skin’s texture. If you tend to get oily, choose a mattifying primer to help control shine in photos.
As for foundation, opt for a product that matches your skin tone. A matte foundation is often ideal because it reduces shine and provides good coverage. If you prefer a lighter feel, a lightweight foundation can still deliver a natural look. Remember, your foundation should be one shade darker than your skin tone to ensure it looks good in pictures.
Skin Tone Adaptations
Adapting your makeup to your skin tone is crucial. If you have a warm skin tone, look for foundations with yellow undertones. For cooler skin tones, choose those with pink or neutral undertones.
Remember to blend well, especially at the jawline, to avoid harsh lines. You may also want to warm up your look with a bit of bronzer, which adds dimension without overdoing it. This will help create a balanced appearance in photos.
The Role of Concealer and Powder
Concealer is your best friend for hiding blemishes and dark circles. Choose a creamy concealer that matches your foundation for the best results. Apply it sparingly and blend well.
After applying concealer, set your makeup with translucent powder. This helps to reduce shine and ensures your makeup lasts longer. For photos, less is often more. Focus on areas that tend to shine or need extra coverage.
Techniques for Enhancing Features
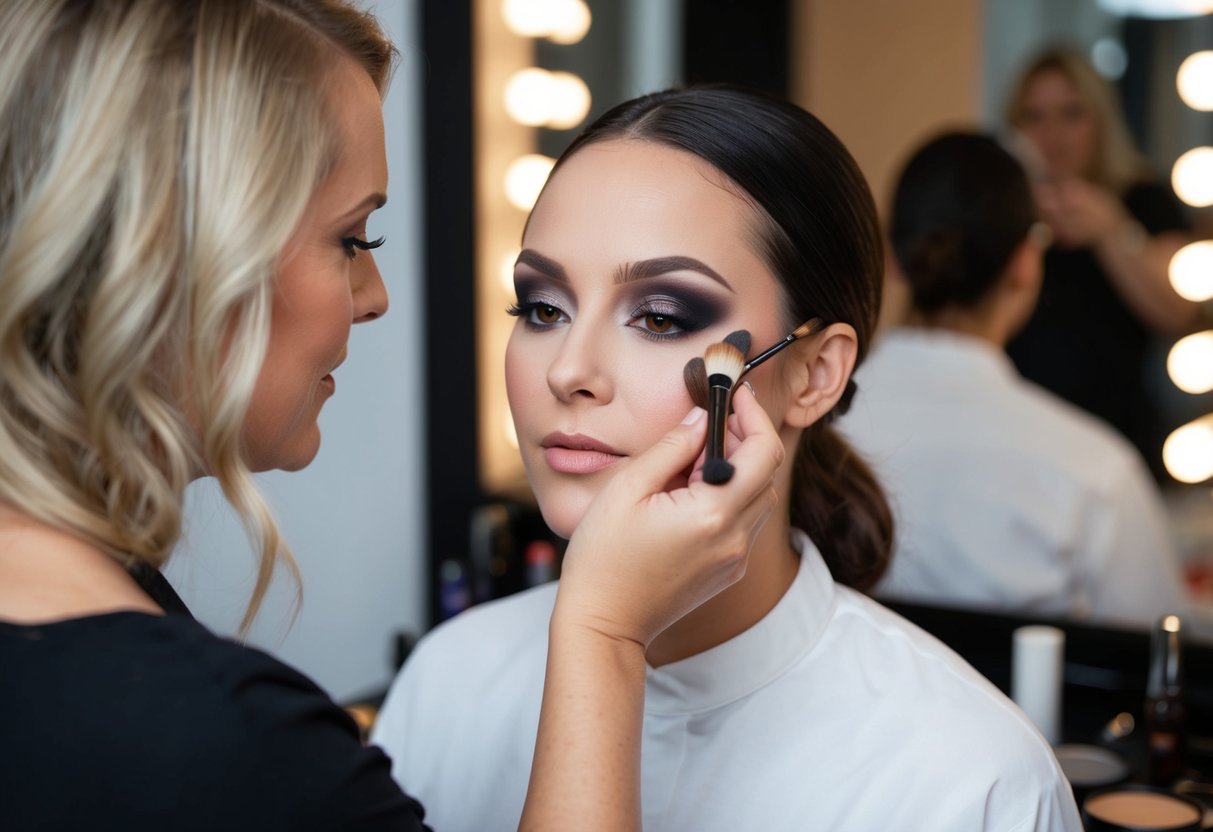
To enhance your features for pictures, focus on your eyes, define your lips and cheeks, and use contouring and highlighting. Each technique helps create a balanced and radiant look that stands out in photos.
Eyes in Focus
Your eyes are often the focal point in photographs, so make them pop. Start with a good base by applying an eyeshadow primer. This helps your eyeshadow stay vibrant.
Choose colors that complement your eye color; for example, warm tones like gold and bronze look great with blue eyes.
Use a black liner for definition. Apply it along your upper lash line and the waterline to create depth. Add a touch of eyeshadow on your lid for dimension. Finish with mascara to make your lashes look fuller and longer. When you capture that perfect moment, clear and bright eyes will make your photos shine.
Defining Lips and Cheeks
Defined lips and cheeks can really bring your look together. Choose a lip color that contrasts your natural shade. Going a bit darker than your usual choice helps your lips stand out in photos. Don’t forget to line your lips with a lip pencil to improve the shape and keep color in place.
For your cheeks, use blush that adds warmth without overpowering your look. A soft peach or rosy hue usually works well. Apply it to the apples of your cheeks and blend slightly upward. This will give you a natural glow that shows up beautifully in pictures.
Contouring and Highlighting Strategies
Contouring and highlighting add dimension to your face. Start with a matte bronzer to create shadows in areas such as your cheekbones, jawline, and nose. Make sure to blend well to avoid harsh lines.
Next, apply a highlighter to the high points of your face like your cheekbones, brow bones, and the tip of your nose. This catches the light and gives your skin a dewy finish. Proper contouring and highlighting can really enhance your features, making them stand out in any shot.
Skincare Routine for Photography Makeup
A good skincare routine is essential for looking your best in photographs. Focusing on cleansing, moisturizing, and protecting your skin can enhance your overall appearance and help your makeup last longer.
Preparation and Protection
Before applying makeup, start with a cleanser to remove any dirt and oil from your skin. Choose a gentle formula that won’t strip your skin’s natural moisture.
Next, exfoliate a few times a week to keep your skin smooth. This helps to eliminate dead skin cells, reducing the appearance of fine lines.
Apply a hydrating serum that suits your skin type. Serums provide concentrated ingredients that can brighten your skin and give it a youthful glow.
Don’t forget moisturizer. A good moisturizer helps to lock in hydration. Look for one that won’t feel heavy on your skin.
Finally, use a broad-spectrum sunscreen with SPF. This protects your skin from UV damage, which can cause premature aging.
Achieving a Youthful Glow
To achieve a youthful glow, you must focus on skin hydration and radiance. Use a moisturizer that includes ingredients like hyaluronic acid or glycerin for intense hydration. This will help plump your skin and make it look more vibrant.
Consider adding a facial oil to your routine. A few drops can enhance your skin’s luminosity.
As you prep your skin, avoid heavy products that could cause your makeup to slide off. Instead, stick to lightweight formulations.
After moisturizing, allow your skin to rest for a few minutes before applying makeup. This ensures that the products absorb well.
Final Touches and Setting the Look
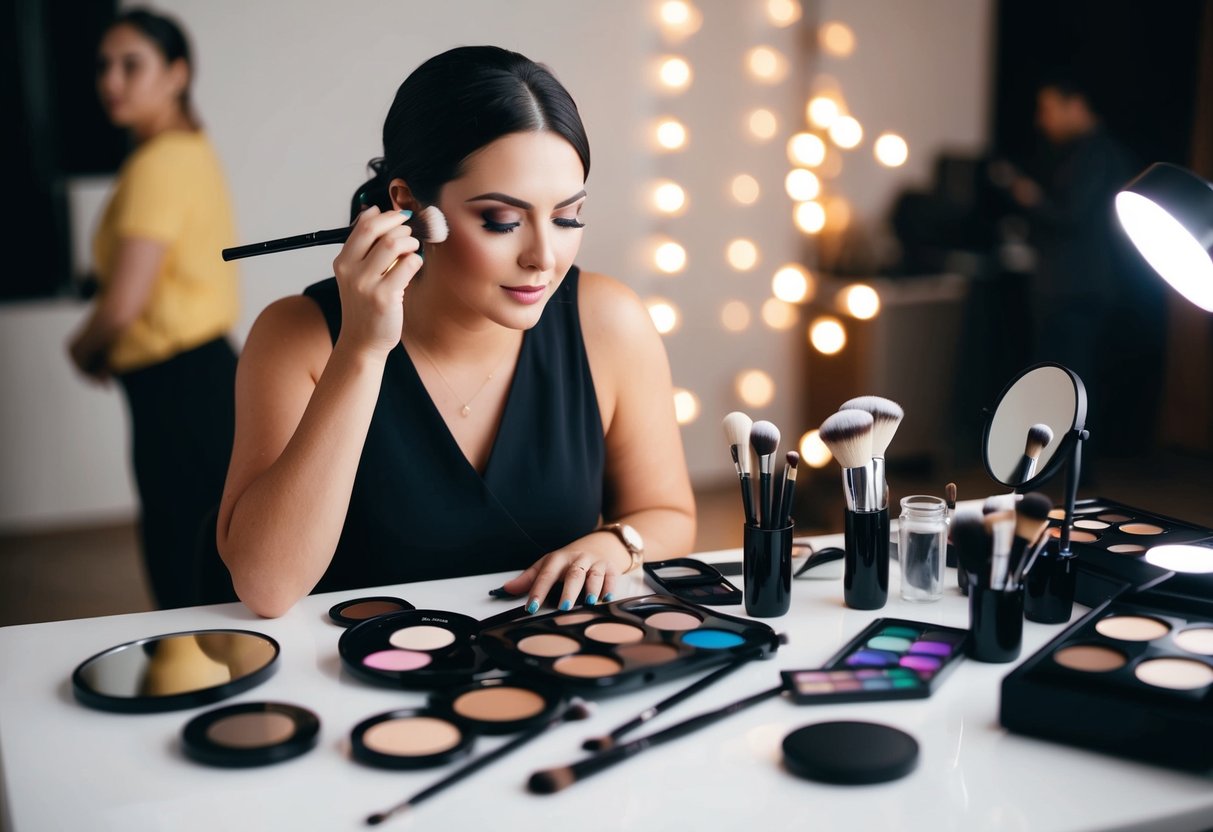
To achieve a polished look for your photos, it’s important to focus on your lips and the overall sealing of your makeup. The right lipstick and gloss will enhance your features, while setting spray ensures your hard work lasts throughout the photoshoot.
Choosing the Right Lipstick and Gloss
When selecting lipstick, consider the overall vibe of your photoshoot. Bold colors often stand out well in photos, especially deeper reds, pinks, or mauves. If you’re aiming for a softer look, opt for nudes or pastel shades that enhance your natural beauty.
Pair your lipstick with a gloss to add shine and dimension. Creating the perfect pout can help your lips pop. You may also want to consider a long-lasting formula that can withstand touch-ups.
Don’t forget to match your lip color to your eye makeup for a balanced look. Using a tinted moisturizer can help in achieving that fresh, natural appearance while allowing your lipstick to shine.
Sealing Makeup with Setting Spray
Setting spray is a must-have for any professional photoshoot. It locks in your makeup, ensuring that it stays fresh and in place for hours.
Choose a setting spray that matches your skin type, whether it’s oily, dry, or combination.
To use, hold the spray about 6-8 inches from your face and mist evenly. You can even use it in layers, applying a fine mist both before and after makeup application.
This technique helps in maintaining a dewy look without making your makeup feel heavy.
For a professional finish, consider using a setting powder before applying spray. This combo can reduce shine and set your makeup, giving you a flawless appearance in every shot.