Tips for Doing Your Own Wedding Makeup: A Bride’s Guide
Planning your wedding involves many exciting decisions, and doing your own makeup can be a wonderful way to add your personal touch to your big day. With the right tips and a bit of practice, you can achieve a stunning look that reflects your style, making you feel confident and beautiful as you walk down the aisle.

Why trust someone else with your wedding makeup when you can create a professional and personalized look yourself? This guide will help you with practical advice and step-by-step tips to make sure you’re camera-ready for every special moment. Whether you’re a makeup novice or a beauty enthusiast, you’ll find everything you need to shine on your special day.
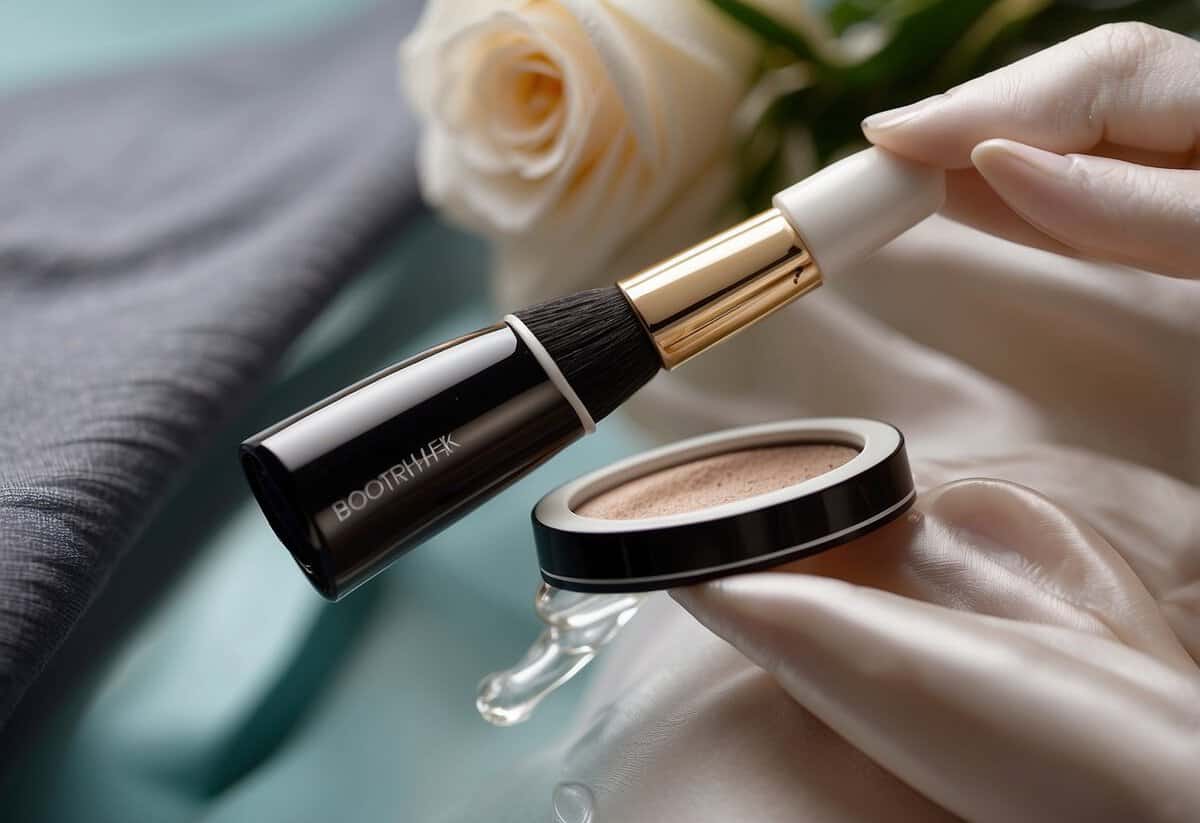
1) Choose Long-Lasting Foundation
For your wedding day, you want a foundation that lasts through tears, hugs, and dancing. Look for formulas labeled “long-wearing” or “24-hour wear.”
Avoid foundations with SPF as they can cause a white cast in photos. Opt for a matte or satin finish for a natural but polished look.
Test the foundation beforehand to ensure it matches your skin tone and doesn’t cause breakouts.
Don’t forget to apply a primer before your foundation to help it stay put longer.
2) Brighten Eyes with Concealer
Your wedding day is special, and you want to look your best. Brightening your eyes with concealer can make a big difference. Start by choosing a concealer that matches your skin tone.
Apply the concealer in a triangle shape under your eyes. Blend it out gently with a makeup sponge or brush. This helps cover dark circles and makes your eyes look more awake.
Don’t forget to set the concealer with a light dusting of powder. This will help it stay in place all day long. A bright-eyed look will make you feel confident as you walk down the aisle.
3) Use Primer to Smooth Skin
Primer is a crucial step in your wedding makeup routine. It smooths out your skin, creating an even base for your foundation.
Applying primer helps your makeup last longer. It’s especially important on a busy wedding day when you need your look to stay fresh.
Choose a primer that matches your skin type. For example, a matte primer works best for oily skin, while a hydrating primer is ideal for dry skin.
4) Set Makeup with Translucent Powder
After you’ve applied all your makeup, setting it with translucent powder helps keep everything in place. The powder can absorb excess oil and prevent your makeup from smudging throughout the day.
Use a fluffy brush to lightly dust the powder over your face. Focus on areas that tend to get oily, like your forehead, nose, and chin.
Be sure to blend well so that it doesn’t leave any noticeable residue. This step ensures your makeup looks fresh and lasts longer, especially during your wedding.
5) Waterproof Mascara for Tears
On your wedding day, emotions run high. You might find yourself tearing up during vows or the first look. Using waterproof mascara can help keep your makeup intact.
Waterproof mascara is designed to resist smudging, even if you cry. It will keep your lashes looking great all day.
Look for a mascara that adds length and volume without clumping. This helps create a natural look. A recommended option is L’Oréal Telescopic Original Waterproof Mascara.
6) Blend eyeshadow seamlessly
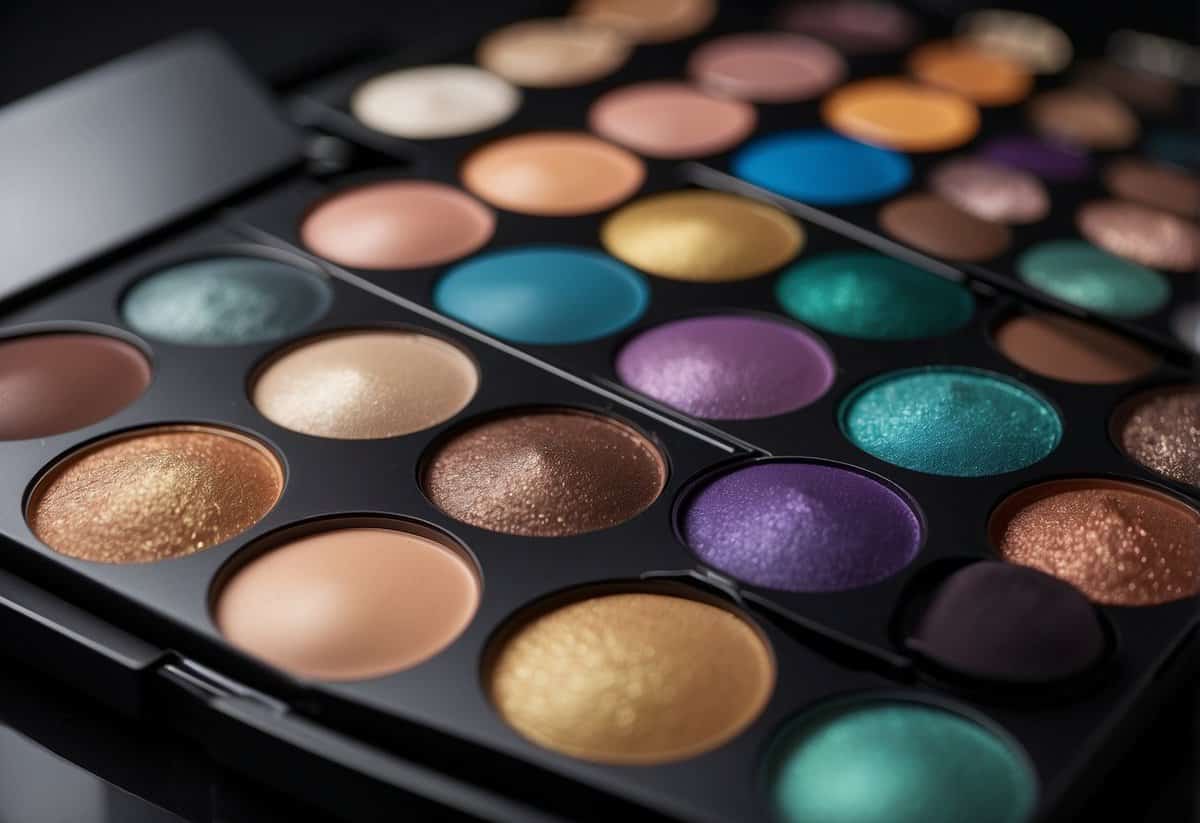
Start with a good base. Use a primer to make your eyeshadow last longer and to prevent creasing. This makes the colors pop and look smooth.
Apply a transition shade in the crease of your eyelid. Use a fluffy brush for this. This will help blend other colors together.
Use a smaller brush for your main color. Apply it to your eyelid gently. To blend, use a clean brush and make small, circular motions.
Add a darker shade to the outer corner of your eye for depth. Blend out any harsh lines to make the look smooth.
For the final touch, use a light, shimmery shade under your brow bone and in the inner corner of your eye. This adds brightness and makes your eyes pop.
Look in the mirror to check your blending. Add more blending if needed to achieve seamless eyeshadow.
7) Lip liner for perfect lips

Using lip liner can make your lips look amazing. Choose a lip liner that matches or is slightly darker than your lipstick.
Start by outlining your lips. Begin at the cupid’s bow and slowly move to the corners. This adds shape and prevents lipstick from smudging.
Fill in your lips with the liner to help your lipstick stay on longer. Blend the liner and lipstick for a seamless look. Applying a bit more color to blend them well can make a big difference.
8) Natural blush for rosy cheeks
Blush can give you a natural, rosy glow on your wedding day.
For a soft look, apply your blush just below the cheekbone and blend outward. This smooth blending helps it look natural. If you have a round face, you can make it look a bit more angular by sweeping blush from your ear down toward your mouth.
Choosing the right blush color is essential. Pink or peach tones work well for a natural look. Apply a light touch to the apples of your cheeks to add warmth and highlight your cheekbones.
To really make your cheeks pop, consider using a rosy blush that also matches your lipstick. This can create a cohesive and glowing look that enhances your natural beauty. Remember, the goal is to look like you have a natural, healthy flush.
Experiment with different shades and find what works best for your skin tone.
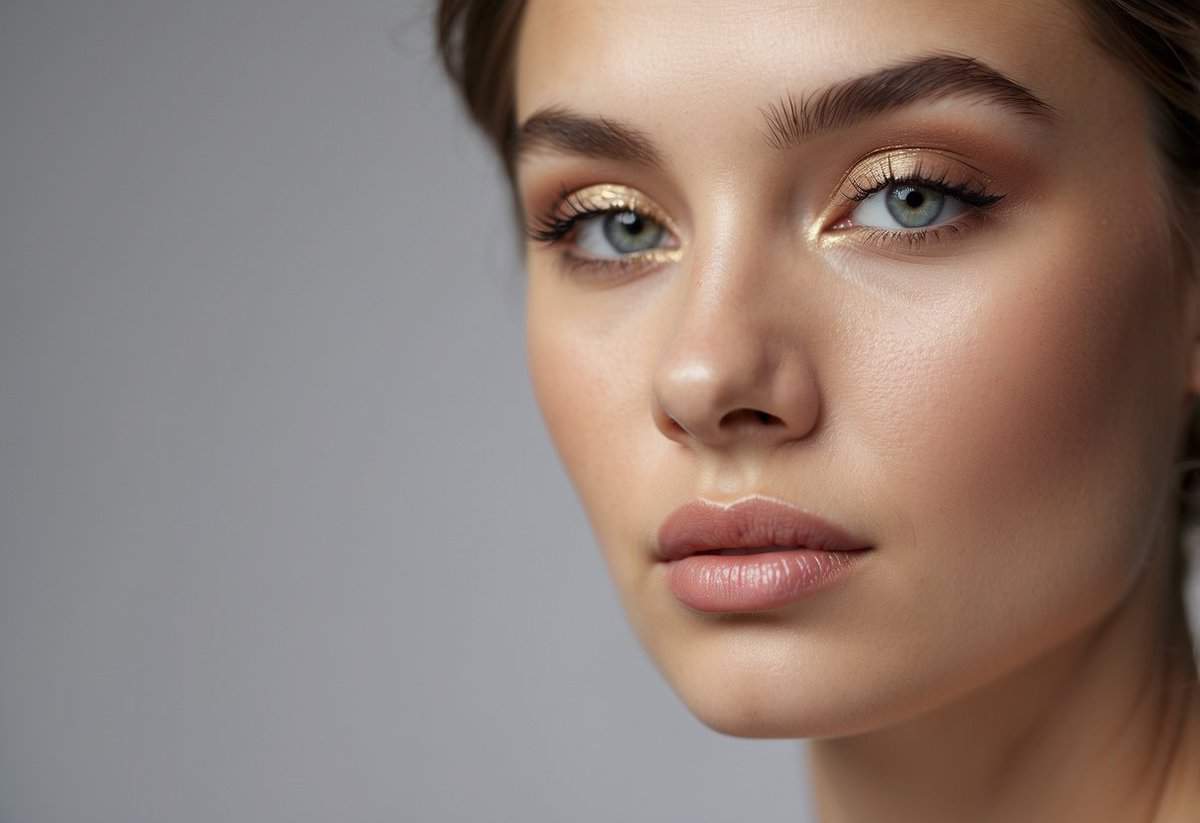
9) Highlighter for Radiant Glow
Highlighter can give your skin a beautiful, radiant glow. Choose a shade that matches your skin tone. For wedding makeup, a dewy finish looks great.
Apply highlighter to the tops of your cheekbones, the bridge of your nose, and your brow bone. This will accentuate your facial features.
To blend the highlighter, use a makeup brush or your fingertips. This ensures a natural-looking finish.
Adding a small amount of highlighter to the inner corners of your eyes can also make them appear brighter.
10) Prep skin with moisturizer
Start with clean skin. Use a gentle cleanser to remove any dirt or oil.
Apply a good moisturizer suited for your skin type. This helps create a smooth base.
Let the moisturizer soak in for a few minutes. This allows your skin to hydrate fully and reduces the chance of your makeup looking cakey.
Choose a lightweight, non-greasy formula. This will help keep your makeup in place throughout your big day.
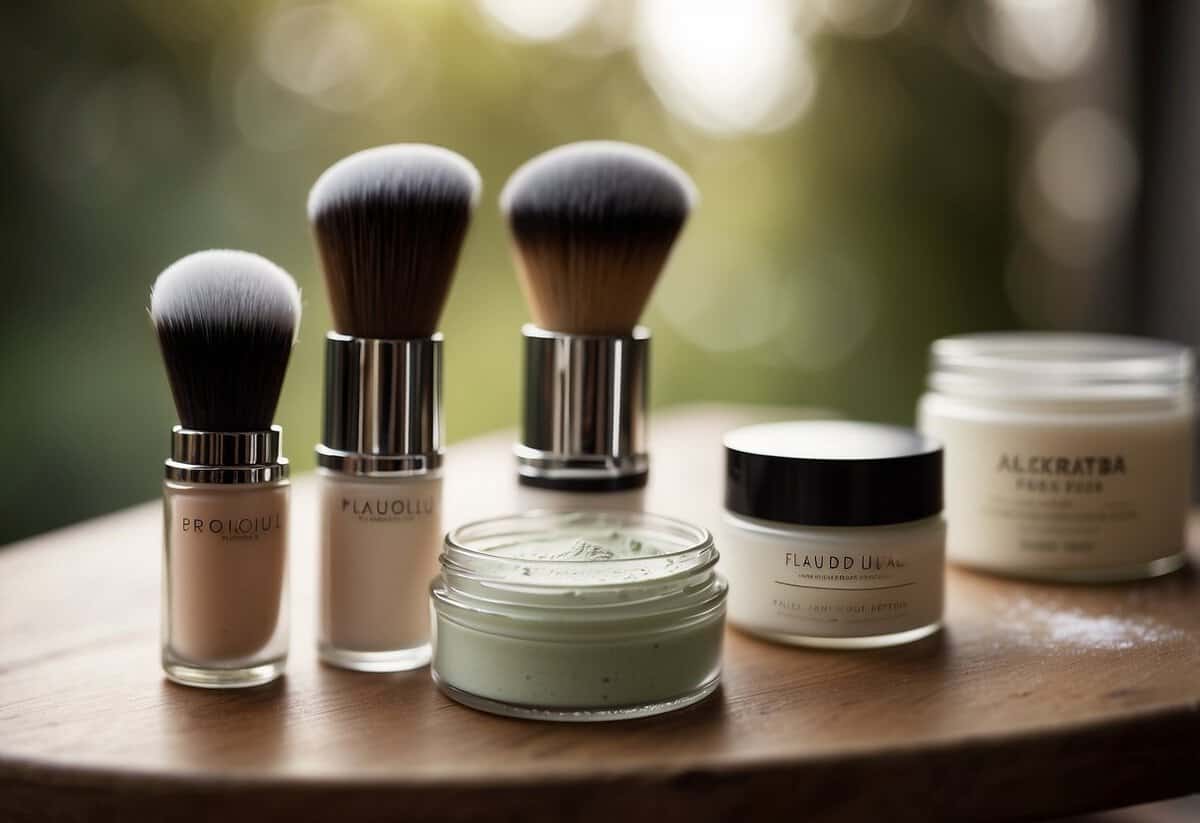
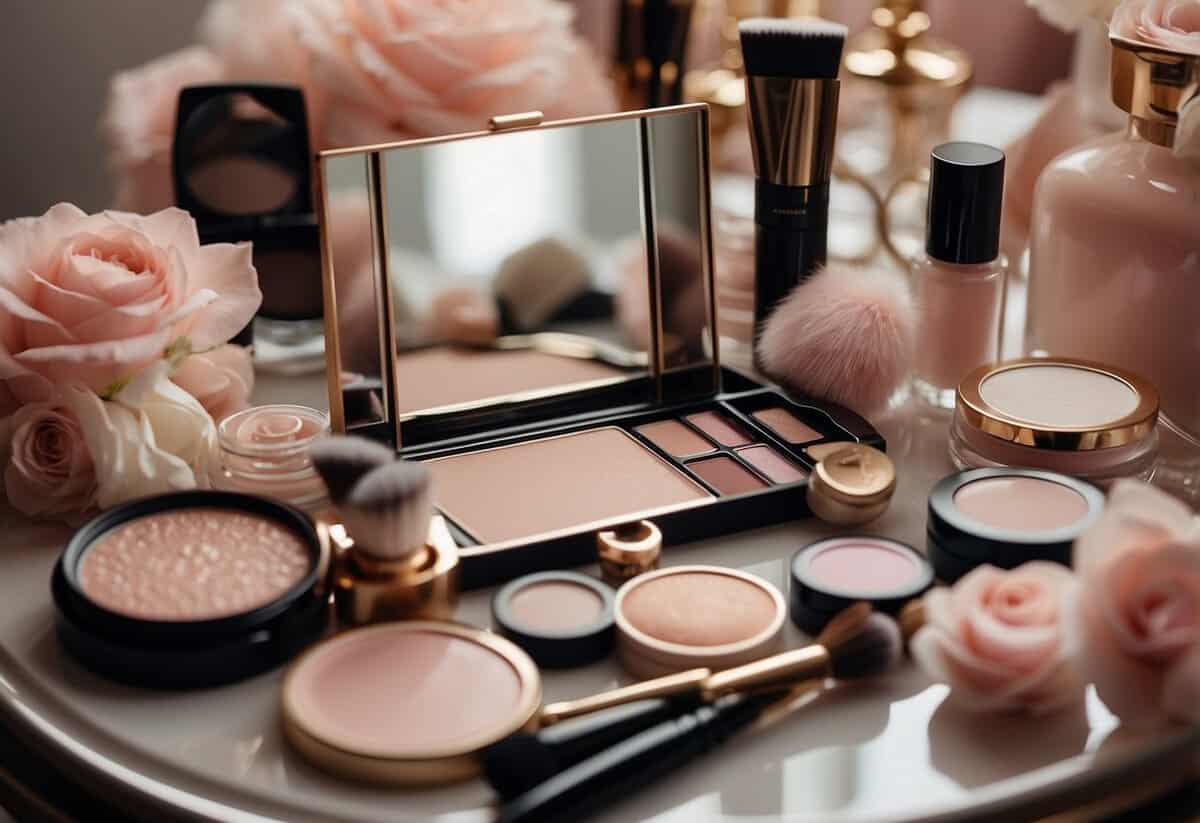
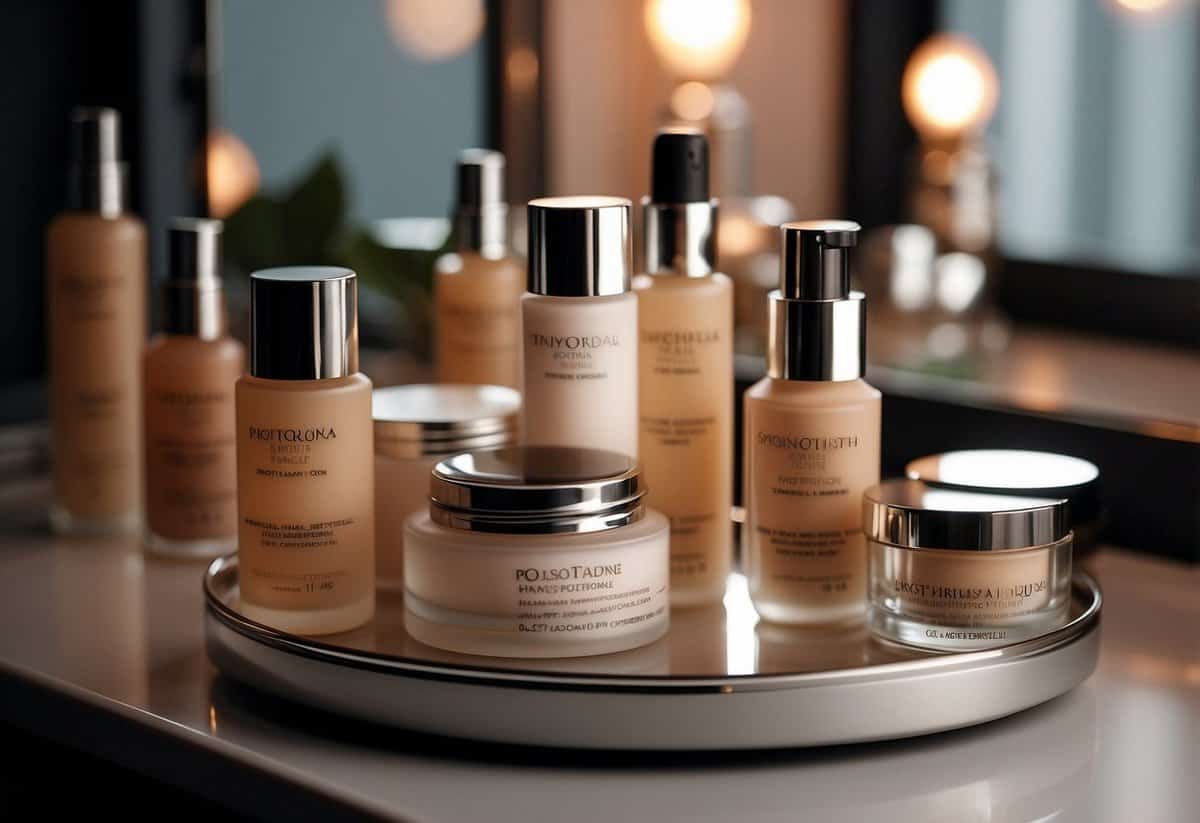
Choosing the Right Makeup Products
Picking the right makeup products for your wedding day is key to achieving a stunning and durable look. Concentrate on getting a foundation that stays put and eye makeup that doesn’t smudge or run.
Long-Lasting Foundations
Your wedding day can be long and emotional, so a sturdy foundation is essential. Long-wearing or full-coverage foundations work best. Look for options that are described as “matte” or “oil-free” to keep shine at bay and ensure they last through sweat, tears, and joy.
Consider doing a patch test several weeks before your wedding to make sure the foundation doesn’t cause an allergic reaction. It’s also wise to invest in a suitable primer to help your foundation stick better and last longer.
Foundation Tips:
- Choose a shade that matches your skin tone perfectly.
- For dry skin, opt for a hydrating formula.
- For oily skin, choose a matte finish.
Waterproof Mascara and Eyeliner
Weddings are emotional, and you’ll need waterproof options to avoid smudging. Start with a waterproof mascara to keep your lashes looking full and defined, even if you shed a few tears.
Waterproof liquid eyeliners are also a smart choice. They offer crisp, bold lines that won’t fade or smudge throughout the day. Remember to practice applying these products a few times before the big day to ensure you are comfortable with them.
Application Tips:
- Apply mascara in thin layers to avoid clumping.
- Use a steady hand for precise eyeliner application.
- Always let each layer dry before applying the next one.
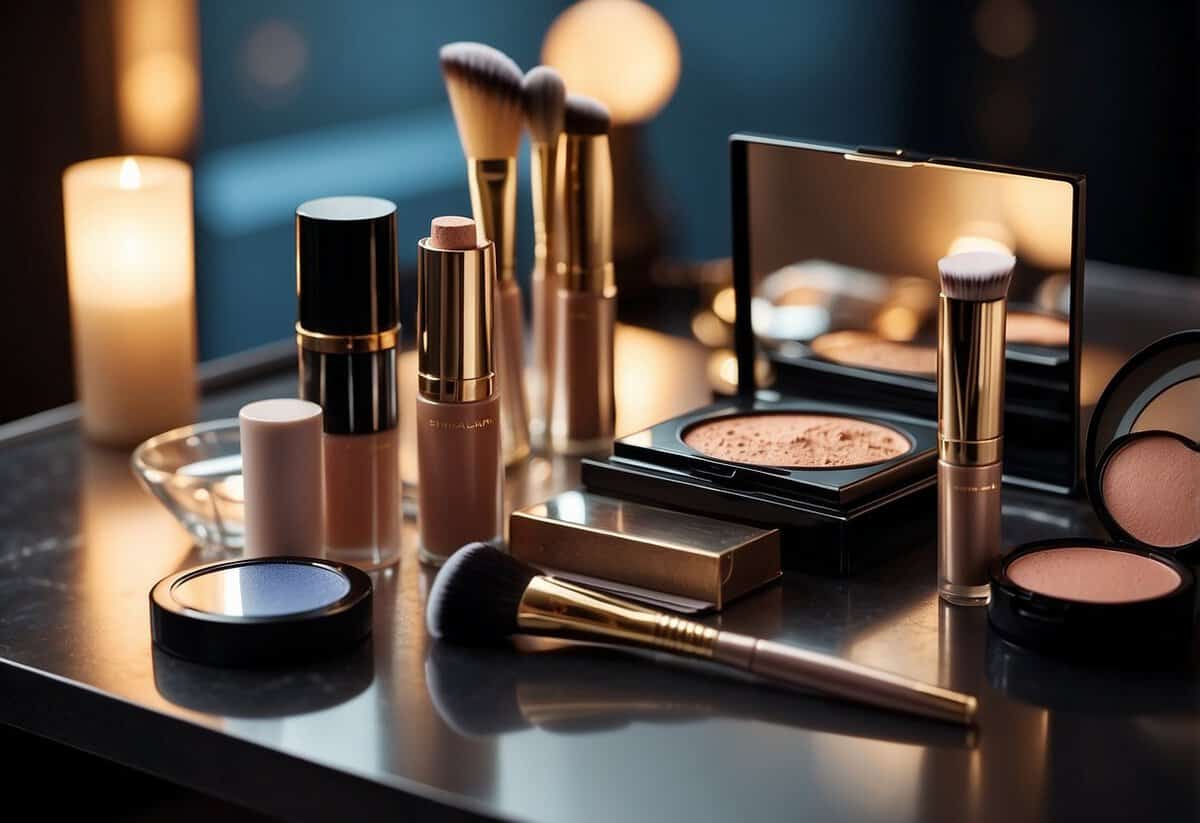
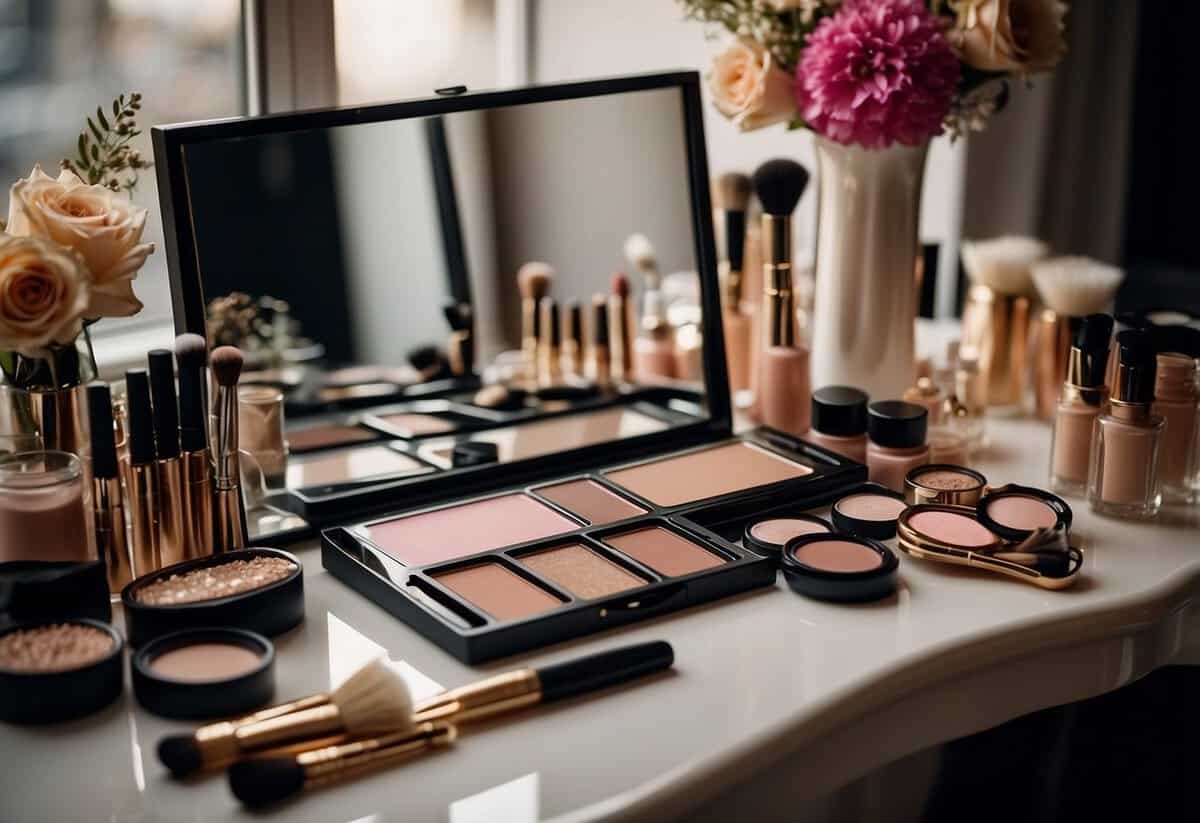
Step-by-Step Application Tips
Achieving flawless wedding makeup on your own can be easy if you follow a step-by-step process. Here are key tips to ensure each part of your makeup looks perfect all day.
Prepping Your Skin
Start with clean, moisturized skin. Use a gentle cleanser and follow with a hydrating moisturizer suited for your skin type. Apply a primer to create a smooth base and help your makeup stay put longer.
Exfoliate your skin weekly leading up to the wedding to remove dead skin cells. This will help your makeup go on smoothly. Don’t forget to hydrate your lips with a balm, so they are soft and ready for color.
Perfecting Eye Makeup
Begin by applying an eyeshadow primer to your eyelids. This helps your eyeshadow stay in place and prevents creasing. Choose eyeshadow shades that complement your eye color and blend well.
For defined eyes, line your upper lash line with a pencil liner first, then use a liquid liner for a more precise finish. Curl your lashes and apply a few coats of waterproof mascara to avoid smudging.
Lip Color That Lasts
Start with a lip primer or a lip balm to smooth your lips. Choose a long-wearing lip liner in a shade close to your lipstick. Line your lips and then fill them in with the liner for a lasting base.
Apply your lipstick with a brush for precision. After the first layer, blot your lips with a tissue, then apply a second layer. Finish with a light dusting of translucent powder over a tissue to set the color.