Wedding Guest List Tips: Essential Advice for Stress-Free Planning
Planning your wedding is an exciting journey, and creating a guest list is one of the key steps. This task might seem daunting, but it doesn’t have to be. Having some practical tips can make this process smoother and stress-free.
Your guest list sets the stage for your big day, affecting everything from your budget to the venue choice. The right tips help you balance social obligations with your personal preferences, ensuring a joyful celebration.
1) Start Early

Starting your wedding guest list early can help you avoid stress later on. By giving yourself plenty of time, you reduce the chances of forgetting important people or making rushed decisions.
Begin by jotting down names as soon as you start planning. You and your partner should talk about who you want to invite, including family members and friends.
Early planning allows for meaningful discussions with family. Sometimes parents or other relatives may have their own ideas about who should be invited. Early conversations help everyone stay on the same page.
2) Set a Budget

Setting a budget is a crucial step when creating your wedding guest list. The number of guests will directly impact your costs. From food and drinks to seating and decorations, the more people you invite, the more you’ll spend.
Start by determining your total wedding budget. Once you have this number, you can allocate a portion to your guest expenses.
Consider all the details that add up. Each additional guest means more invitations, more food, and a larger venue. This can quickly escalate costs.
You can save money by keeping the guest list small. A smaller guest list allows you to spend more on other aspects of your wedding to make it even more memorable.
Always check with family if they’re contributing. Understand their expectations and align them with your budget to avoid surprises later.
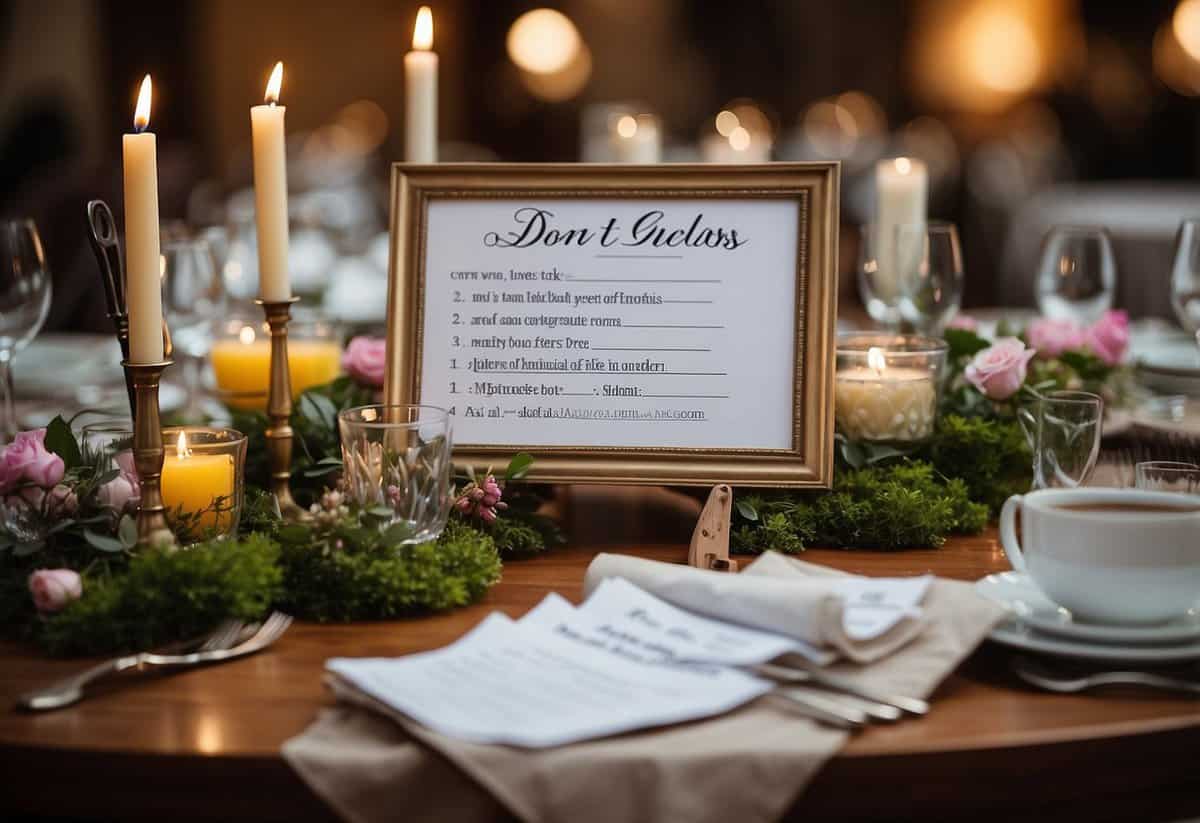
3) Categorize Guests
First, break your list into categories like family, friends, and colleagues. This makes it easier to see who you’ve invited and to ensure you don’t miss anyone important.
This method also helps maintain a balanced guest list. You won’t end up inviting too many friends but forgetting close family members.
Using a spreadsheet can be very useful here. You can track RSVPs, contact details, and any special requirements your guests might have. This way, you can stay organized and avoid any last-minute stresses.
4) Create A-List and B-List

Creating an A-list and B-list for your wedding can help you manage your guest list more effectively.
Your A-list should include your closest family members and friends. These are people you definitely want to be there for your special day.
The B-list consists of additional guests you’d like to invite. These might be coworkers, distant relatives, or friends you’re not as close with.
Send your A-list invitations out first to see who can attend. Once you get some RSVPs and have a better idea of the number, you can then send out invites to your B-list.
This method allows you to maintain flexibility without over-inviting or exceeding your venue’s capacity.
5) Consider Venue Capacity
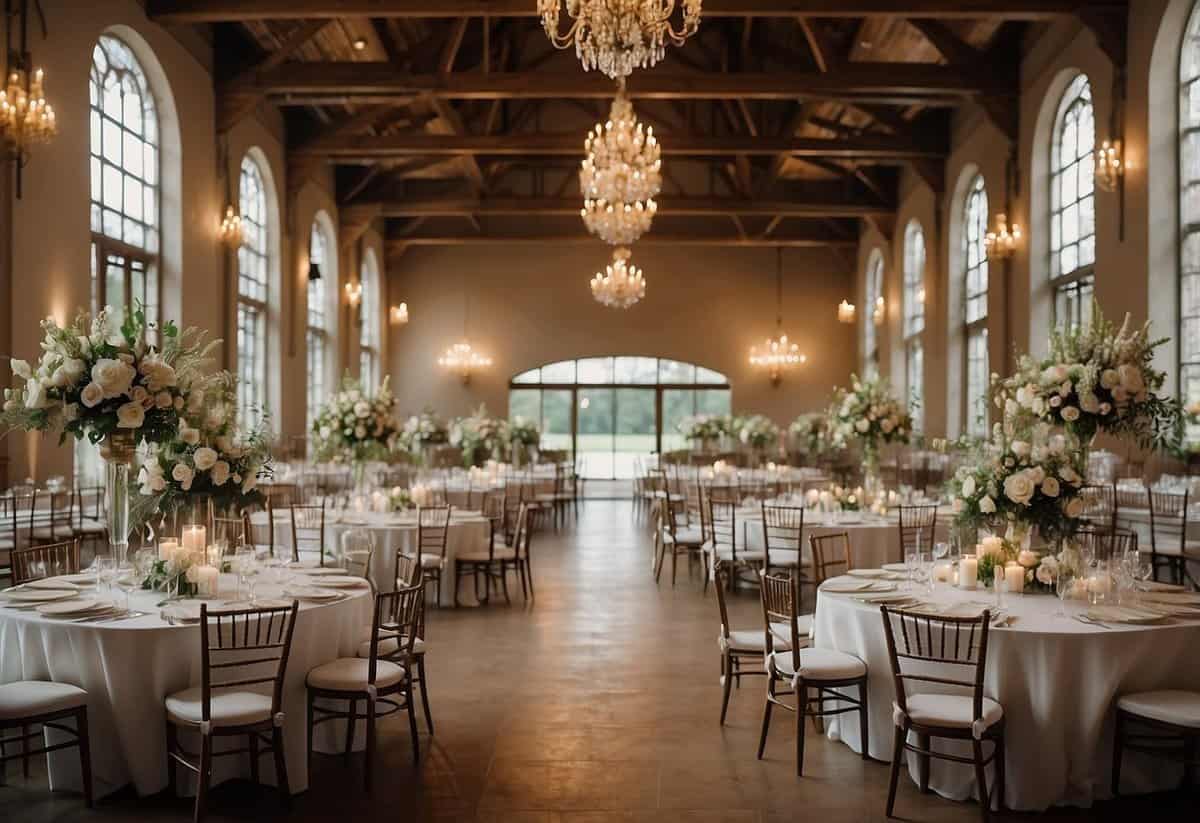
One of the first steps in creating a wedding guest list is knowing how many people your venue can hold. Venues have a maximum capacity that you shouldn’t exceed.
Take the time to talk with your venue coordinator. They can provide you with an exact number. This helps you avoid overcrowding and ensures everyone is comfortable.
Remember, more guests mean more tables, chairs, and space needed. Always keep your venue’s size in mind while planning.
6) Communicate Plus-Ones Policy
Let your guests know about your plus-one policy clearly. This avoids confusion and helps everyone understand who is invited.
Include specific names on the invitation whenever possible. If you don’t know the plus-one’s name, simply write “and guest.”
Mention your policy on your wedding website or RSVP cards. State if plus-ones are limited to married, engaged, or cohabiting guests.
Clear communication makes sure everyone knows the rules and avoids awkward situations. Your guests will appreciate knowing the expectations upfront.
7) Don’t Forget Vendors
Remember to include your vendors in the guest list headcount. Make sure you provide enough meals for them. This includes photographers, DJs, wedding planners, and any other service providers working during your event.
Ask your vendors if they have any specific dietary needs. This small step helps ensure everyone is well taken care of and keeps the day running smoothly.
Check contracts to see if meals are already included. If not, plan to add them to the guest list. Treating your vendors well can lead to a more positive and efficient experience for everyone involved.
8) Use a Spreadsheet

Using a spreadsheet can make organizing your wedding guest list much easier. It allows you to keep all your guest information in one place.
Create columns for names, addresses, contact info, and RSVP status. This setup helps you track who has responded and who still needs a reminder.
Google Sheets is a great tool to use for this purpose. It’s free and easy to access from any device. Plus, you can share it with your partner or planner, making teamwork simpler.
Remember to update your spreadsheet regularly. This helps ensure that all the information is accurate and up-to-date.
Lastly, use simple formulas like COUNTA to count the number of guests. This way, you can quickly see how many people have been invited.
9) Send Save-the-Dates Early

Sending save-the-dates early is a key step in your wedding planning. It helps ensure your guests have ample time to prepare.
For local weddings, send your save-the-dates about 4 to 6 months ahead. This gives guests enough time to mark their calendars.
If you’re having a destination wedding, aim to send them 8 to 12 months in advance. This extra time allows guests to arrange travel and accommodations.
Early save-the-dates can also be helpful if your wedding falls on a holiday weekend. This helps guests make necessary plans without conflicts.
Sending these cards out early shows consideration for your guests’ schedules, making your big day more enjoyable for everyone.
10) Monitor RSVPs
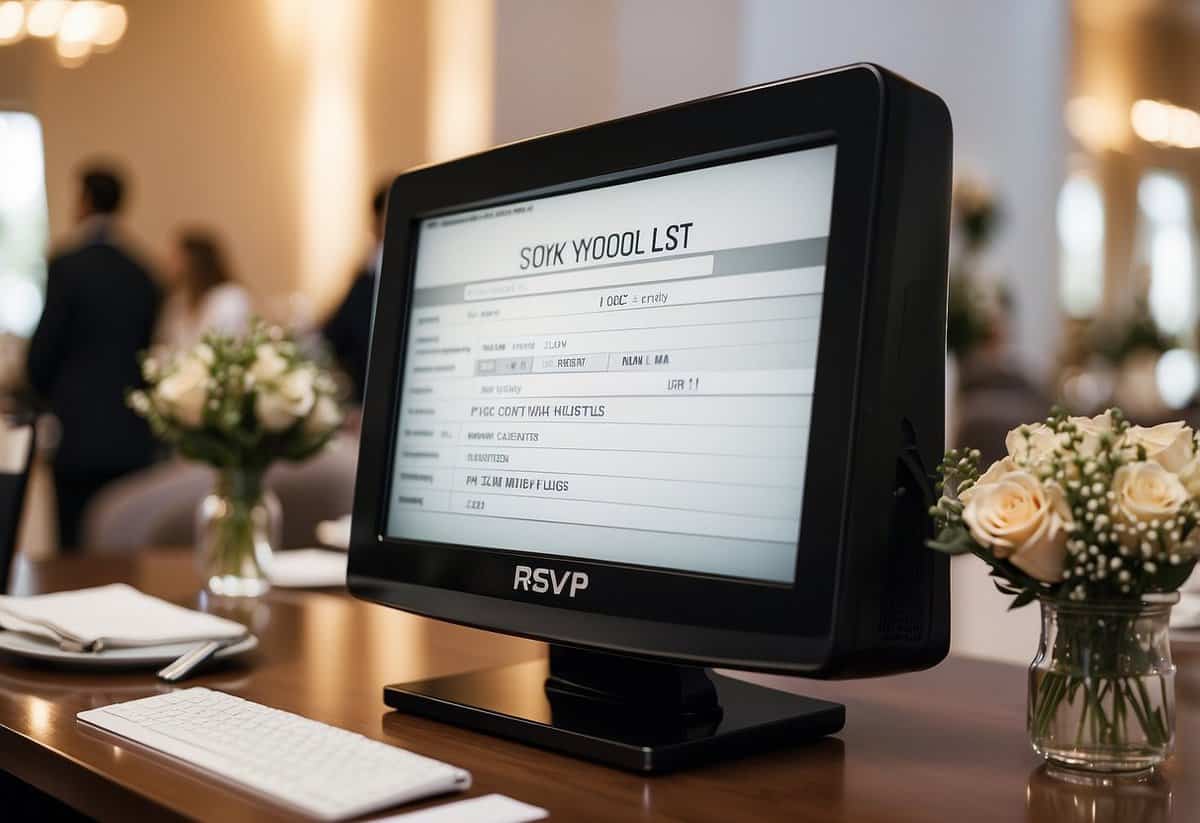
Keeping track of RSVPs is important to ensure your wedding goes smoothly. Use spreadsheet tools or wedding planning apps to keep your guest list organized. This makes it easier to update and share with vendors.
Provide clear instructions on how guests should RSVP. Whether it’s through a website, email, or traditional mail, make sure everyone knows the process.
Include response cards with your invitations. These should have a simple yes or no option for attendance. Don’t forget to add a deadline for responses.
Consider setting up a wedding website. This can offer an online RSVP option, making it easy for guests to respond. It’s also a fun place to share details about your big day.
Track responses as they come in. Regularly check your list and follow up with guests who haven’t responded. This way, you can confirm your final headcount in time.
Setting the Tone with Your Guest List

Deciding who to invite to your wedding can set the mood for your special day. Whether you aim for an intimate gathering or a large celebration, your choices impact the overall vibe and experience.
Understanding Your Wedding Vision
Knowing the kind of atmosphere you want is key. Are you dreaming of a small, cozy wedding with just close friends and family? Or are you picturing a big party with a wider circle?
If you prefer intimacy, aim for a smaller guest list. This can create a relaxed, personal feel. You can spend more quality time with each guest, making your wedding more memorable for everyone.
For a larger event, include a mix of family, friends, and other acquaintances. This choice can bring a lively and festive atmosphere, perfect for a big celebration.
Think about the setting too. A backyard event suits a smaller, intimate list. A grand hall works better for larger crowds.
Balancing Traditions and Modern Preferences
Traditional weddings have set rules for who gets invited. Often, family members, even distant ones, take priority. This can be important for maintaining family harmony.
Yet, modern weddings offer flexibility. You can choose newer guidelines that focus on who you want to share your day with, rather than following old customs strictly.
Consider a mix of both approaches. You might follow tradition for inviting close family and blend in modern preferences by limiting extended family invites.
Discuss with your partner and families to find a balance. Make sure everyone feels included but remember it’s your day. Your happiness is what matters most.
Managing Your Guest List Effectively

A well-crafted guest list can help keep your wedding budget on track and make sure everyone important to you can attend. Here’s how to organize and prioritize your guest list without stress.
Using Technology for Organisation
Using technology can make managing your guest list easier. Start by creating a spreadsheet to organize names, addresses, and RSVPs. Tools like Google Sheets or Excel work well because multiple people can edit them, keeping everyone on the same page.
Consider using wedding planning apps or websites that offer guest list management features. These platforms allow you to send digital invitations, track RSVPs online, and even set up seating charts. Many apps also offer reminders for guests who have not responded, saving you time and effort.
Tip: Keep a backup of your list in another format, like a printed copy, to avoid losing important information due to technical issues.
Creating Tiers of Invitations
Dividing your guest list into tiers helps prioritize who absolutely needs to be there versus who can be invited if there’s extra space and budget. Start with your immediate family and closest friends for the top tier. These are the people you can’t imagine getting married without.
Next, move to a second tier for extended family and good friends. The third tier can include co-workers, acquaintances, and plus-ones. If anyone from the top two tiers declines, you can then extend invitations to those on the third tier.
Tip: Be clear about your rules for plus-ones and communicate them early. This keeps your list manageable and your costs under control.