What is the Rule for Save the Date? Tips for Perfect Timing and Etiquette
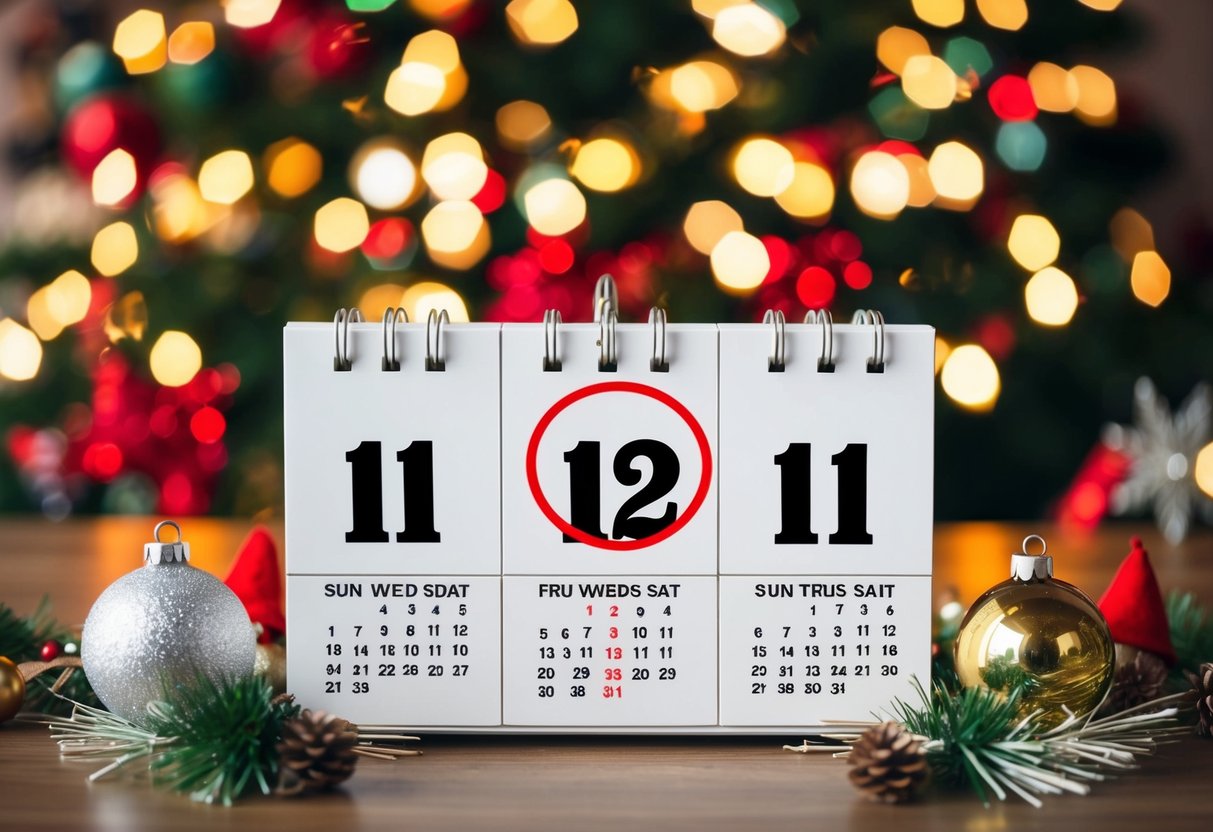
When you’re planning your wedding and want to let your loved ones know about the big day, sending a save-the-date is a great way to get the word out. The rule for save-the-dates is to send them to everyone you plan to invite. You should send them ideally six to eight months before the wedding. This gives your guests plenty of time to mark their calendars and make travel plans if needed.
It’s important to remember that save-the-dates are not the same as invitations. They serve as a friendly reminder for your guests to keep a specific date open for your celebration. By sharing this early notice, you’re helping ensure that your friends and family can join you in celebrating your engagement and upcoming nuptials.
As you dive into wedding planning, keep in mind that the save-the-date sets the tone for your special day. It’s a fun way to gather excitement and let everyone know that you’re tying the knot!
Defining Save-the-Date

Understanding save-the-date announcements is essential for any wedding planner. These cards serve a specific purpose and can come in a variety of formats that fit your style.
Purpose and Significance
Save-the-dates are typically the first official notice you send to your guests about your wedding. They let people know the date and location well in advance, so they can plan accordingly.
These cards are especially important if your wedding takes place on a holiday or at a destination. Early notice allows guests to make travel arrangements or set aside time for your special day.
Save-the-dates are usually sent out 6 to 12 months beforehand, following proper save-the-date etiquette. This gives your loved ones ample time to prepare, ensuring more of your preferred guests can attend.
Different Formats
Save-the-dates can come in many formats to suit your style and budget. Some popular options include traditional postcards, elegant magnets, or even creative digital invitations.
Postcards are a classic choice. They are often easy to design and affordable to print. Magnets are another fun option. They can serve as a memorable keepsake that guests can stick on their refrigerators.
Digital save-the-dates have gained popularity, especially for quick delivery. They can be shared via email or social media, making them convenient. Choose a format that fits your wedding theme and reflects your personality.
Preparation and Timing

Understanding when to send save-the-dates and how to craft your guest list is crucial for your wedding planning. These steps ensure that your guests have ample notice and can make the necessary arrangements to celebrate with you.
When to Send Save-the-Dates
Save-the-dates should typically be sent out 6 to 12 months before your wedding date. If you’re planning a destination wedding, aim for the longer end of that range. This gives guests plenty of time to adjust their schedules and make travel plans.
For local weddings, sending them 6 to 8 months in advance is usually sufficient. It’s important to consider holiday seasons, as many guests may have other commitments during those times. Also, make sure to set a clear wedding date and venue when sending out these notices to help your loved ones prepare.
Crafting Your Guest List
Creating your guest list is a key part of your preparations. Start by listing everyone you’d like to invite and categorize them into groups, such as family, friends, and colleagues. Ensure that your list aligns with your budget and venue capacity.
As you finalize your list, keep in mind that some guests may need advance notice due to their schedules. Double-check contact information to avoid last-minute troubles. This will make sending out save-the-dates much easier and smoother for everyone involved.
Information to Include

When creating your save-the-date cards, focus on including the essentials that your guests need to know. This ensures they can mark their calendars and start making plans for your special day.
Key Details for Guests
Your save-the-dates should include critical information that allows guests to prepare. Start with your names—make sure both first and last names are clear.
Next, provide the wedding date. This is the most important piece of information, so display it prominently.
Include the location as well; mention the city and state or the specific destination if you’re having a destination wedding. If the venue is already decided, you can add that info as well.
Don’t forget to mention travel arrangements for guests coming from afar. This helps them plan ahead, especially if you’re in a popular spot.
Linking to Your Wedding Website
It’s helpful to include the link to your wedding website on the save-the-date. This gives guests access to up-to-date information about your wedding.
On your website, you can share additional details, like the registry information and accommodations. This can save you time later by directing guests to everything they need to know.
Make sure the website link is easy to read—consider a short, simple URL. Providing this option ensures guests have a place to find answers as your wedding day approaches.
Following Up with Invitations

After sending out save-the-dates, it’s time to follow up with formal invitations. This step ensures your guests have all the necessary details for your wedding day. You’ll also manage RSVPs, which helps you finalize your plans.
Transitioning to Formal Invitations
Once you’ve sent out your save-the-dates, aim to send formal invitations about 6-8 months before the wedding. This gives your guests enough time to plan.
Your wedding invitations should include crucial details like:
- Couple’s names
- Date and time
- Venue address
- Dress code
- Any specifics like adults-only notice
Remember, the formal invitation is more detailed and should match the theme of your wedding. Use a beautiful design that reflects your style to excite your guests about the day.
Managing RSVPs and Additional Details
When you send out your formal invitations, make sure to include an RSVP card. This card allows guests to easily respond regarding their attendance. Also, specify a deadline for replies, usually 3-4 weeks before the wedding day.
Consider including extra information on your invitations, such as parking details or local accommodations. Adding a wedding website link can also help guests find everything they need.
Being organized with RSVPs will help you keep track of who’s coming, ensuring you can plan seating and catering effectively. Keep this process friendly and stress-free for both you and your guests!