
And a for Wedding Website: What to Include
A wedding website gives your guests one reliable place to find your wedding date, venue, schedule, RSVP instructions, and travel details. For most couples, Zola is a strong choice because it combines a free wedding website with guest-list tools, online RSVPs, registry links, and password protection.
You can also use another platform if a custom design, custom domain, or a different planning system fits your needs better. Start with practical wedding details, then add personal touches that make guests feel welcome.
Keep the wording warm and the navigation clear so guests can find answers quickly on a phone. If you are ready to organize your wedding planning in one place, a thoughtful website gives everyone an easy reference from the save the date through the wedding day.
What Guests Need to Find First
Guests need the wedding date, complete wedding details, event schedule, and dress code near the top of your site. Put the information they need to attend in clear headings, short paragraphs, and easy-to-tap links.
Date, Time, and Venue Information
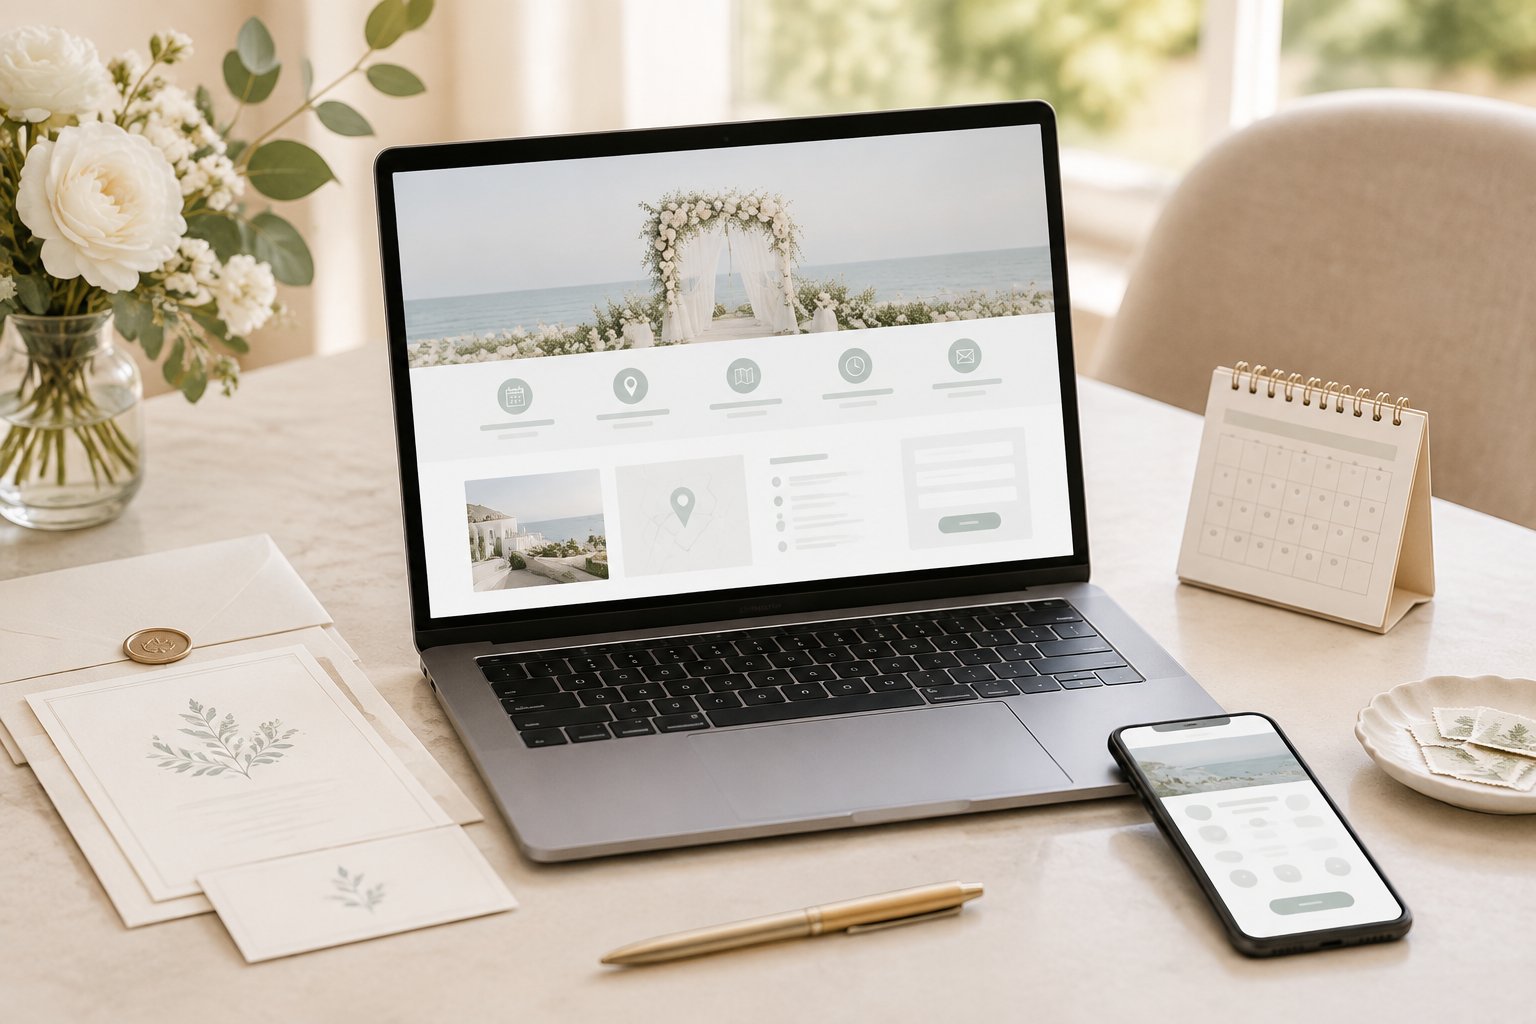
Display your names, wedding date, day of the week, ceremony start time, and city on the homepage. List the ceremony and reception venues separately, even when both events take place at the same address.
Include:
- Venue names
- Full street addresses
- Map links
- Ceremony start time
- Reception start time
- Parking or valet instructions
- Travel time between venues
Tell guests when to arrive, too. For example, “Please arrive by 4:30 p.m. Ceremony begins at 5 p.m.” gives clearer guidance than “Ceremony at 5 p.m.” If your wedding location is outdoors, mention the walking surface, weather plan, or seating details guests need to know.
A Clear Schedule of Wedding Events
Add every wedding event open to the guest reading the page. Include the date, start time, location, and a brief note about what to expect for welcome drinks, cocktail hour, the ceremony, reception, or a next-day brunch.
Keep the schedule broad enough to stay readable. Guests need useful time markers, not a minute-by-minute production plan. If separate guests receive different invitations, use privacy settings or guest-specific event visibility so private gatherings do not create confusion.
Dress Code and Arrival Guidance
State the dress code in plain language, such as “Black tie,” “Cocktail attire,” or “Garden formal.” Add practical guidance when the setting calls for it, including comfortable shoes for grass, a jacket for an evening outdoors, or layers for changing temperatures.
Place arrival, parking, phone-use, and weather notes in an FAQ or guest information area. Clear answers reduce last-minute messages and help guests arrive prepared.
How to Build a Site That Is Easy to Use
A guest-friendly site uses a clean design, a memorable web address, and privacy settings that match your comfort level. Your free wedding website should load well on a phone and make the RSVP button easy to spot.

Choose a Design That Matches Your Celebration
Pick colors, fonts, and photos that fit your invitations or wedding style. A formal celebration might suit a refined layout with generous spacing, while a relaxed outdoor wedding could use lighter colors and playful details.
Prioritize readability over decoration. Use strong contrast, readable font sizes, clear menus, and compressed images that do not slow the page. Check the site on both a phone and a computer before sharing it.
Create a Memorable Custom URL
Choose a short web address using your names, shared last name, or wedding date. A custom domain name looks polished and gives guests an easier address to type when they misplace the invitation.
Your platform might provide a free web address first, with a custom domain available as an upgrade. Compare the renewal cost, spelling, and length before you commit. Add the address or a QR code to your save the date and invitation details.
Decide Whether to Use Password Protection
Password protection keeps personal wedding details available to invited guests. It also lets you share venue, travel, and registry information with more privacy.
Choose a password that guests can type easily and share it through your save the dates or invitations. Test the login process on a phone so older relatives and guests who are less comfortable online can access the site without help.
Make RSVPs and Guest Management Simpler
Your RSVP system should connect responses to the guest list and collect only the details you need for planning. A clear deadline, short form, and guest-specific questions make responses easier to manage.
Set Up RSVP Deadlines and Custom Questions
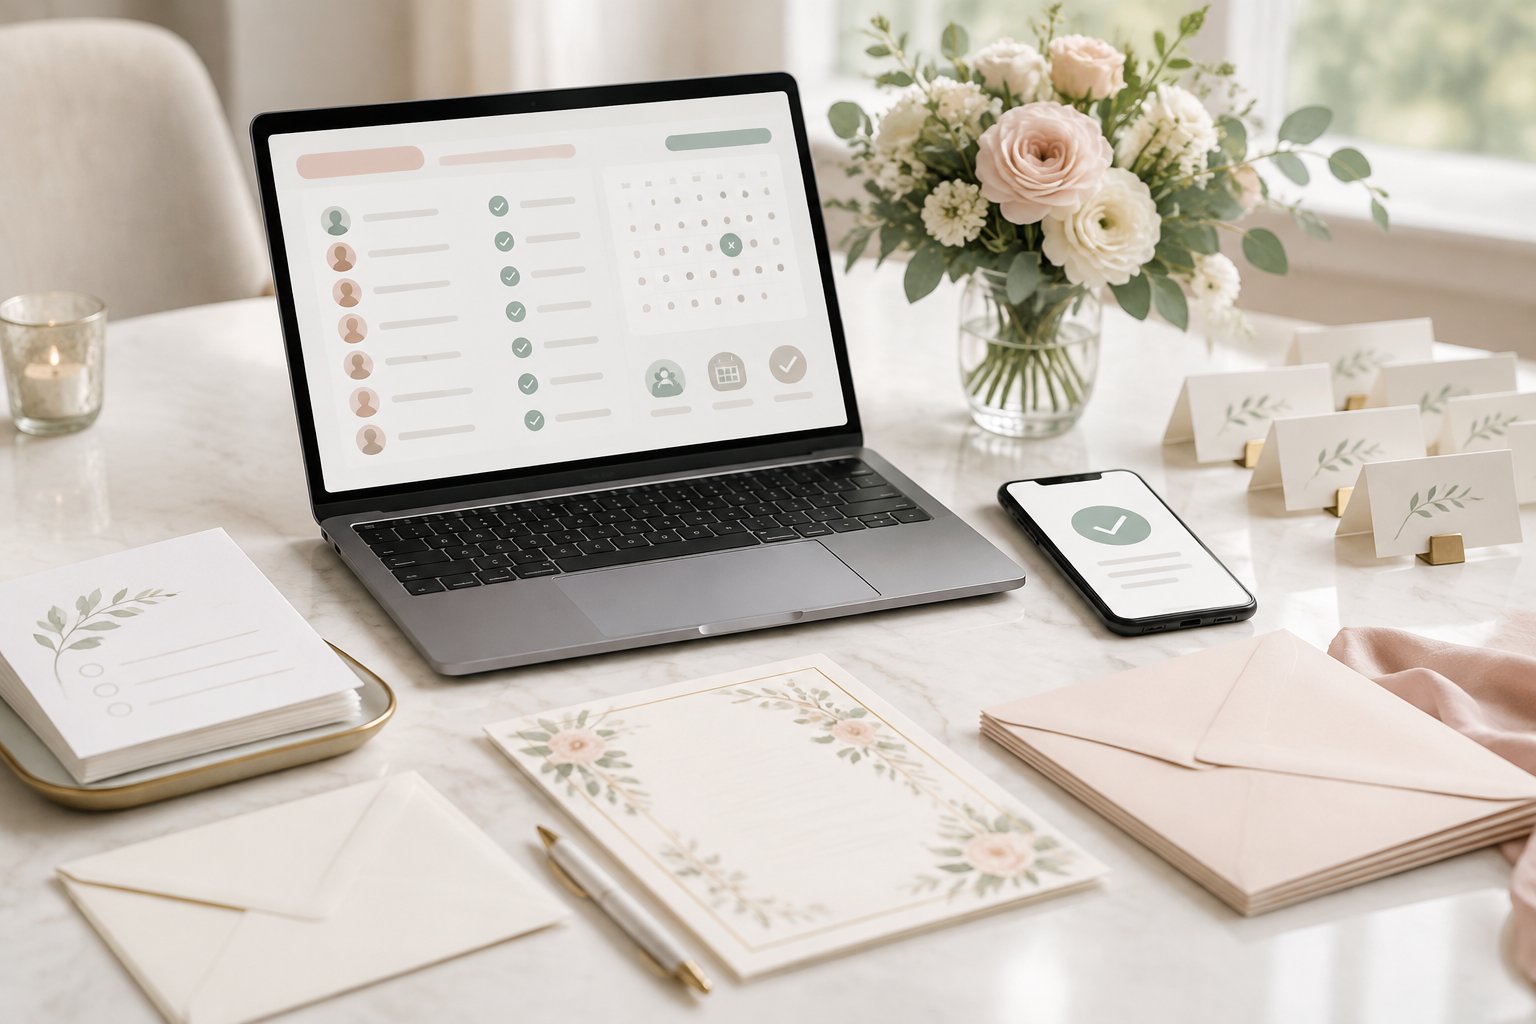
Place a visible RSVP button on the homepage and menu. Set the deadline about three to four weeks before the wedding, then give yourself time to contact guests who have not responded.
Ask each guest whether they are attending, then add only useful custom questions. Depending on your plans, you might request a full name, song request, transportation need, or contact detail. A guide to getting guests to RSVP easily can help you write a clear reminder.
Track Meal Selections and Dietary Needs
Add meal selections to the RSVP form when your caterer needs a final count. Use clear meal names and collect allergies or dietary restrictions in a separate field.
Keep special notes tied to each guest’s response. This helps you prepare an accurate catering report and identify guests who need a specific meal without searching through messages or paper cards.
Manage Plus Ones and Event Access
Set plus-one rules in the guest list before sending invitations. Let each invited guest see the correct response options, including their approved guest’s name when you already know it.
Use the same approach for welcome parties, rehearsal dinners, or post-wedding brunches. Assign invitees to each event so guests receive accurate schedules and your headcount stays organized.
Add Travel, Registry, and Local Information
Travel guidance should answer how guests will reach the venue, where they can stay, and what they can enjoy nearby. Keep registry links easy to find while giving practical wedding details the most space.

Share Hotel, Transportation, and Parking Details
List your hotel block with the hotel name, address, booking link, group code, rate, and booking deadline. Add a few nearby options at different price points when guests need more flexibility.
Include the closest airports, rideshare guidance, rental car information, shuttle pickup points, and parking instructions. A map link helps guests plan from their phones. Mention travel time between hotels and venues when the route is unfamiliar or traffic affects arrival.
Link the Registry Without Making It the Focus
Add direct links to each active registry in one clear registry area. You might include a traditional store registry, honeymoon fund, cash fund, charitable option, or another gift list.
Use a warm, brief message that thanks guests for their support. Keep registry information separate from the main event details so guests can find it easily without making gifts the focus of the site.
Recommend Things to Do Near the Venue
Share a short list of local favorites for guests who arrive early or stay after the celebration. Include restaurants, coffee shops, parks, museums, or an easy group activity.
Add addresses, links, price notes, and distance from the hotel or venue when useful. Four or five well-chosen recommendations help guests plan without turning your wedding website into a full travel guide.
Personalize the Experience Without Overloading Guests
Personal touches work best when they are brief, welcoming, and easy to skim. Use your love story, wedding party details, photos, and wedding hashtag to give the site personality while keeping key logistics prominent.
Tell Your Love Story
Write two or three short paragraphs about how you met, an important milestone, and your proposal. Use your natural voice and include a detail that helps guests who know one of you better than the other connect with you as a couple.
Add one or two meaningful photos if they support the story. A short welcome message on the homepage can thank guests for celebrating with you and point them toward the practical information they need.
Introduce the Wedding Party
List each person’s name, role, and connection to you. A brief bio or favorite fact helps guests match names with faces before they arrive.
Keep each introduction to a few sentences. Include attendants from both sides of the wedding party, along with your officiant, flower child, ring bearer, or other key participants when guests will see them during the celebration.
Use a Wedding Hashtag and Photo Gallery
Share your wedding hashtag if you expect guests to use it. Explain where you want guests to post and whether you prefer phones away during the ceremony.
Add a small gallery of engagement photos or favorite memories. Three to six images keep the page lively and fast to load. You can invite guests to share reception photos after the wedding if your platform supports a shared gallery.
How to Choose a Wedding Website Platform
Choose a platform that combines a readable site with the guest-list, RSVP, privacy, and domain tools you will use. Zola suits couples who want a free wedding website connected to online RSVPs, guest management, and registry links.
Compare Free Features and Upgrade Costs
Start by listing the features you need at no cost, such as templates, basic hosting, RSVP collection, registry links, and guest-list management. Then check which upgrades add value, including a custom domain, premium designs, extra storage, or advanced planning tools.
Review the full price before publishing. Check whether a custom domain is a one-time purchase or a recurring charge, and confirm what happens if you switch plans later.
Check Guest List and RSVP Integrations
Your platform should let you import or build a guest list, track responses, manage plus ones, and collect meal selections. Guest-specific events are useful when your wedding weekend includes gatherings for selected invitees.
Look for response exports or reporting tools if your caterer, planner, or venue needs final numbers. Test the RSVP form with a sample guest before sending the link.
Review Customization, Privacy, and Support Options
Compare templates, font controls, photo layouts, mobile design, password protection, and custom domain support. A free wedding website is useful when it still gives guests a clear path to event details and RSVPs.
Read the platform’s help resources and support options before you build. Review how guests access private pages, how you update wedding details, and whether the site remains available after your celebration.
A short trial build will show whether the editor feels comfortable for your wedding planning.