
Do It Yourself Wedding Videography: A Practical Guide
A DIY wedding video gives you creative control, personal moments, and a way to protect your budget. You can film your own wedding with a phone or camera, a tripod, dependable helpers, and a clear plan, with audio quality receiving your first equipment investment. Your finished wedding film might feel more candid and personal than a professional wedding video, while a professional wedding videographer remains the better choice when you want full coverage with little responsibility on the wedding day.
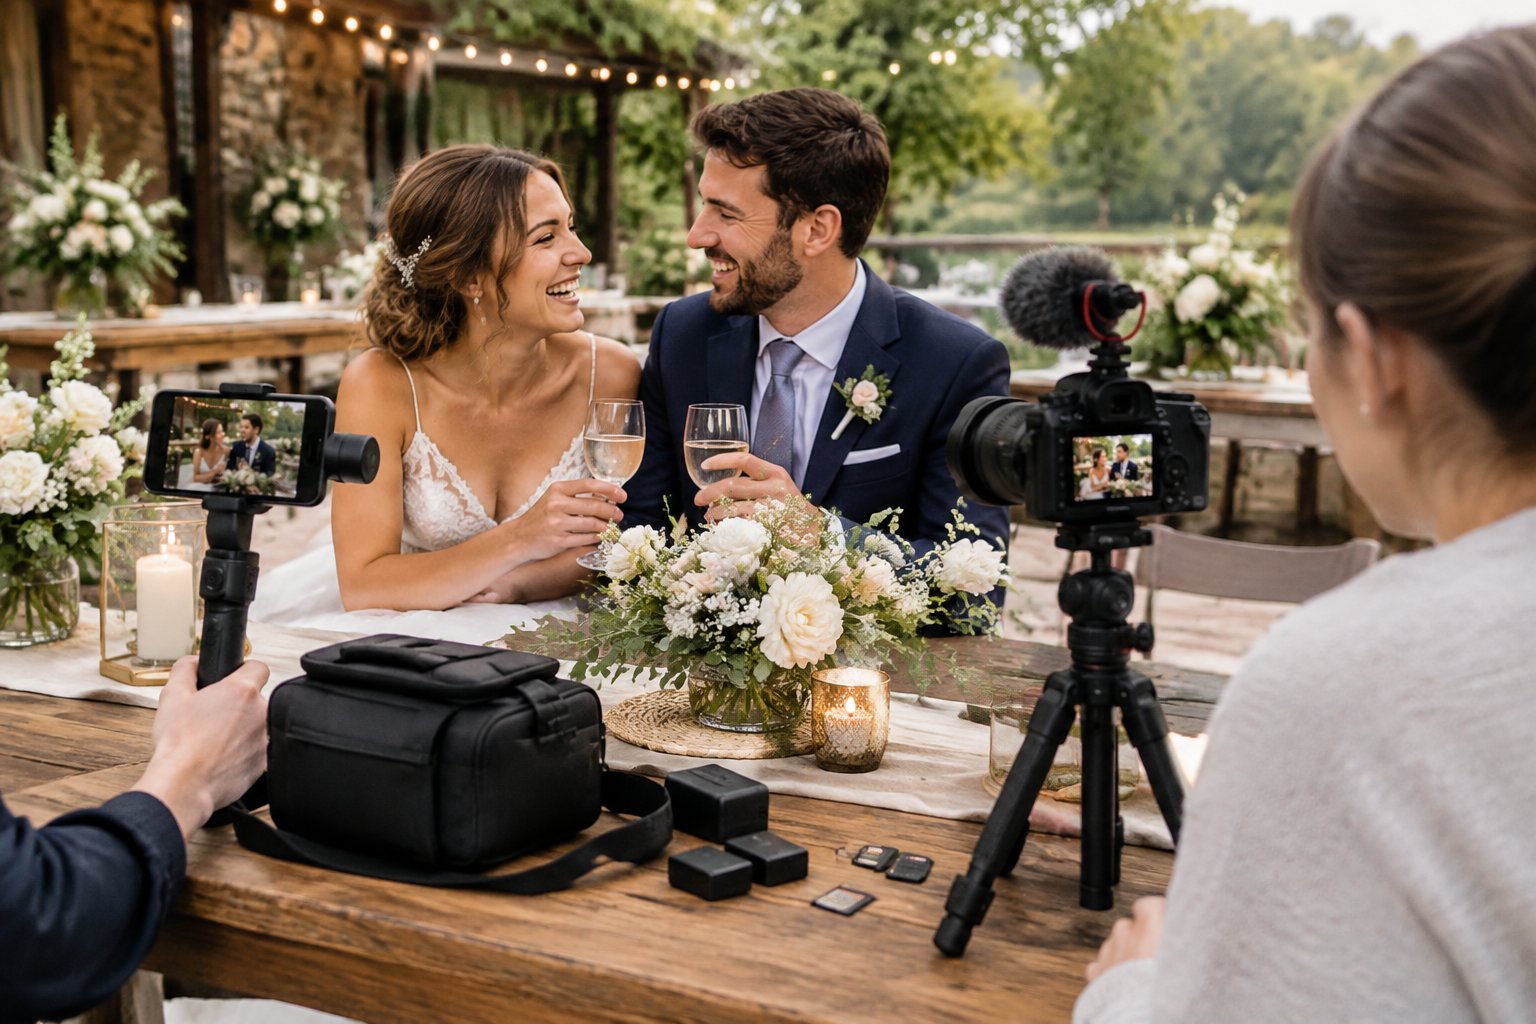
Filming your own wedding works best when you choose key moments before the event, assign each camera to a trusted person, and record multiple audio sources. You can also ask guests to contribute short clips, then combine those recordings with planned footage during editing. If you want help with the planning side of a DIY celebration, you can also review how to plan a wedding by yourself.
Write down your priorities, recruit helpers who will follow directions, and practice with every device before the ceremony. You will create a stronger wedding film when you protect your time to enjoy the day and give filming duties to people who are prepared to handle them.
Start With a Realistic Plan and Reliable Helpers
A realistic plan gives your wedding videography team clear duties, backup coverage, and enough time to move between locations. Decide which moments must be recorded, who owns each task, and where each camera will stay before guests arrive.
Should You DIY or Hire a Wedding Videographer?
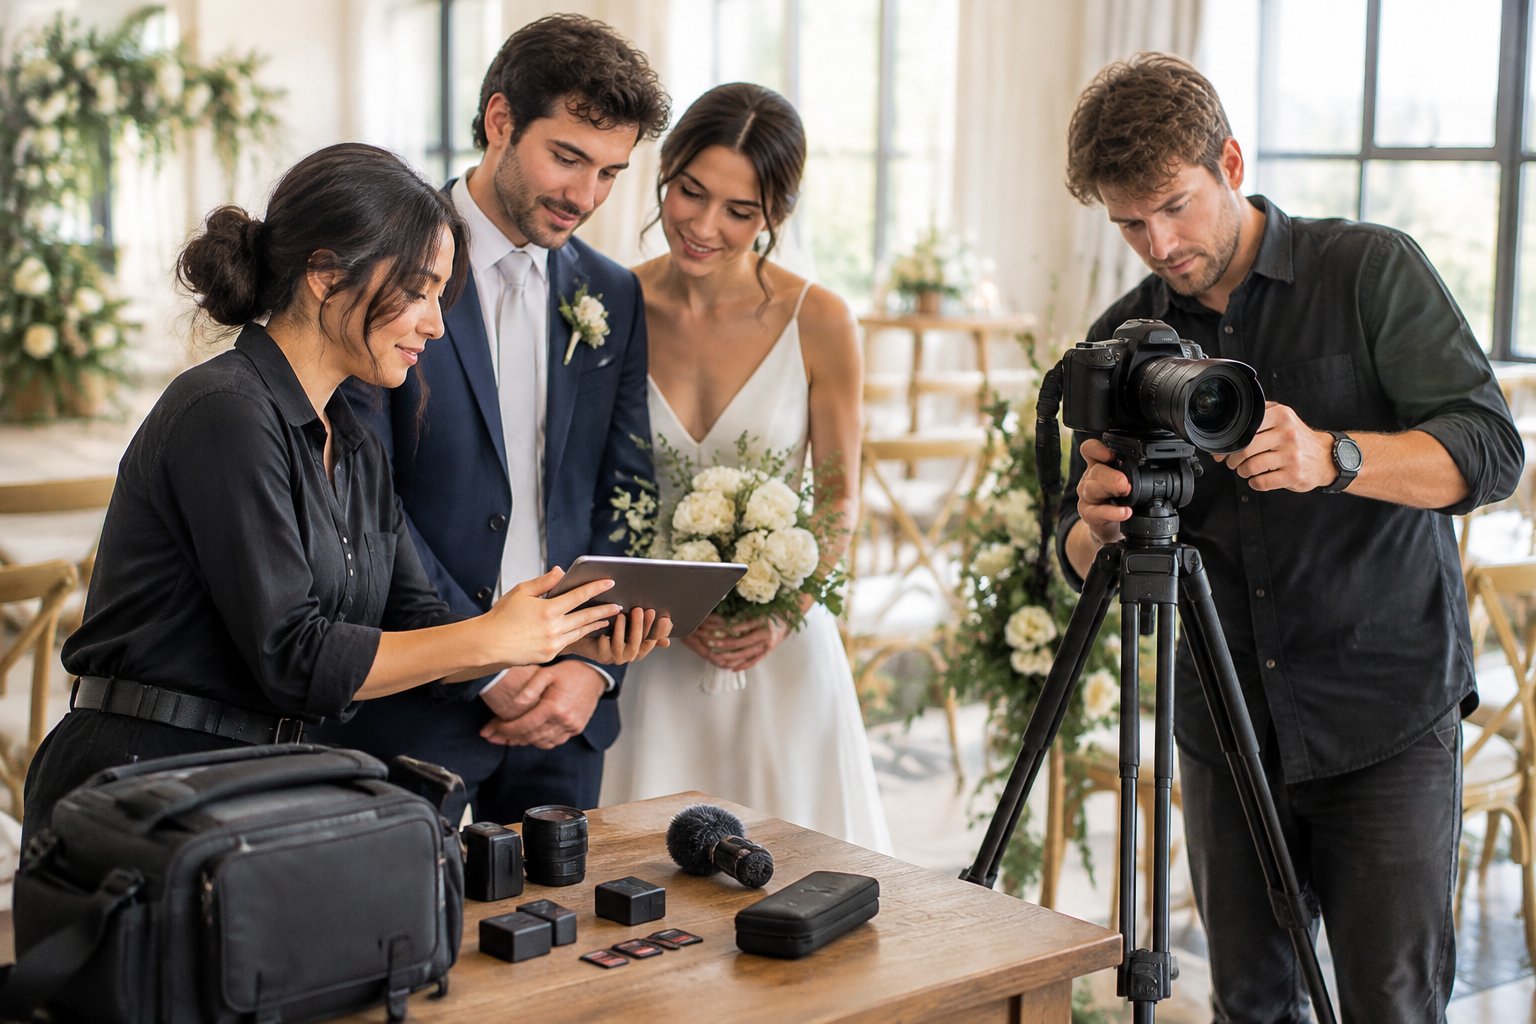
DIY coverage suits you when budget, personal style, and guest participation rank high. You can use familiar devices, collect candid clips, and shape the final wedding film around the moments your family values.
Hire a wedding videographer when you want continuous coverage, professional audio, multiple camera angles, and an experienced person responsible for the day. A wedding videographer also knows how to move through a ceremony without distracting guests and how to react when the timeline changes.
A useful middle path combines guest footage with professional editing. You handle filming with phones or borrowed cameras, then send the files to an editor who organizes the material into a polished film.
Assign Clear Roles to Your Filming Team
Choose one lead person who carries the main camera and checks the schedule. Give other helpers specific duties:
- Ceremony camera operator: Keeps a locked-off wide shot and checks recording status.
- Mobile camera operator: Captures arrivals, reactions, portraits, and reception movement.
- Audio helper: Places microphones, monitors levels, and labels recordings.
- Media manager: Changes batteries and cards, then copies files to a backup drive.
- Guest clip coordinator: Explains when and where guests should record short messages.
Give each person a written shot list with start times, locations, and contact details. Ask helpers to arrive early for a short rehearsal, and choose a replacement for every role in case someone becomes part of the wedding party or needs a break.
Build a Wedding-Day Timeline That Protects Key Moments
Create a timeline that includes setup, travel, battery changes, card swaps, meals, and breaks. Mark the moments that cannot be repeated, such as the processional, vows, first kiss, speeches, and first dance.
Schedule a venue walk-through before the wedding. Identify power outlets, quiet audio positions, natural light, camera paths, and places where tripods will not block guests or vendors. Share the timeline with the wedding photographer, planner, DJ, and officiant so everyone knows when filming requires a clear position.
Add a five-minute equipment check before every major event. Confirm that each camera records, the lens cap is off, the memory card has space, the battery is charged, and the correct audio source is active.
Choose the Essential Gear for Your Budget
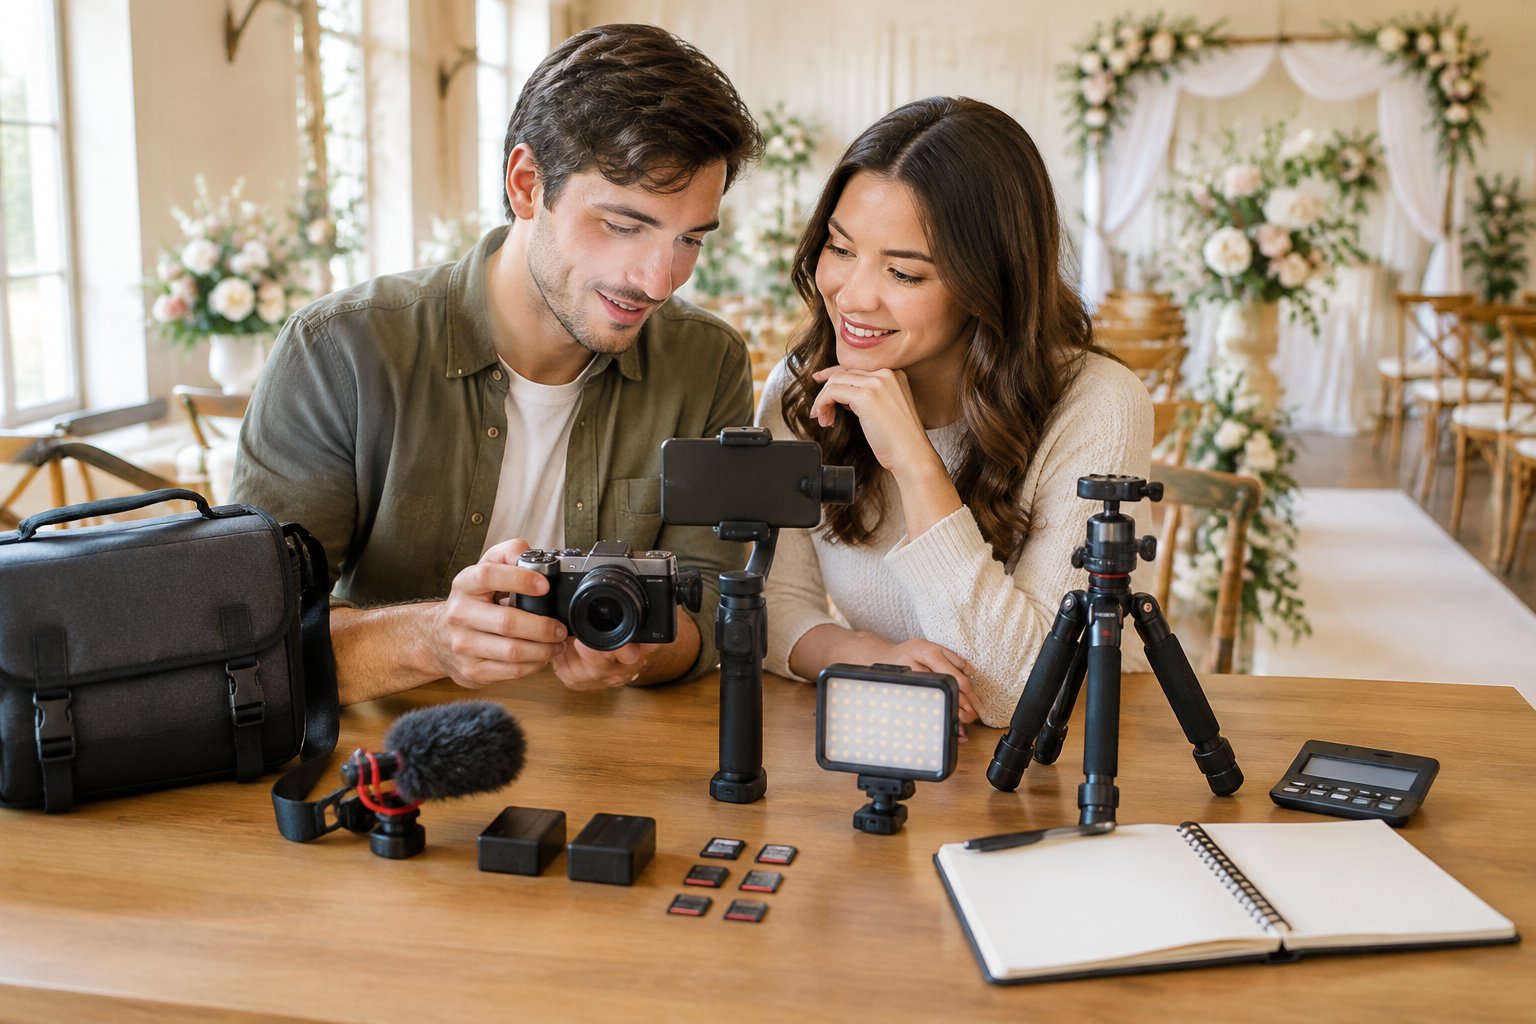
A dependable camera, stable support, extra storage, and charged batteries form a practical DIY kit. Start with equipment you already know, then rent or borrow specialty gear after you confirm that you need it.
What Camera Setup Works Best?
A phone works well for guest messages, candid clips, and short social videos. Lock exposure and focus when your phone allows it, clean the lens, and record horizontally for a traditional wedding film.
A mirrorless camera gives you stronger control over focus, exposure, lenses, and low-light scenes. A two-camera setup provides useful coverage: place one camera on a tripod for a wide view and give the second camera to a helper for close reactions and movement.
Match resolution and frame rate across cameras when possible. Record a five-minute test clip with every device, then play it back with headphones before the wedding. Pack spare batteries, chargers, memory cards, and a power bank.
Stabilizers for Steady Footage
A tripod should handle the ceremony, speeches, first dance, and any moment where you need a stable view. A phone tripod offers a low-cost way to lock a phone in place, while a monopod gives one operator more mobility with less setup time.
Use a gimbal for smooth walking shots, venue movement, and a controlled entrance. Practice balancing and starting the gimbal before the wedding day. A gimbal requires attention, so assign it to a helper who can follow the action without bumping guests.
Keep the camera supported during long moments. Steady shots give you clean material for editing and reduce the need for heavy correction later.
Lighting, Storage, and Backup Essentials
Use natural light when it gives faces an even, flattering look. Small portable LED lights help in dark preparation rooms or during interviews, with brightness kept low enough to preserve the mood.
Pack gaffer tape, extension cords, cable ties, lens cloths, headphones, and a small tool kit. Carry more storage than your estimated recording time requires. At the end of each filming block, copy files to two separate locations and label them by camera and event.
Make Audio the First Priority
Clear audio gives your wedding video its emotional center, so record vows, speeches, and reactions through more than one source. Video with modest image quality remains enjoyable when voices are easy to hear.
How to Record Clear Vows and Speeches
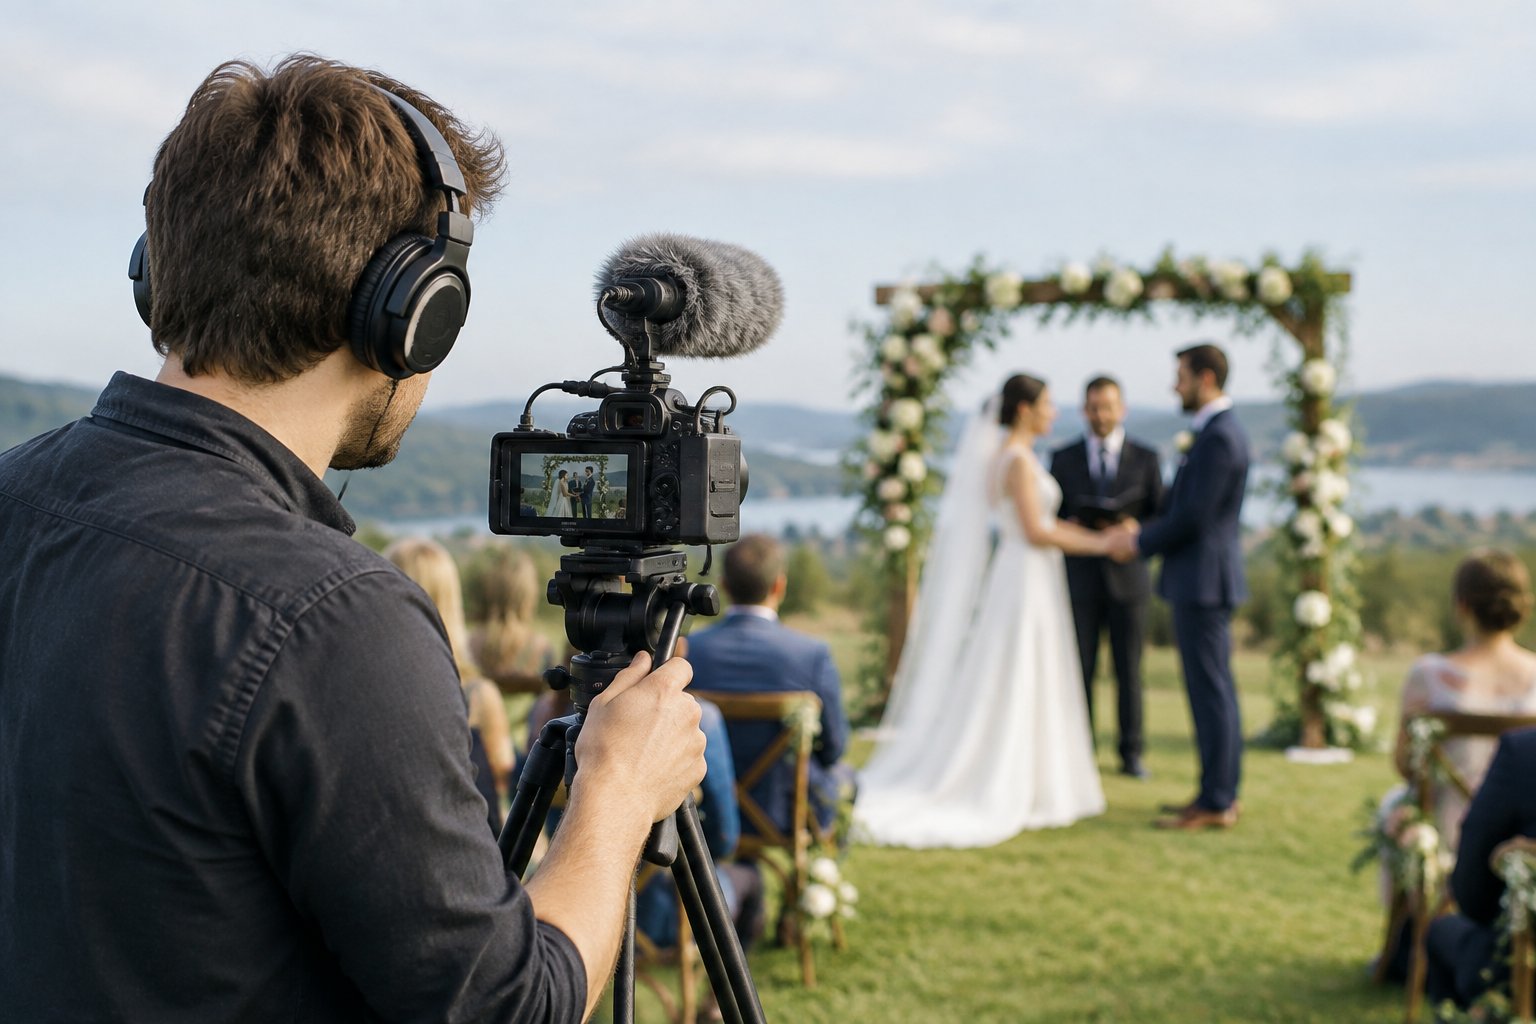
Use an external microphone close to the speaker. A wireless lavalier on the officiant or groom captures ceremony voices, while a recorder connected to the venue or DJ sound system captures speeches.
Mount an on-camera microphone on each active camera for ambient sound and a safety track. Place a separate recorder near the ceremony area when venue rules allow it. Ask the officiant and DJ before attaching equipment to clothing, lecterns, or sound systems.
Monitor the feed with headphones. Watch for clothing rustle, wind, crowd noise, and clipped levels. Use a windscreen outdoors, and keep microphones hidden without covering the capsule.
Create an Audio Backup Plan
Record at least two independent sources for the ceremony and reception. A practical setup uses a wireless microphone, a soundboard or room recorder, and an on-camera microphone.
Ask the DJ which cable connection the sound system accepts, then bring matching cables and adapters. Set every recorder to a level that leaves headroom for loud applause and laughter. Write down which device recorded each source so you can find the clean track during editing.
Keep one helper responsible for battery checks and recording status. Confirm the timecode or clap once at the start of each major event if your editing software needs a simple sync point.
Test Sound Before the Wedding Day
Run a complete rehearsal with the actual microphones, cameras, recorders, headphones, cables, and clothing. Record someone speaking from the ceremony position and play the file through headphones.
Test the sound system connection with the DJ or venue technician. Walk through a few steps, hug someone, and sit down while wearing the microphone to reveal rustling or loose clips. Check wind protection outdoors and listen for traffic, air conditioning, fans, and nearby music.
Record a short test during the rehearsal or venue walk-through. Label the files, copy them to your backup drive, and confirm that your editing computer opens them.
Create a Shot List That Tells the Full Story
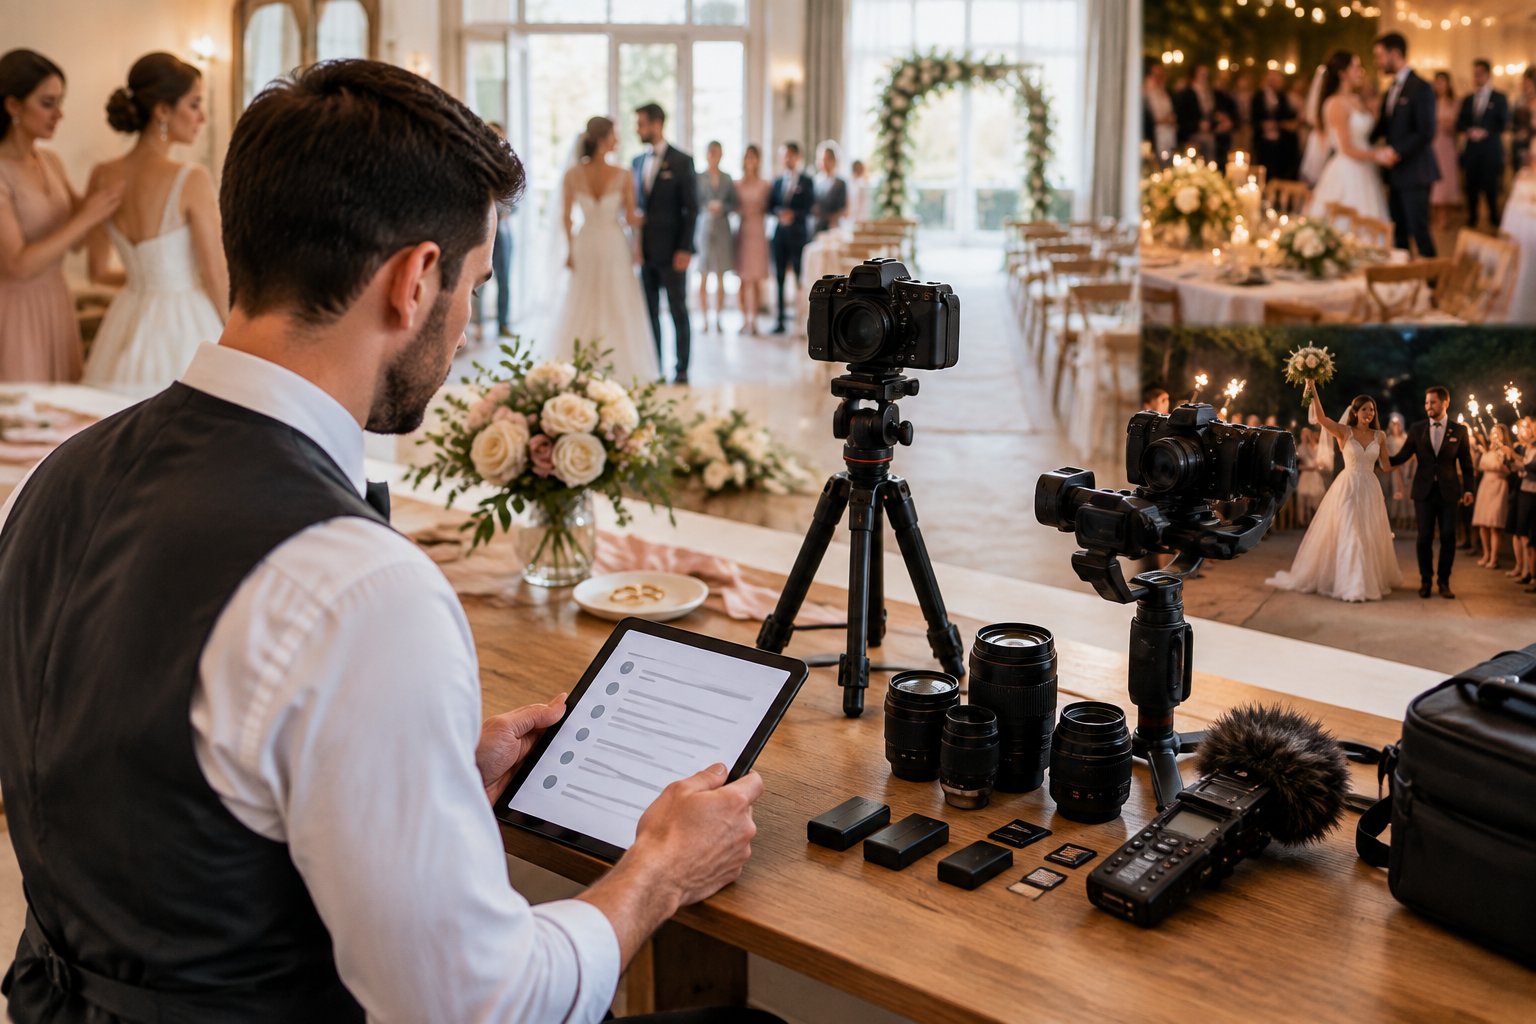
A focused shot list protects the moments that carry your wedding story, from preparation through the final dance. Divide it into preparation, ceremony, portraits, reception, and closing footage, then rank each shot as essential, important, or optional.
Getting-Ready and Pre-Ceremony Footage
Start with quiet details before the schedule becomes busy. Record the venue exterior, invitations, rings, flowers, clothing, shoes, family heirlooms, and room decorations.
For the bride and groom getting ready, capture hands fastening clothing, friends helping, written vows, laughter, and a few calm pauses. Ask permission before filming private conversations or changing areas. Record both sides of the wedding party if you have enough helpers.
Add the first look, family greetings, guest arrivals, and room details. Hold each clip for at least 10 seconds so you have room to edit. Mix wide shots that show the space with medium shots that reveal activity and emotion.
How to Film the Ceremony Without Disrupting It
Place one locked camera where it sees the couple and officiant clearly. Keep a second camera at an angle that captures faces and guest reactions. Start recording before the processional and avoid moving during vows.
Prioritize the processional, readings, ring exchange, vows, first kiss, recessional, and quiet reactions. Follow venue rules about aisles, tripods, flash, and movement. Keep your operators behind guests or along the edges whenever possible.
Record a wide shot for continuity, then use medium shots for the couple and close details only when you can capture them without distraction. Let important moments play out without excessive zooming or camera movement.
Reception Moments and Candid Reactions
Film the reception room before guests enter, including tables, place cards, cake, flowers, and lighting. Capture the entrance, welcome, toasts, first dance, parent dances, cake cutting, guest reactions, open dancing, and send-off.
During speeches, keep one stable camera on the speaker and another on the couple or audience. Collect short candid clips between scheduled events, such as hugs, laughter, children dancing, and family conversations.
Record transitions that help the edit move through the day: doors opening, guests taking seats, glasses being raised, musicians preparing, and the couple entering a new space.
Film More Polished Footage With Simple Techniques
Polished wedding videography comes from steady framing, intentional light, and respectful coordination. You can create a cinematic wedding video with simple camera movement when each shot supports the story.
Choose Useful Angles and Framing
Start each location with a wide shot that establishes the setting. Use medium shots for interactions and tighter framing for vows, hands, rings, and expressions. Hold your composition steady before and after the action.
Place the tripod at eye level when you want a natural view. Lower the camera for a more intimate angle during portraits, or raise it slightly when you need to see across a crowded reception. Keep horizons level and leave space in the direction a person is moving.
Move only with a purpose. A slow gimbal walk can follow the couple through the venue, while a locked tripod shot works better for speeches. Coordinate your position with the wedding photographer so you do not block their view.
Use Light and Movement Intentionally
Use natural light from a window or open shade for preparation footage and portraits. During golden hour, place the couple so the warm light shapes their faces, then check exposure as the sun changes.
A small LED light helps in a dark room when you soften its brightness and keep it off the guests’ direct line of sight. Avoid rapid pans, constant zooms, and long clips with no action. Begin with a stable frame, let the moment happen, and end with another steady pause.
Set exposure and white balance before each location. Check skin tones on the screen, especially when you move from daylight to indoor lights or a reception with colored bulbs.
Coordinate Respectfully With Other Vendors
Speak with the wedding photographer, planner, DJ, band, and venue team before filming begins. Share your shot list and ask where each vendor needs to stand during the ceremony, portraits, speeches, and first dance.
Give the photographer priority during formal portraits when they direct the couple. Film from a safe side angle and wait for a clear opening. Ask the DJ before connecting to the soundboard, and follow venue rules for cables, tripods, lights, and power.
Keep aisles clear, tape down cables, and avoid bright lights during readings or vows unless the couple and venue approve them. A quiet operator preserves the atmosphere while still collecting useful footage.
Edit and Share Your Finished Wedding Film
A manageable edit starts with organized files, software that matches your skill level, and music cleared for the way you plan to share the film. Build one full archive and create shorter versions for family and social platforms.
Organize Footage Before You Start Editing
Copy every camera, phone, and recorder file to a main project folder. Make a second backup before deleting or formatting any card.
Use folders such as:
01 Getting Ready02 Ceremony03 Portraits04 Reception05 Audio06 Music07 Exports
Rename files with the camera and event when the original names are difficult to follow. Watch enough of each clip to mark usable footage, strong reactions, clean audio, and technical problems.
Keep a separate folder for project files and export versions. Sync cameras and audio before building the story. Select the strongest moments first, then place them in a rough sequence that follows the emotional flow of the day.
Choose Editing Software That Matches Your Skill Level
iMovie suits a first project on Mac when you want basic cutting, titles, transitions, and music. Adobe Premiere Elements offers a guided path with more editing control.
Adobe Premiere Pro and Final Cut Pro fit longer projects with multiple cameras, detailed audio work, and advanced timeline control. DaVinci Resolve offers editing, color correction, effects, and audio tools in one program, with a free version available for many workflows.
Choose one program and learn its media import, timeline, audio, color, and export functions before the wedding. For a short highlight, a simpler editor keeps the process approachable.
For a full ceremony and reception film, use software that handles long timelines and multiple audio sources.
Use Music Legally and Export for Sharing
Choose royalty-free music from a service such as Epidemic Sound or Artlist, and check the license terms for personal use, client delivery, and social posting. Popular commercial songs can trigger muted audio or blocked uploads on Instagram, Facebook, or YouTube.
Build the film around vows, speeches, natural sound, and music. Lower the music under spoken words, remove long pauses, and keep room sound beneath transitions so the edit feels connected.
Export a full-resolution archive in a common format such as H.264, then create a shorter version for sharing. Check the finished file from beginning to end before uploading.
For vertical Instagram or Facebook clips, reframe the most important faces and keep captions inside the safe area. Store the master file and a second copy in separate locations.