Wedding Binder Ideas: Organize Your Dream Day with Style
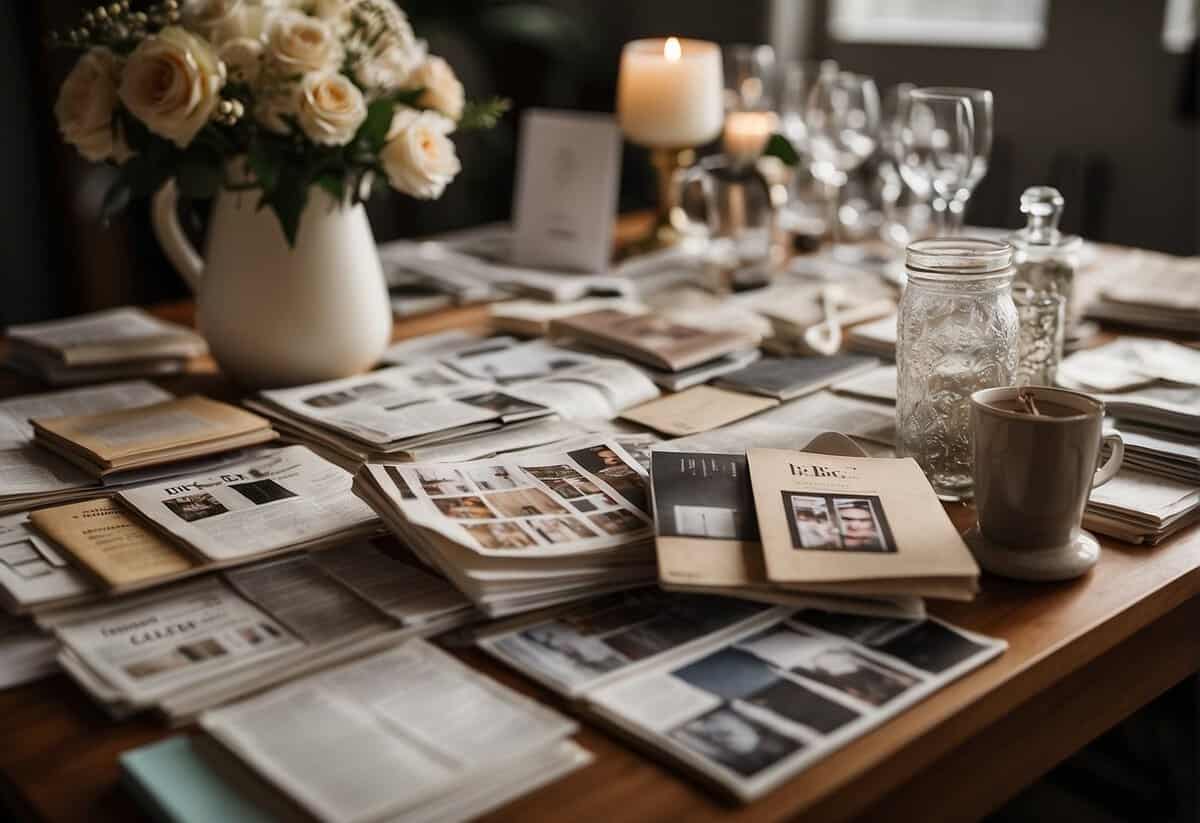
When embarking on the journey of planning your wedding, a well-organized wedding binder can be your road map to a stress-free and enjoyable wedding preparation experience. Your wedding binder is not just a collection of pages but a curated treasure trove of your ideas, schedule, and dreams for your special day. It allows you to consolidate inspirations, to-dos, deadlines, and contacts in one place, ensuring nothing falls through the cracks as you move closer to saying “I do.”

Kickstarting your wedding planning with a personalized wedding binder allows you to keep track of all the bits and pieces involved in crafting your perfect day. From selecting your vendors and establishing your budget to putting the finishing touches on your day-of schedule, the wedding binder becomes an integral part of your journey. It holds not only the logistical details but also the smaller, meaningful elements that make your wedding uniquely yours.
Key Takeaways
- A wedding binder helps you streamline your planning process and centralize important information.
- It should include sections for budgeting, vendor contacts, and your wedding day itinerary.
- Personalized details and memory-keeping can also be incorporated into your binder for sentimentality.
Getting Started with Your Wedding Binder

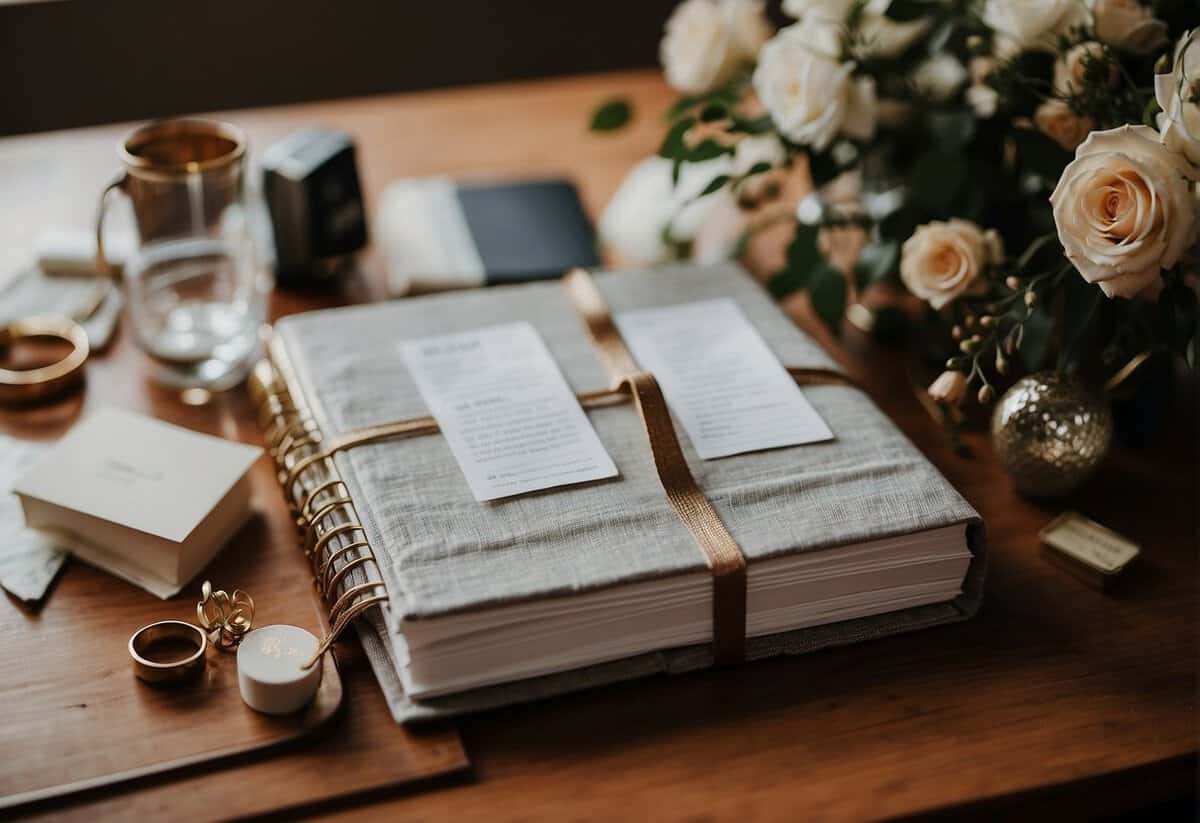
Creating your own wedding binder will be one of the first steps you take in your wedding planning journey. It’s a place to gather all your ideas, inspirations, and details, ensuring everything you need is right at your fingertips.
Essential Supplies
To begin assembling your wedding binder, you’ll need a few key supplies:
- Three-Ring Binder: Choose a sturdy three-ring binder as the foundation of your wedding organization system. It allows for easy customization and the addition of documents.
- Dividers and Tabs: Use dividers and tabs to create distinct sections within your binder for different aspects of your wedding planning.
- Sticky Notes and Tab Stickers: These are great for making quick notes or flagging important pages.
- Folders and Pocket Sleeves: Insert these into your binder to hold loose papers, fabric swatches, and other materials.
Binder Organization Principles
Organizing your binder effectively will save you time and keep your stress levels down:
- Sections: Divide your binder into clear sections (e.g., Venue, Catering, Guest List, etc.). This way, you can quickly locate specific information.
- Color-Coding: Use color-coded tabs and sticker letters to visually distinguish between different sections.
- Consistency: Apply a consistent labeling method throughout your binder. FontStyle, size, and color of tab stickers and labels should be uniform.
- Updates: Regularly update your binder, removing completed tasks, and adding new details to keep everything current.
Financial Planning Tools

When tying the knot, your wedding binder should include comprehensive financial planning tools. These will guide you through budget formulation and expense monitoring, ensuring that every dollar is accounted for effectively during your planning process.
Budget Breakdown
Start by outlining Your Wedding Budget with a clear breakdown. Here’s a simple list to kickstart your planning:
- Venue: Typically 40-50% of your total budget.
- Catering: Approximately 30% for food and beverages.
- Attire: Around 10%, including dress, suit, and accessories.
- Music/Entertainment: Allocated 5-10%.
- Photography/Videography: Another 10% to capture memories.
- Miscellaneous: Reserve 5-10% for invites, favors, and decor.
Consistently refer to this checklist when adding details to your contracts or discussing options with vendors.
Expense Trackers
Keep your finances in check by using detailed Expense Trackers in your binder. They serve two main purposes:
Monitoring Payments:
- Date dues
- Amount paid/deposit
- Remaining balance
- Vendor contact information
Tracking Overall Spend:
- Initial budget vs. actual expenditure comparison
- Notes on cost-saving adjustments or splurges
The key is regular updates to this printable tracker to avoid overspending and to have a real-time picture of your wedding finances.
Vendor and Venue Details

When planning your wedding, keeping a detailed record of your vendors and venue information is crucial to staying organized and ensuring nothing is overlooked.
Comparing Options
Start by gathering proposals and quotes from various vendors. Use a table with columns such as Vendor Name, Service, Cost, and Notes to compare them easily. For venues, consider aspects like capacity, availability, and price. Here’s an example:
| Vendor Name | Service | Cost | Notes |
|---|---|---|---|
| DJ BeatDrop | DJ Services | $1500 | Includes lighting package |
| Floral Magic | Decorations | $2000 | Locally sourced flowers |
| Sea & Land | Catering | $5000 | Seafood options available |
Make sure to mark each option with highlighters to indicate your preferences:
- Green: a strong candidate
- Yellow: requires further discussion
- Red: not suitable
Contact Management
For each vendor and venue, create a subsection in your binder for contact information. This should include business cards, direct phone numbers, and email addresses. It is helpful to have contracts and agreements at your fingertips, which makes it easier when you need to confirm details or make changes.
Maintain a running list of questions or notes for each vendor so that you’re prepared when you meet or speak with them next. This can look like:
Vendor: DJ BeatDrop
- Clarify setup time and space requirements
- Confirm playlist submission deadline
- Discuss backup equipment or DJ in case of emergency
Vendor: Floral Magic
- Finalize delivery times and setup
- Decide on flower preservation post-wedding
- Verify color scheme against samples
By attentively managing these specifics, you’ll ensure each piece of your wedding comes together seamlessly.
The Big Day Breakdown
When your wedding day arrives, it’s crucial to have a detailed plan that tracks the timing and coordination of events. This breakdown will guide you through structuring your ceremony and reception, ensuring no detail is overlooked, from the strategic placement of decorations to the moment you cut the cake.
Ceremony Plan
Timeline & Seating: Outline your ceremony timeline, from the arrival of guests to the recessional. Here’s a simplified example:
- Guest Arrival: 3:30 PM – Ushers begin seating guests. Have your seating chart well-marked to avoid confusion.
- Processional: 4:00 PM – Wedding party starts the walk down the aisle, beginning with the bridesmaids and groomsmen, followed by the flower arrangements bearing bridesmaids, then the main event – your arrival.
- Ceremony Begins: 4:15 PM – Officiant starts the ceremony; readings and vows take center stage.
- Recessional: 5:00 PM – Newlyweds walk down the aisle together, followed by the wedding party.
Important Detail: Coordinate with your DJ or musician ahead of time; confirm they have the right music queued for each part of the ceremony.
Reception Itinerary
First Impressions & Entertainment: Lead guests from the ceremony to the reception area where they are greeted by a thoughtfully crafted environment.
- Cocktail Hour: Let the DJ set the mood as guests mingle. The seating chart helps them find their spots without hassle.
- Reception Start: Announce your entrance as newlyweds, followed by the first dance.
- Dinner & Speeches: Stagger these throughout the meal to maintain flow and engagement.
- Cake Cutting & Dancing: Have your cake displayed prominently and plan the cutting ceremony after dinner.
- Final Dance & Send-Off: Cap off the night with a last dance, leading to your memorable send-off.
Make Notes: Ensure your entertainment is varied and the decorations and flowers align with the theme. Verify the guest list against the planned seating to avoid last-minute changes.
Personal Touches
Creating a wedding that reflects your style and story is all about the details. From the outfit you choose to walk down the aisle in, to the decorations that set the stage for your special day, every element contributes to the personal feel of your wedding. Let’s explore how your attire and venue aesthetics, along with customized decoration ideas, can be cataloged in your DIY wedding binder for a seamlessly personalized celebration.
Attire and Aesthetics
Finding the perfect wedding dress is about more than just style; it’s about capturing a moment that’s uniquely yours. Consider incorporating a piece of family history, like wearing your mother’s veil or a grandmother’s brooch, as a meaningful nod to your heritage. Don’t forget the bridesmaid dresses—choose a harmonious color scheme that complements your overall wedding palette, while allowing for individual styles that suit each person’s unique look.
- Your DIY Wedding Binder: Organize fabric swatches and photos of potential dresses, and use a color scheme chart to ensure harmony with the wedding party’s attire.
Customized Decoration Ideas
Personalizing your decorations infuses your personality into the day. Start with a concept that speaks to you and your partner, maybe it’s a love for literature or a passion for the outdoors. Then, translate that into your decor. From lighting that creates ambiance to centerpieces that tell your story, consider these DIY touches:
- Collect items from a craft store and include sketches or photos in your binder.
- Think about texture and materials—lace, burlap, or silk—and how they fit into your theme.
Your DIY wedding binder is an invaluable tool to keep these personal touches organized and at your fingertips. Be sure to jot down notes, paste in pictures, and keep a list of needed materials as you engage with vendors and visit craft stores. This will ensure your wedding day is as personalized and special as your love story.
Capturing Memories
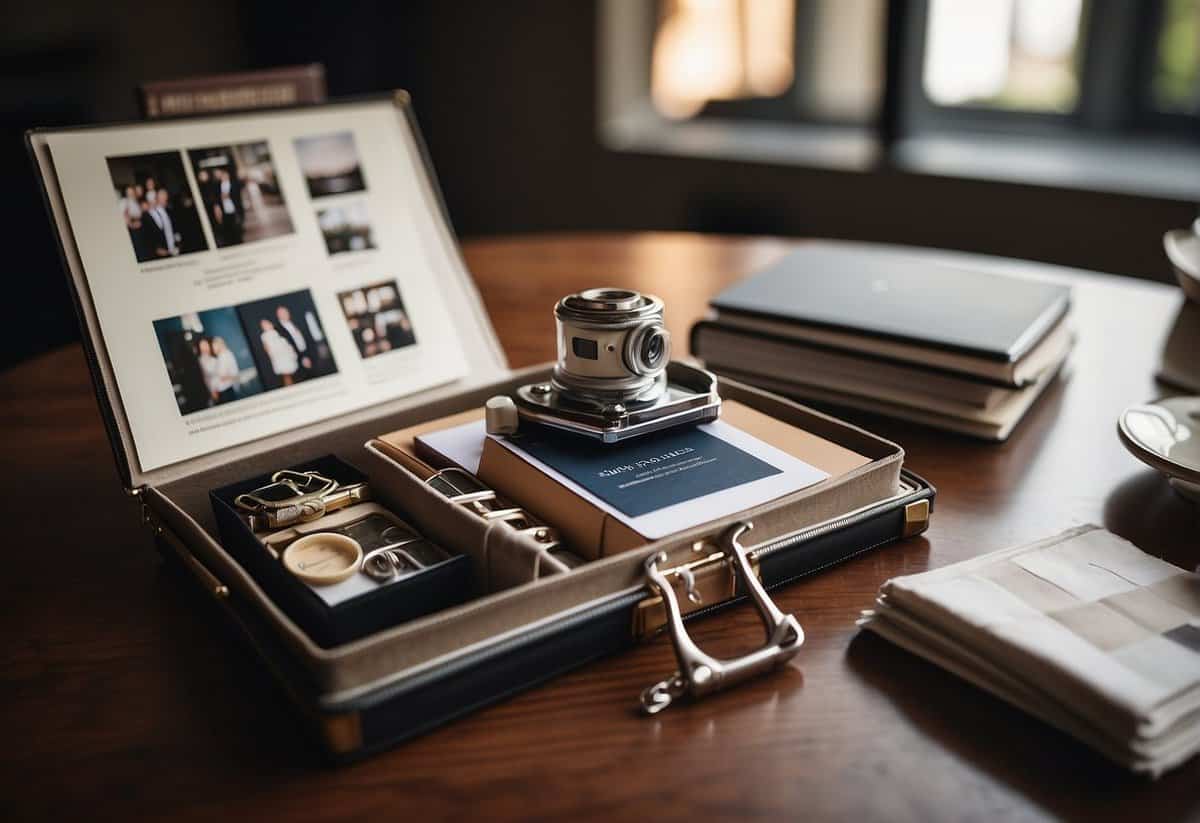
In planning your wedding, capturing every moment is invaluable. These tangible memories like photos, videos, and written messages will allow you to relive the joyous day for years to come.
Photography and Videography
Hiring a professional photographer is key. They’ll take high-quality pictures, ensuring that every emotion and detail is captured. Photographers usually offer various packages, so consider your needs—whether it’s capturing every moment from the preparation to the reception, or just the ceremony.
- Pictures: Choose key moments to be photographed like the exchange of rings, the first kiss, and the first dance.
- Thank-you notes: Include a personal touch in your thank-you notes by using your wedding photos.
For the videographer, it’s important that you connect with their style. A videographer will not just capture the event, but also the atmosphere and the emotion.
- Notes: Give your videographer a list of must-record moments.
Guest Book and Mementos
Your guest book is a place for attendees to leave their well-wishes and advice. Boost its sentimental value by making it more interactive.
- Pens: Provide pens in colors that match your wedding theme.
- Glue/Tape: Have these on hand so guests can add photos to their messages if you have a photo booth.
Consider crafting a unique guest book that reflects your personality, like a puzzle or a quilt where each guest contributes a piece. Remember to provide instructions with wedding-related information to assist guests in this activity.
In conclusion, the key to a memorable and organized wedding is in the details—from the pages of your wedding binder to the thank-you notes you’ll send out. Keep these insights in mind, and you’ll treasure the memories for a lifetime.