DIY Wedding Cake Tips: Essential Advice for the Perfect Bake
Creating a wedding cake yourself can be a memorable and rewarding experience. It allows you to infuse personal touches and flavors that reflect your unique style. By taking control of your wedding cake, you save money and reduce the stress of relying on external vendors.
Making a wedding cake may seem daunting, but it’s entirely manageable with the right preparation and tools. You’ll find joy in the process as you see your creation come to life. Plus, it’s a great way to show your love and care.
1) Use a stable cake recipe

Choosing a stable cake recipe is key. You don’t want your cake to crumble or collapse.
Look for recipes that have been tested many times. A classic vanilla or chocolate cake usually works well.
Make sure the recipe includes clear instructions. This helps avoid any baking surprises.
Use ingredients that you’re familiar with. This ensures a consistent result every time.
Stability is important, especially when cutting and serving the cake. A firm cake will hold up better.
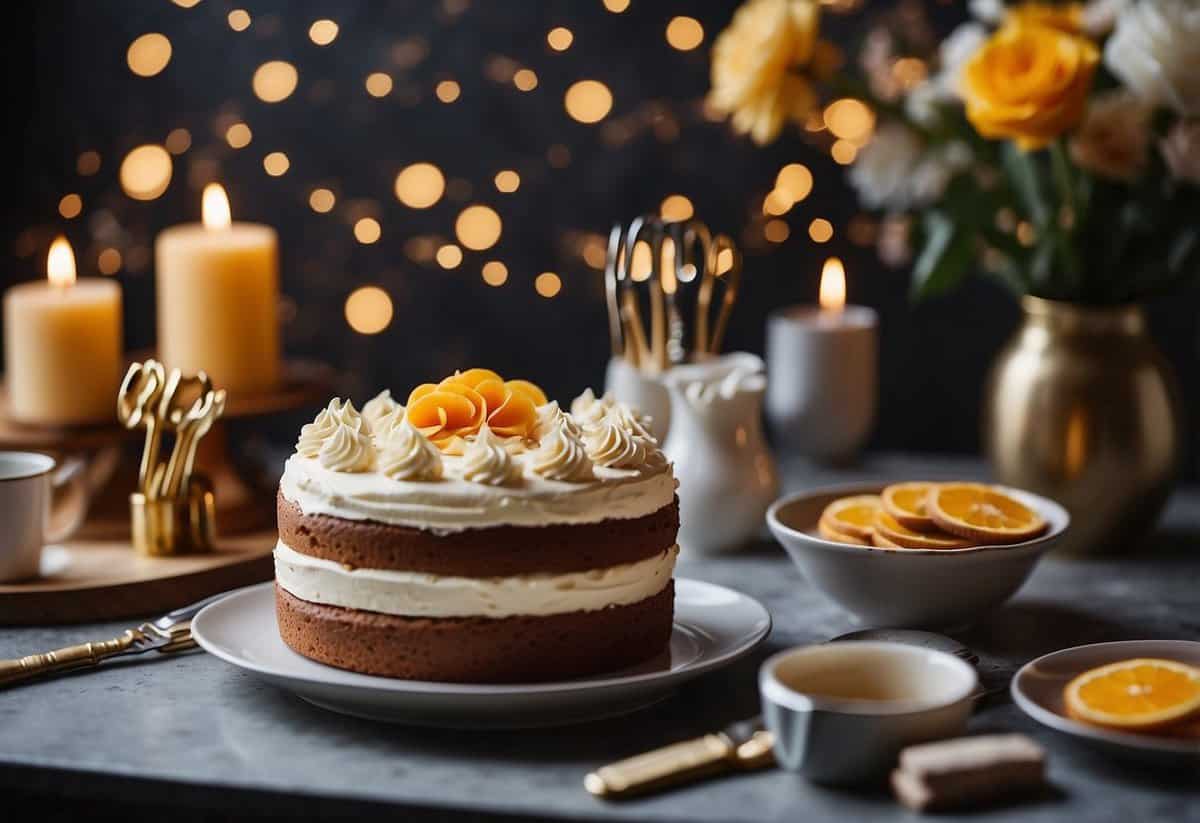
2) Opt for buttercream frosting
Buttercream frosting is a popular choice for DIY wedding cakes. It’s easy to make and work with, even if you’re a beginner.
Swiss meringue buttercream is smooth and not overly sweet. It’s made by whisking egg whites and sugar, then adding softened butter. This creates a light and silky texture.
American buttercream is another good option. It’s made with butter, powdered sugar, and a bit of milk or cream. It’s simpler to make and has a sweet, rich flavor that many people love.
If you’re looking for something that spreads easily and can hold up in warmer environments, Italian meringue buttercream is a great pick. It’s made by adding hot sugar syrup to whipped egg whites and then whipping in butter.
Buttercream is also very versatile. You can add different flavors and colors to match your wedding theme.
3) Use Gel Food Coloring
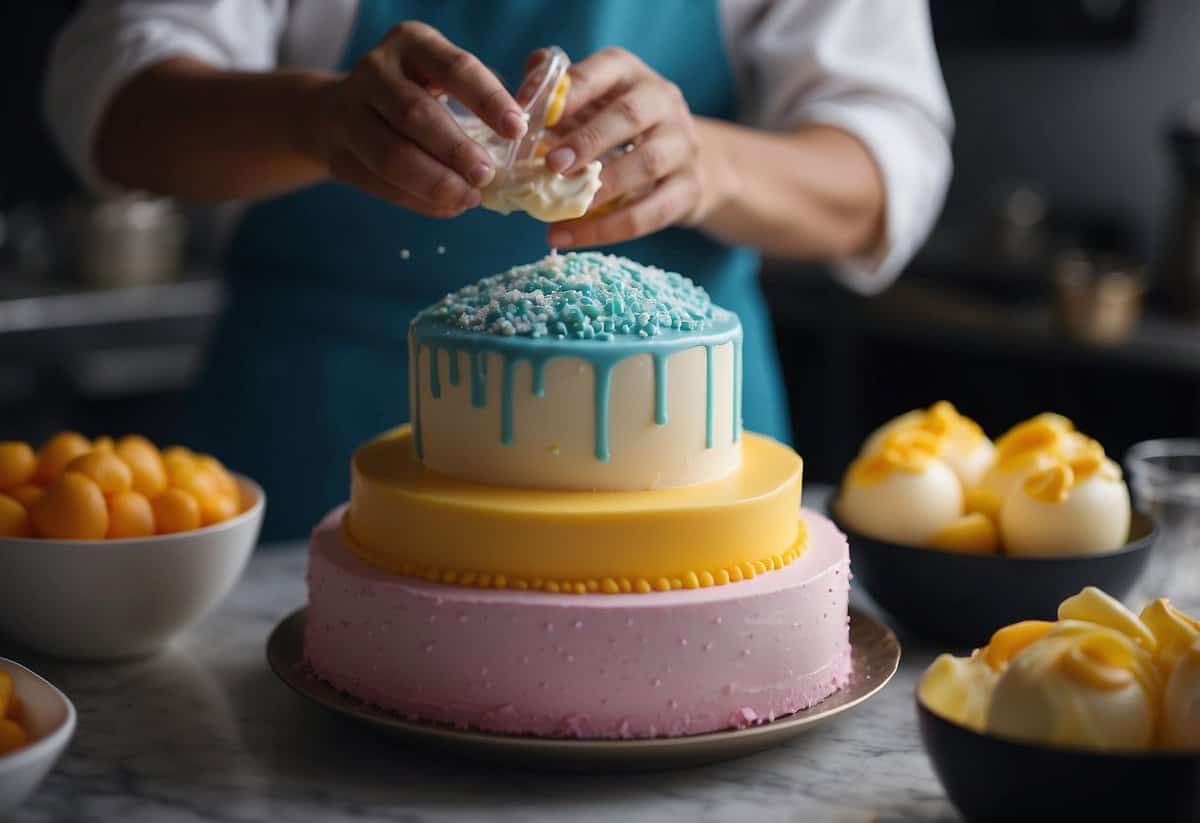
Using gel food coloring can help you achieve vibrant and consistent colors for your wedding cake. Gel colors are highly concentrated, so a little goes a long way. You can start by dipping a toothpick into the gel and swirling it into your batter or frosting. This allows you to easily control the color.
It’s best to begin with a white base, like a white cake or icing. This makes the colors pop and look more vibrant. If you want pastel shades, start with a light-colored base. This keeps the colors soft and pretty.
Remember to mix well to completely incorporate the color into your cake batter or frosting. Give the mixture a few minutes to sit, so the color fully develops. By using gel food coloring, your DIY wedding cake will have beautiful, eye-catching colors.
4) Level Your Cake Layers
When making a DIY wedding cake, it’s important to level your cake layers. This makes the cake look professional and helps it stay stable.
One way to level your cake is with a serrated knife. Hold the knife parallel to the cake, and slice off the dome using a gentle sawing motion.
You can also use a cake leveler. Place it on a flat surface and guide it through the cake steadily.
Another option is the toothpick method. Stick four toothpicks around the cake’s middle and cut along them.
Try these methods, and see which one works best for you!
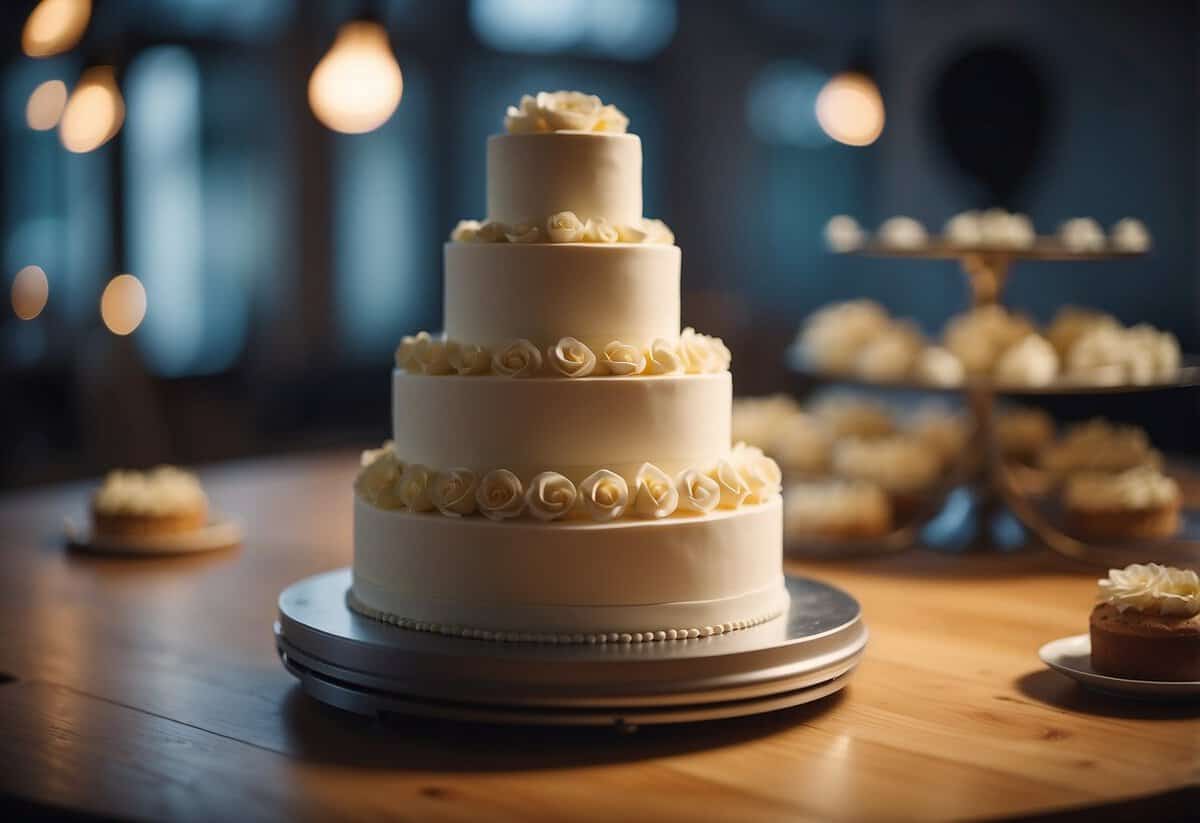
5) Use dowels for support
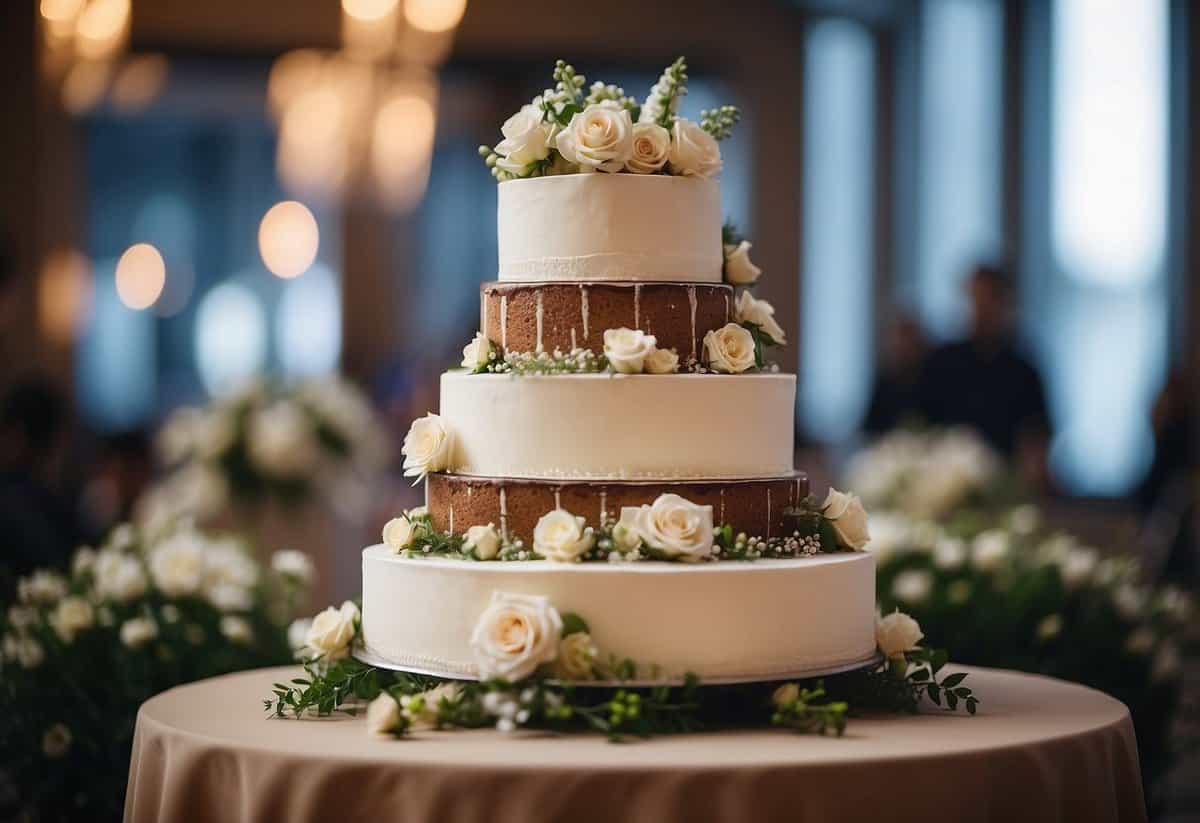
Dowels are essential for keeping your wedding cake stable, especially if it has multiple tiers. Start by using a cake board for each tier. This adds an extra layer of stability.
Before you begin stacking, chill each cake tier. This makes the frosting firm and easier to handle.
Insert the dowels into the bottom tier of your cake, spacing them about 1 inch from the cake board outline. Use food-safe wooden or plastic dowels for the best results.
Measure and cut the dowels to the same height as each cake tier. This prevents the upper tiers from sinking.
Finally, stack the tiers carefully. The dowels will support the weight, giving your cake a professional look. Using dowels ensures your cake stays in place and looks beautiful throughout your celebration.
6) Practice piping decorations
Getting good at piping decorations takes a bit of practice. Start with some simple designs like dots and lines. Use a variety of piping tips to see which you like best.
Try practicing on parchment paper or a spare cake pan. This lets you get comfortable without the pressure of decorating the actual cake.
Different tips create different effects. For example, star tips make cool rosettes and flowers. Experiment with the pressure you apply to find what works for you.
Don’t worry if it’s not perfect at first. The more you practice, the better you’ll get. Happy decorating!
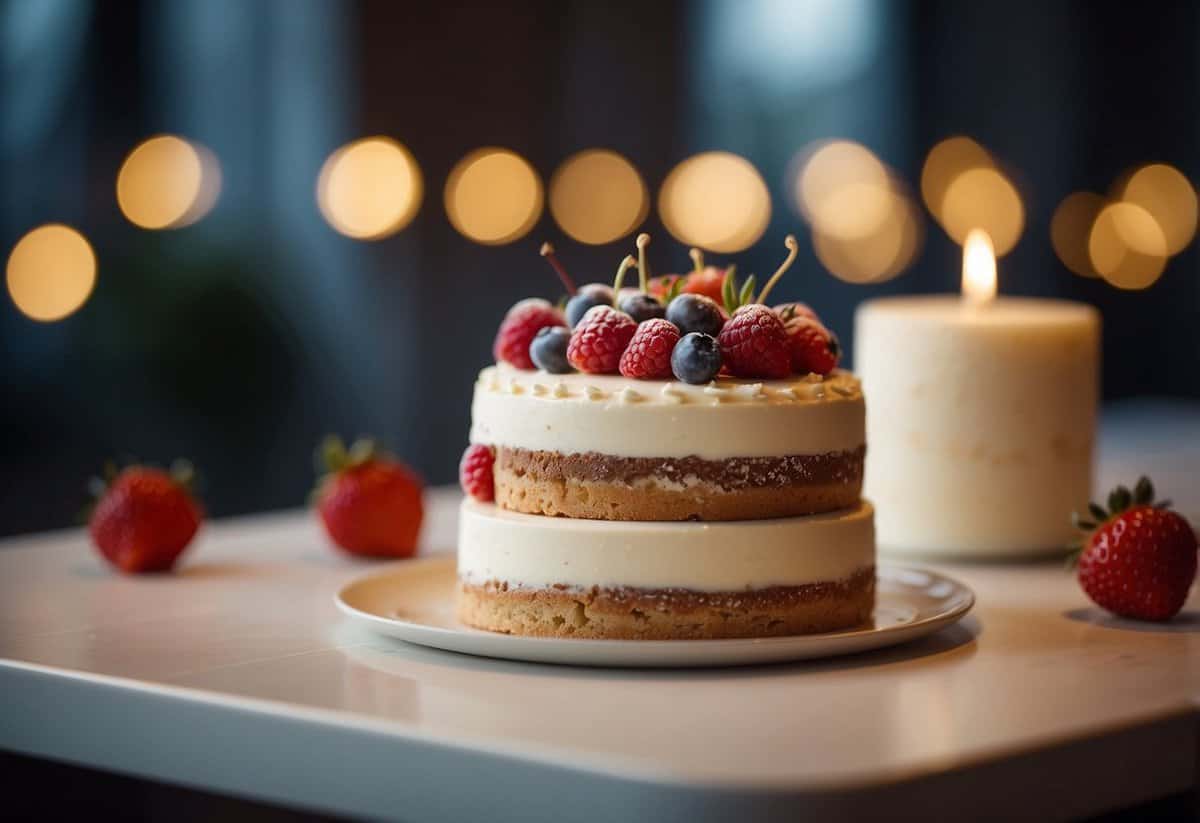
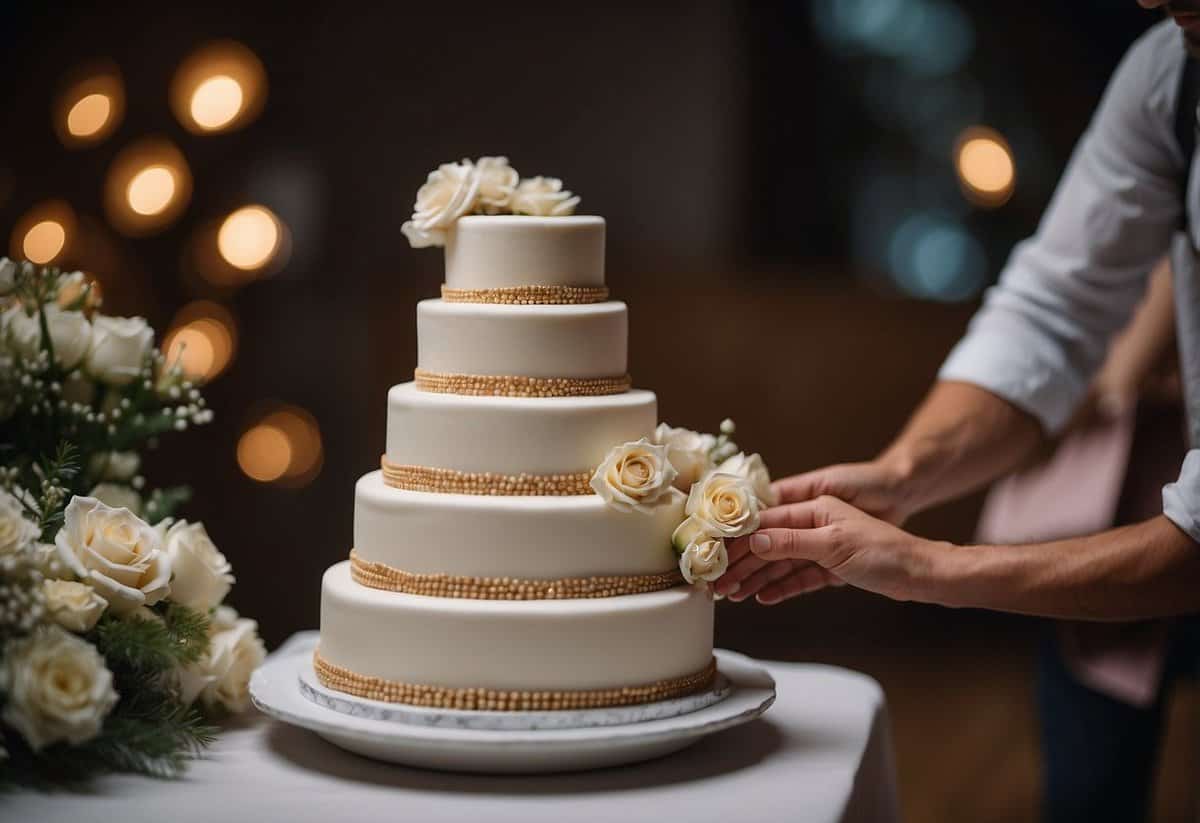
7) Consider a cake topper
A cake topper can make your wedding cake special. It’s a nice way to add a personal touch. You can choose from many styles, like romantic, funny, or classic designs.
You can make your own cake topper if you like DIY projects. Simple materials like paper, glitter, and sticks can turn into something beautiful.
If you’re not into crafting, you can buy one online or at a craft store. Look for something that matches your wedding theme. Personalized toppers with your names or initials are very popular.
Whether you go for a simple or elaborate design, a cake topper is a lovely detail to consider for your wedding cake.
8) Use a Rotating Cake Stand
Using a rotating cake stand is a game-changer for decorating your wedding cake. It allows you to turn the cake smoothly while you ice, making it easier to get an even finish.
A rotating stand also helps you apply decorations accurately. Whether you’re adding flowers, sprinkles, or intricate piping, turning the cake steadily can make your work look professional.
These stands come in various materials like wood or aluminum. Some even come with extra tools like icing spatulas and smoothers, which can be helpful for achieving a polished look. Happy decorating!
9) Chill the Cake Between Steps
Keeping your cake chilled between steps is key. This helps the cake layers stay firm and stable, making it easier to handle. Place your cake in the refrigerator after each major step, like after applying the crumb coat or adding each layer.
Cold cake is also easier to frost. The frosting will go on smoother and is less likely to pick up crumbs. Plus, a chilled cake prevents any fillings from oozing out, keeping everything neat.
Don’t rush. Let your cake chill for at least 30 minutes between steps. This patience will pay off and make the assembly much more manageable.
10) Transport carefully
Transporting your wedding cake is a crucial step. Start by placing the cake on a flat, non-slip surface in your car. A rubber mat can help keep it in place.
Drive slowly and avoid sudden stops. It’s best to keep the cake in a cool environment. Consider running the air conditioning.
Use dowels for extra support on tiered cakes. This helps prevent layers from shifting.
Ask a friend to help you carry and steady the cake during transport. More hands make lighter work.
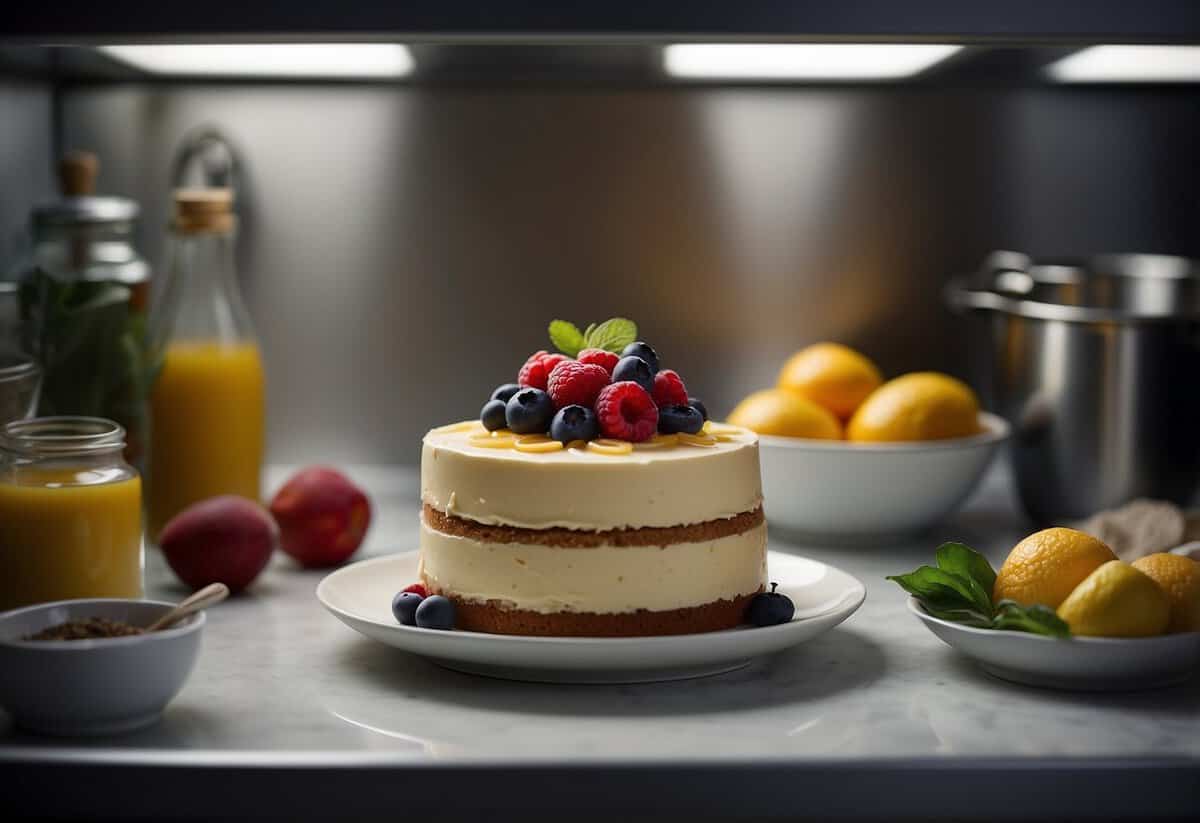
Choosing the Right Ingredients
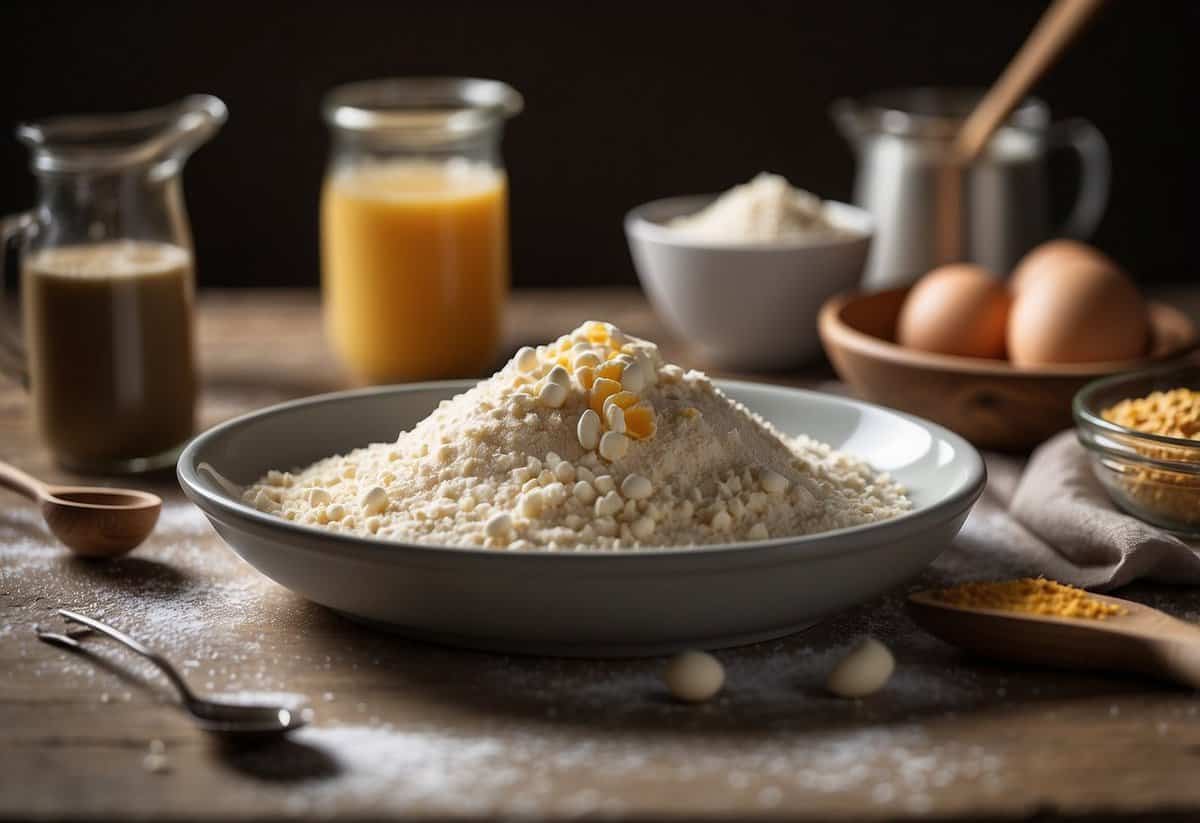
Picking the best ingredients is crucial for baking a delicious wedding cake. You want to make sure every part of the cake is perfect, from the flour to the butter.
Selecting Quality Flour and Sugar
Flour is the foundation of your cake. Choose a high-protein flour for a nice, tender crumb. Cake flour, which is finely milled from soft wheat, is a great option for a delicate texture. All-purpose flour can also be used, but your cake might be a bit denser.
Sugar sweetens your cake and affects texture. Stick to granulated sugar for a classic taste and light texture. Avoid using substitutes like powdered sugar or brown sugar unless your recipe calls for it. They can change the cake’s consistency and sweetness in unexpected ways.
The Importance of Fresh Eggs
Fresh eggs make your batter smooth and rich. They help your cake rise and give it structure. Always use eggs at room temperature. This helps them mix better into your batter, making it more uniform.
To check if your eggs are fresh, place them in a bowl of water. Fresh eggs will sink to the bottom and lay flat. If they stand up or float, they might be old. Using fresh eggs can make a noticeable difference in your cake’s texture and flavor.
Using Real Butter vs. Substitutes
Real butter provides a creamy flavor and smooth texture to your cake. Choose unsalted butter so you can control the amount of salt in your recipe. Butter’s moisture and fat content help create a tender crumb.
While margarine or other substitutes might be cheaper, they can alter the taste and texture. They often have added water and oils that can make your cake denser or greasier. For the best results, always use real butter in your wedding cake.
Cake Decorating Techniques
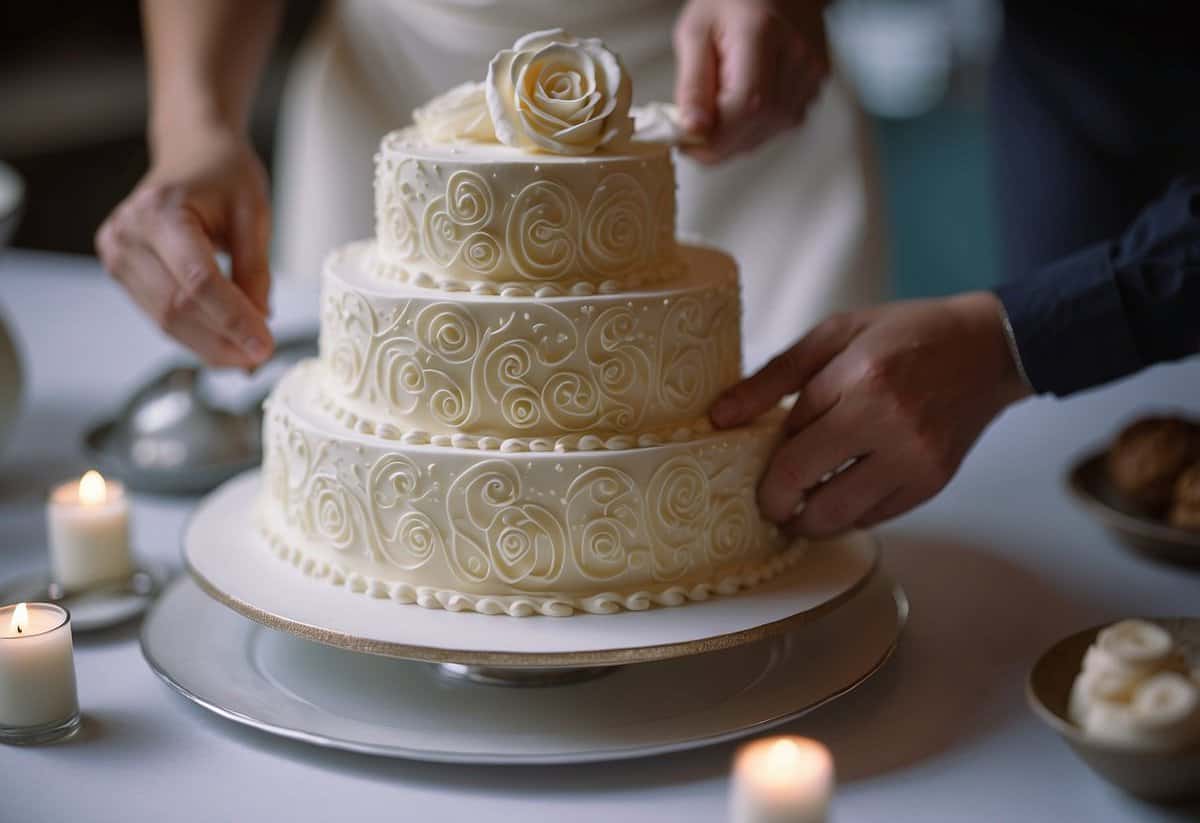
Decorating a wedding cake at home can be both fun and rewarding. Follow these specific tips to add a professional touch to your DIY wedding cake.
Basic Frosting Methods
Start by choosing the right type of frosting. Buttercream is popular for its taste and texture. For a smooth finish, use a straight-edged spatula. Apply a thin layer of frosting, called a crumb coat, to seal in crumbs. Chill the cake for 30 minutes.
After the crumb coat, add a thicker layer of frosting. Smooth it out by holding the spatula at a slight angle and rotating the cake. For an elegant, textured look, create simple patterns with the spatula, like swirls or waves. Practice these methods to make frosting clean and beautiful.
Piping Tips and Tricks
Using a piping bag is a powerful way to add decorations. Choose the right piping tips for different designs. For small details, use a fine round tip. For borders, star tips work well. Hold the bag at a 45-degree angle and apply steady pressure to form shapes.
Practice different techniques on wax paper before piping on the cake. Shells, rosettes, and dots are common patterns. Mix colors to make designs pop. Piping letters or small flowers can add a personalized touch. Always keep a steady hand and practice for the best results.
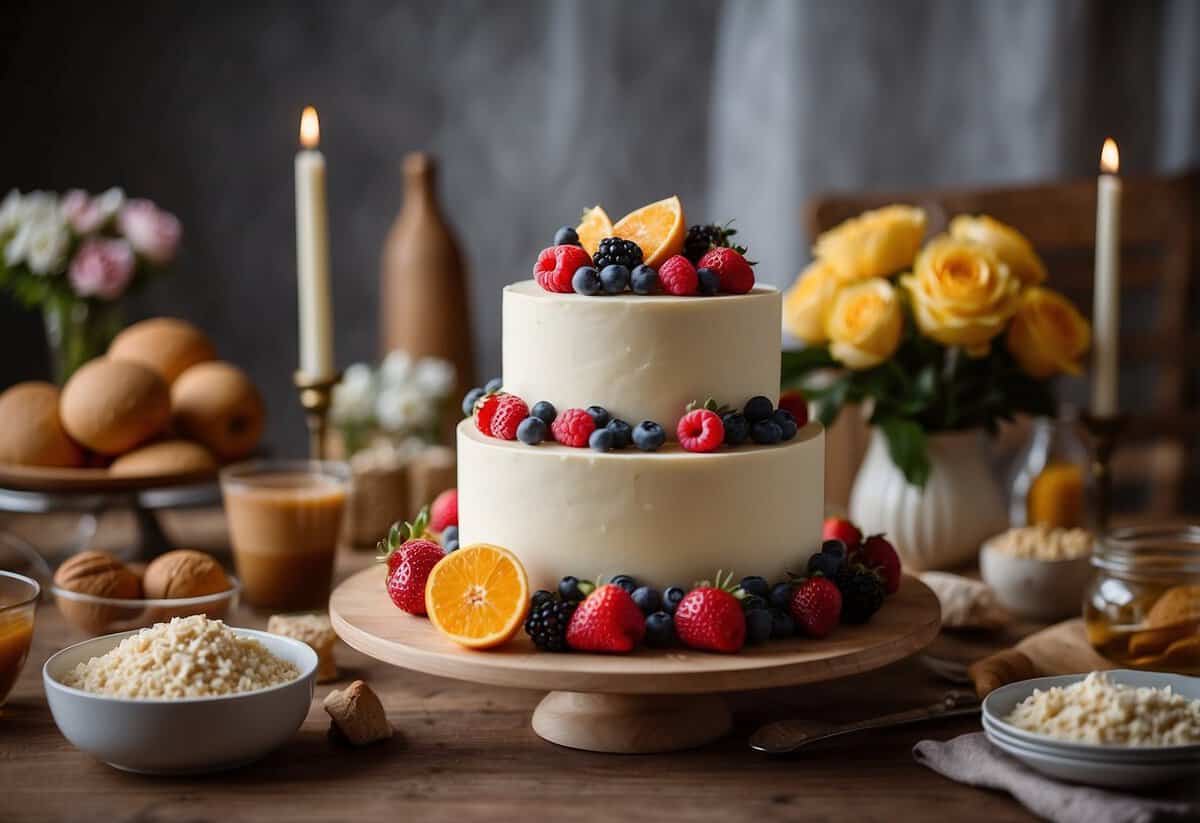
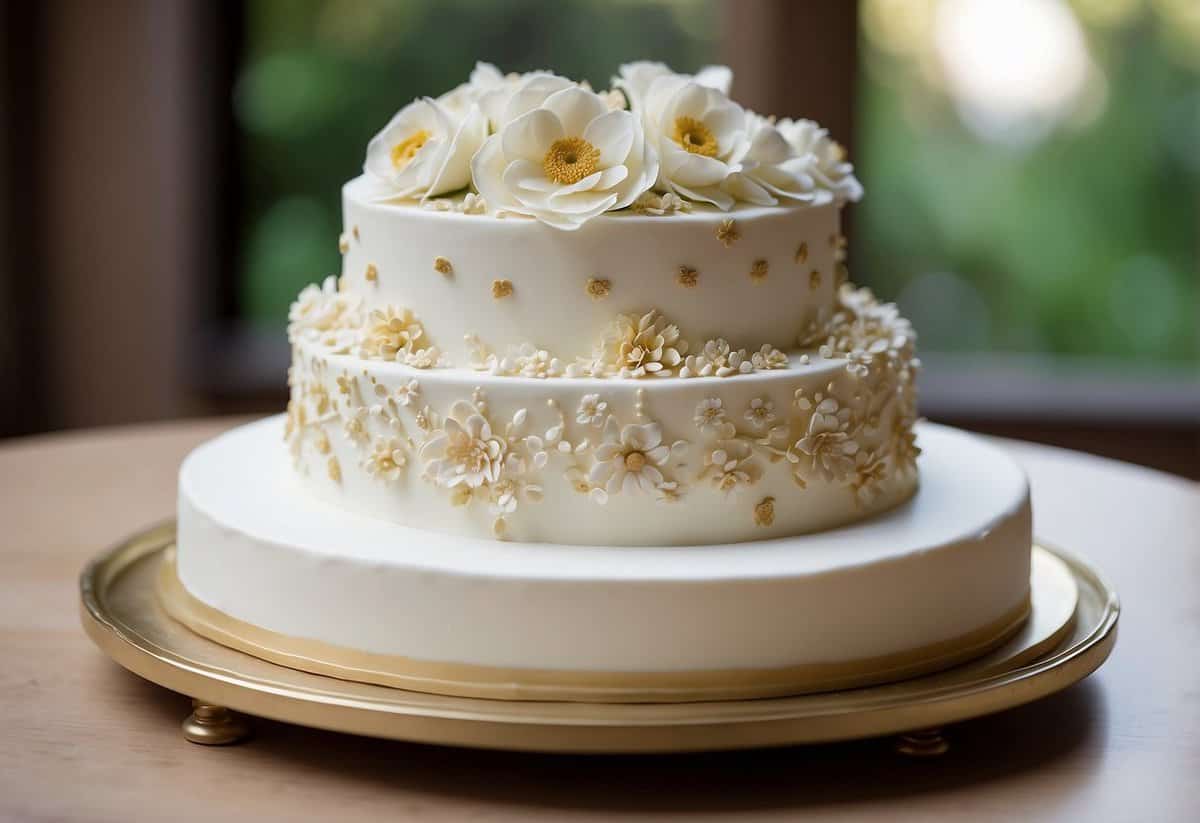
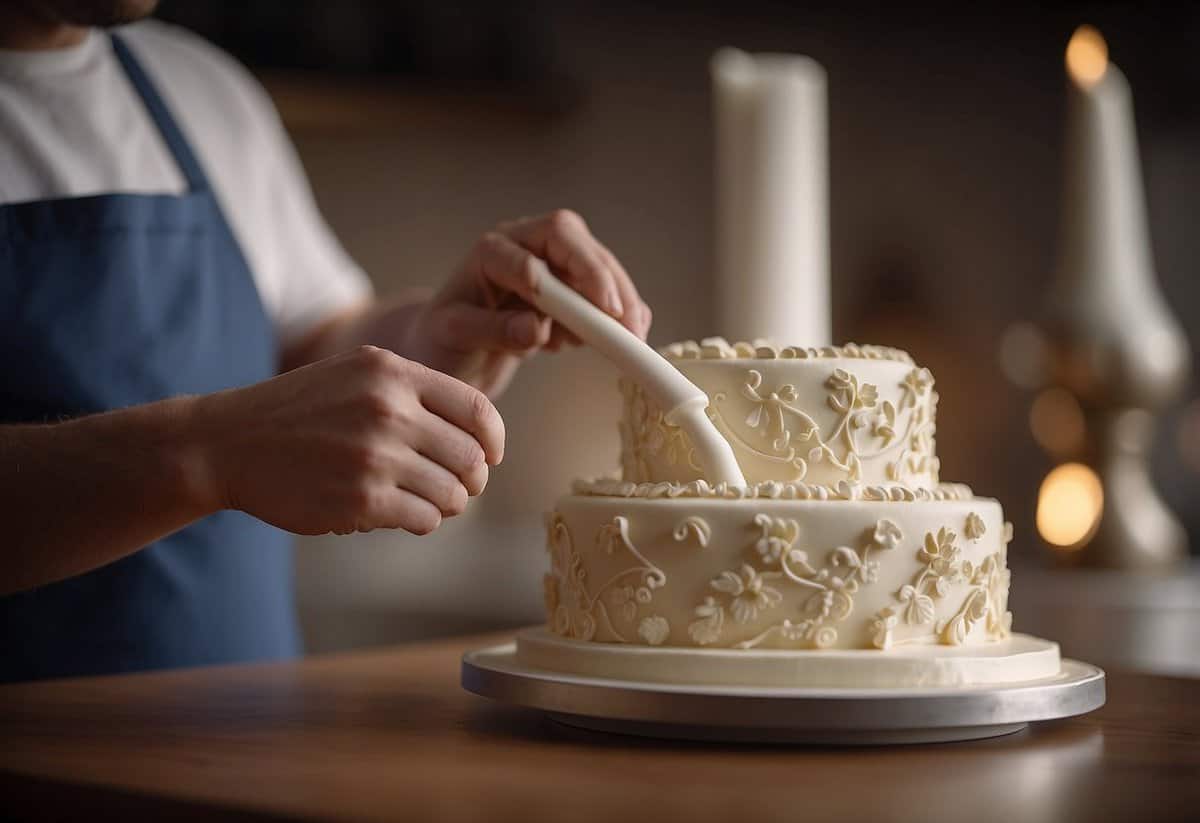
Using Fondant for a Professional Look
Fondant gives cakes a smooth, polished appearance. You can buy pre-made fondant or make your own. To cover a cake, roll out fondant on a surface dusted with powdered sugar. It should be about 1/8 inch thick. Drape it over the cake and smooth it with your hands.
To remove air bubbles, use a fondant smoother tool. Cut off excess fondant with a knife at the base of the cake. You can add fondant decorations like flowers, ribbons, or patterns. Use different colored fondants for vibrant designs. This will make your cake look like it came from a professional bakery.